Choosing a pump is a care-team decision. Living with one is a parent skill – belts that do not bounce off at recess, pods that last three days, and a backup plan when technology has a bad day.
Below are FDA-cleared options families commonly discuss (always confirm current approvals and what your endo offers), a comparison resource we like, and the day-to-day gear notes from our house.
Not medical advice. Every kid and care plan is different. Check with your diabetes care team before changing how you manage T1D, and always follow their sick-day, dosing, and device instructions.
This page may contain affiliate links. Please see the affiliate disclosure for more details.
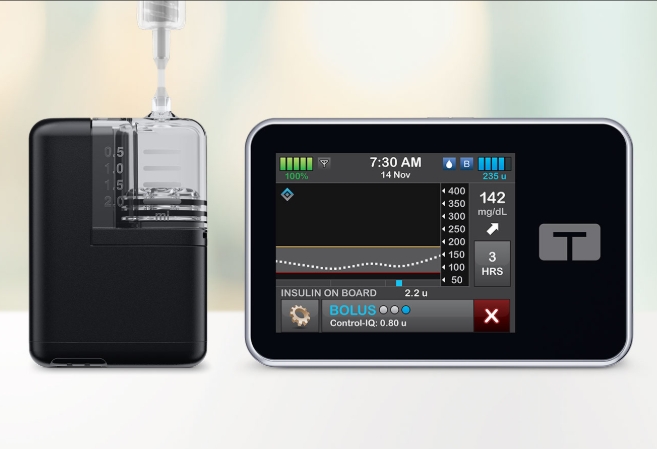
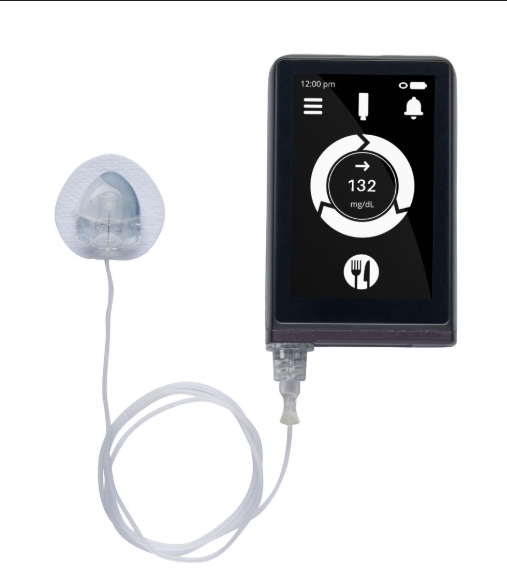
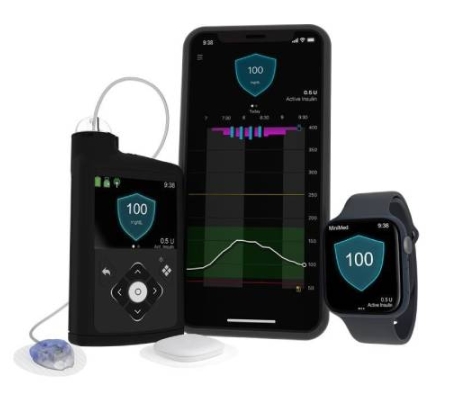
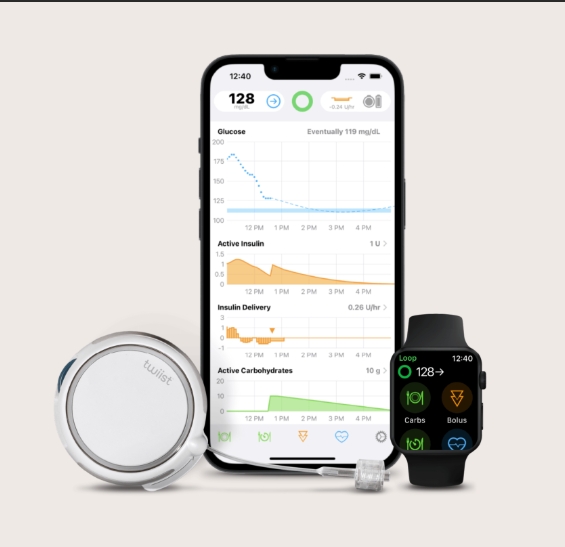
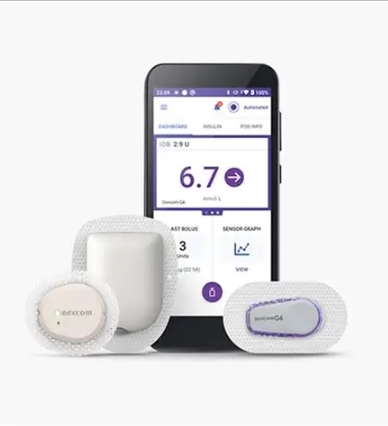
FDA-Approved Insulin Pumps
Prescription required for AID devices. Talk with your Endocrinologist to determine the best AID insulin pump for managing your Type 1 Diabetes.
Insulin Pump Comparison Chart
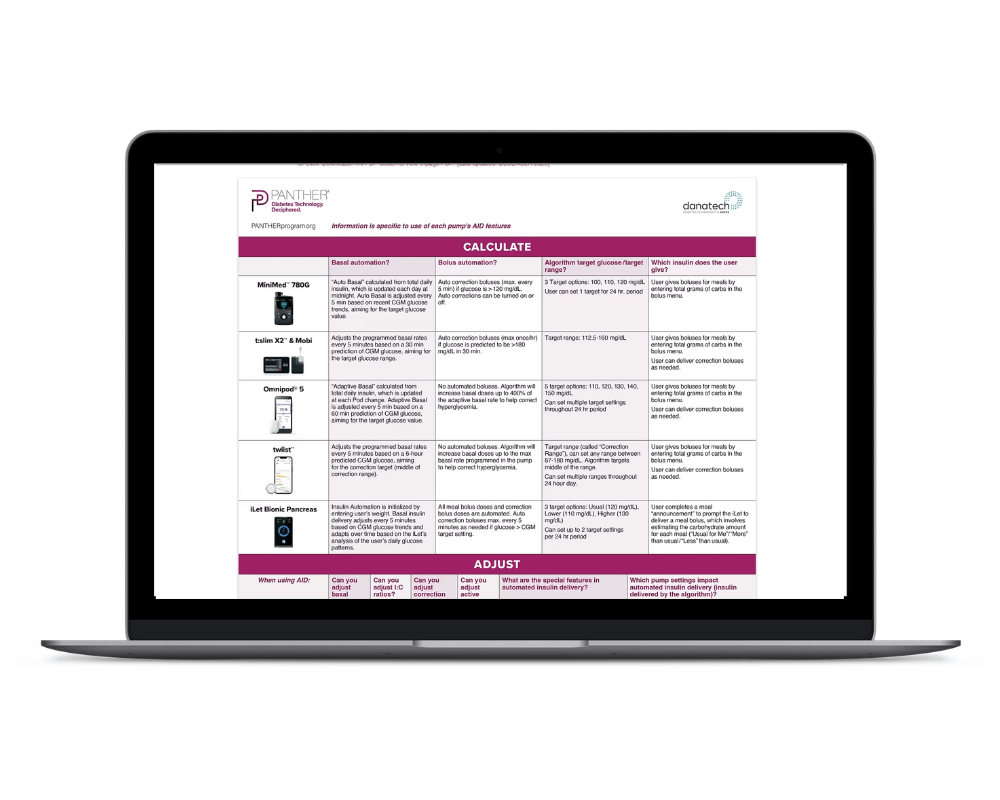
Explore the differences between Automatic Insulin Delivery (AID) insulin pump devices.
Panther has the best AID/Insulin Pump Comparison chart.
Wearing a pump day to day (parent notes)
Prescription pumps are chosen with your endocrinologist. The gear around them – belts, clips, adhesive – is where parents do a lot of trial and error. What has helped us:
- Insulin pump belts for kids – keeping a tubed pump (or spare supplies) secure without relying on a single clip
- Make an OmniPod stick for 3 full days – prep and overpatch habits for tubeless pods
- Avoiding OmniPod static failures
- Adaptive clothing for T1D – pockets and access that actually work with devices
Gear we keep stocked
- Pump belts / holsters sized for kids – see our belt post for options we have tried, including tagged Amazon picks
- Vial protectors if you still use vials for fills or backups
- Frio cooling wallet for heat and travel days with spare insulin
- Spare adhesive / Skin Tac / remover – same kit as CGM wear (see the Dexcom and OmniPod stick posts)
Also useful: our everyday diabetes bag and daily kit/bag page for what rides along with the pump every day.