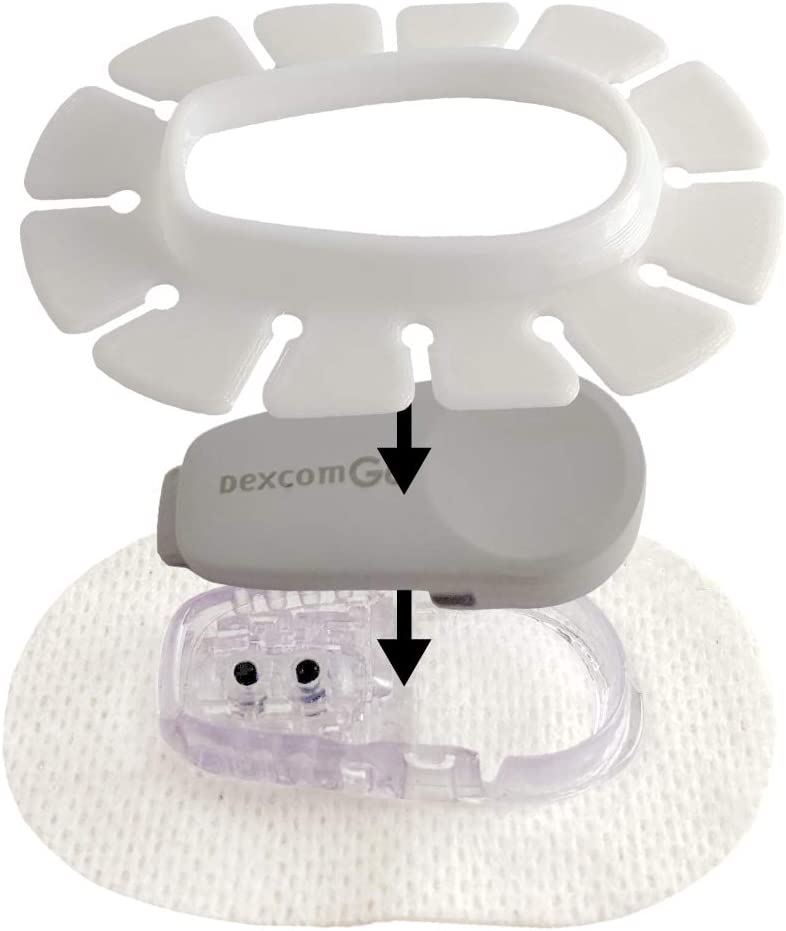
The Dexcom Continuous Glucose Monitor (CGM) has an adhesive patch that adheres to the body and is expected to last 10 full days. Daily life (baths, swimming, heat, etc.) and your personal skin can cause the CGM’s adhesive patch to fail. Add extra adhesive or utilize accessories to help keep the Dexcom sensor adhesive patch, sensor wire and transmitter securely in place for 10 days.
Extra Adhesive / Accessories / Sunscreen
This post may contain affiliate links. Please see the affiliate disclosure for more details.
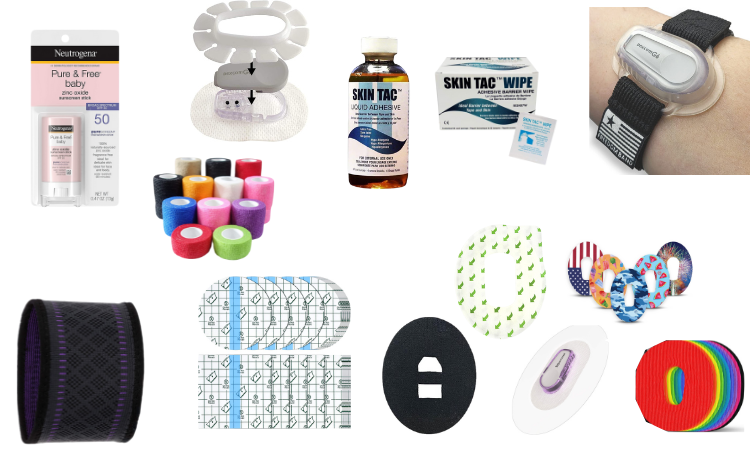
Extra Adhesive
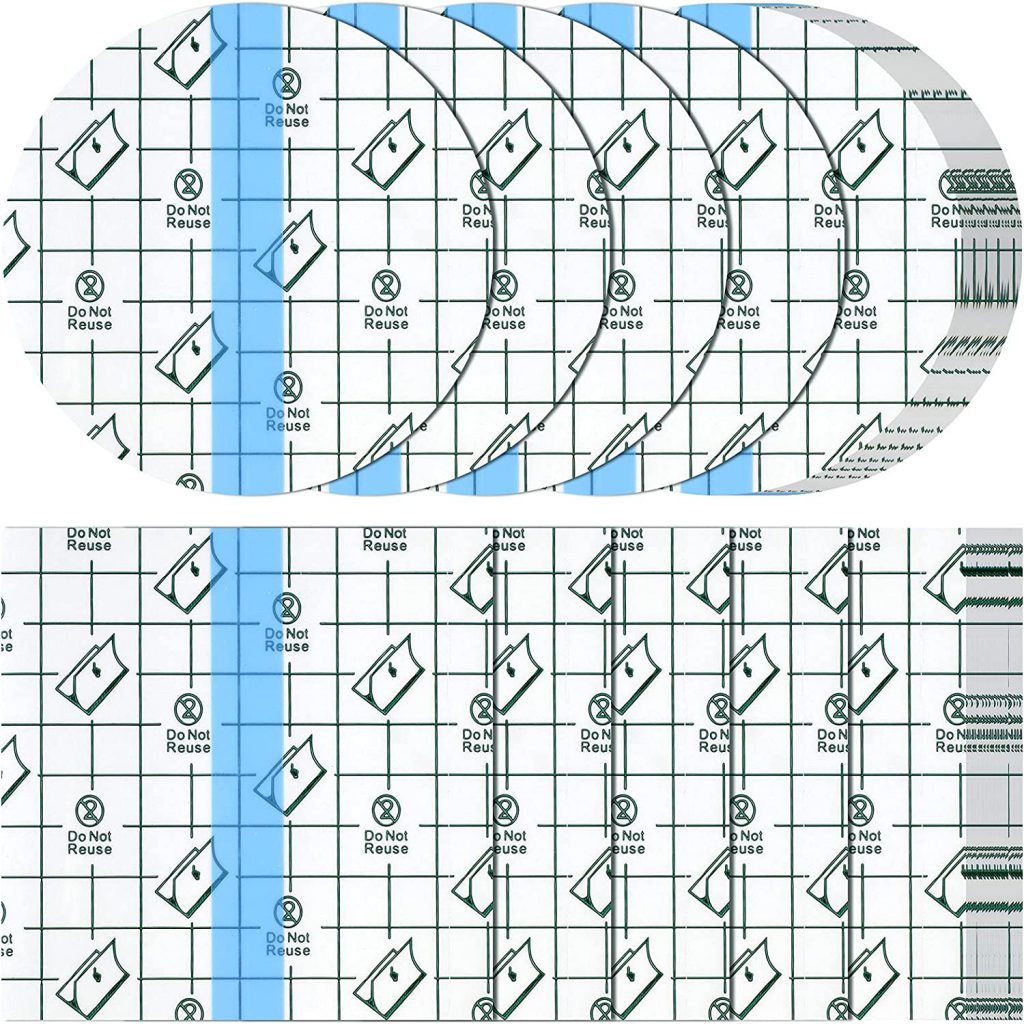
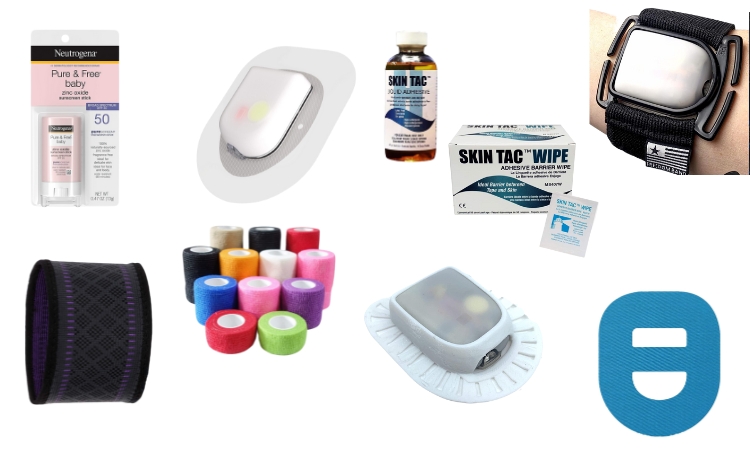
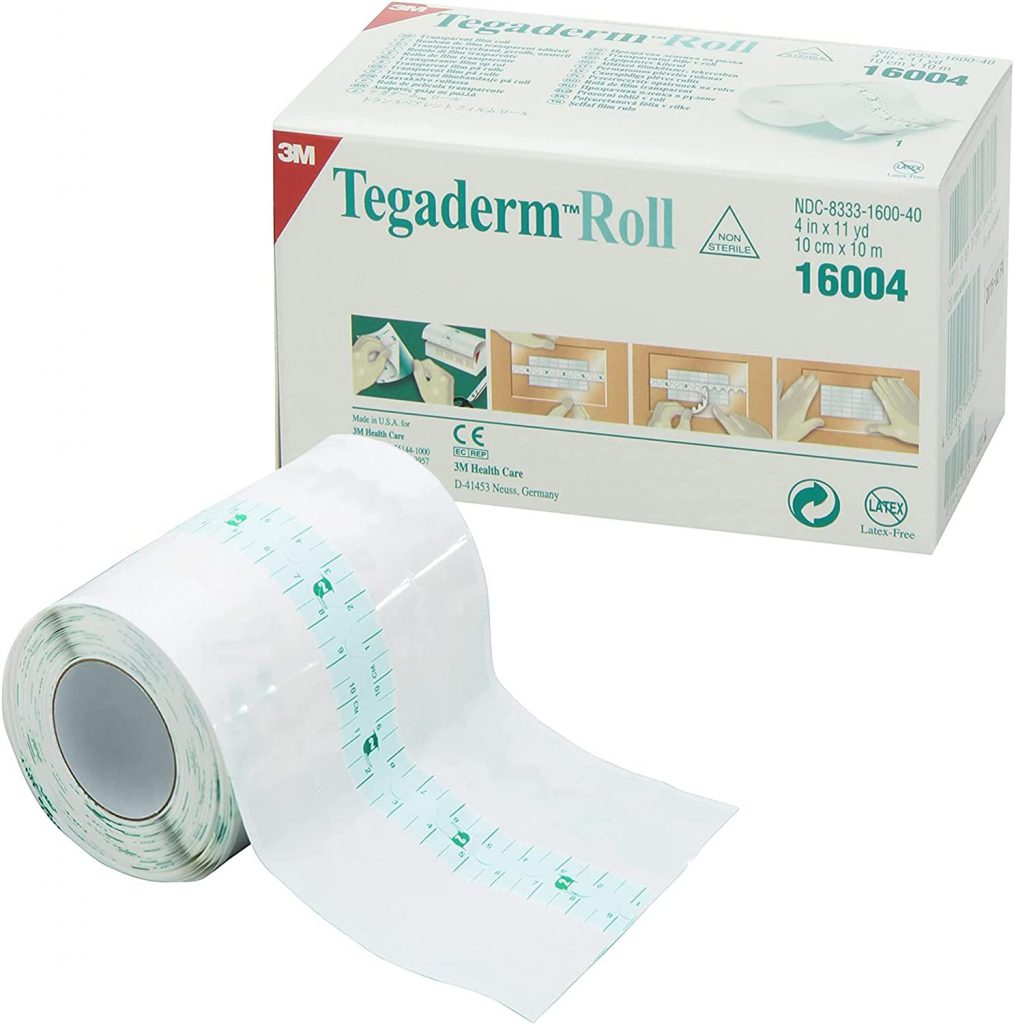
Clear Film Dressing Tape – cover entire Dexcom in a transparent adhesive bandages that makes a watertight seal over the CGM. Precut in circle and square shapes to cover the Dexcom on various site locations. If you like to make your covers, the clear film can be purchased in a roll.

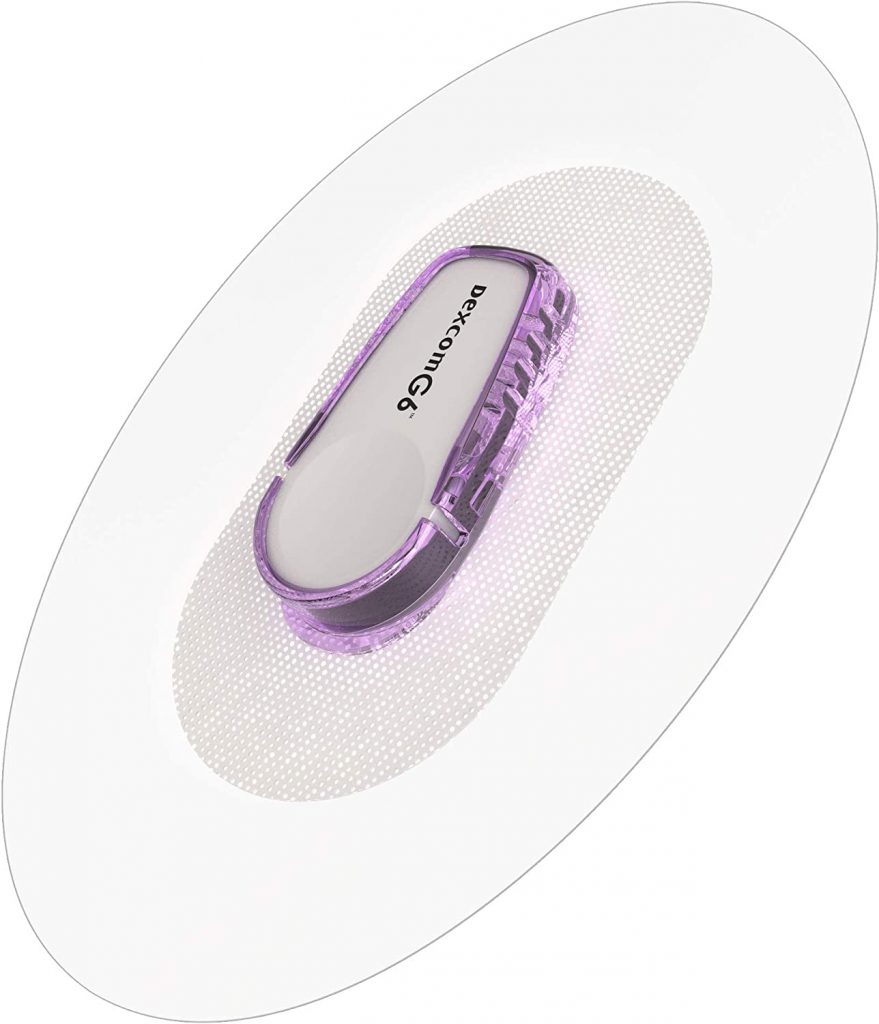
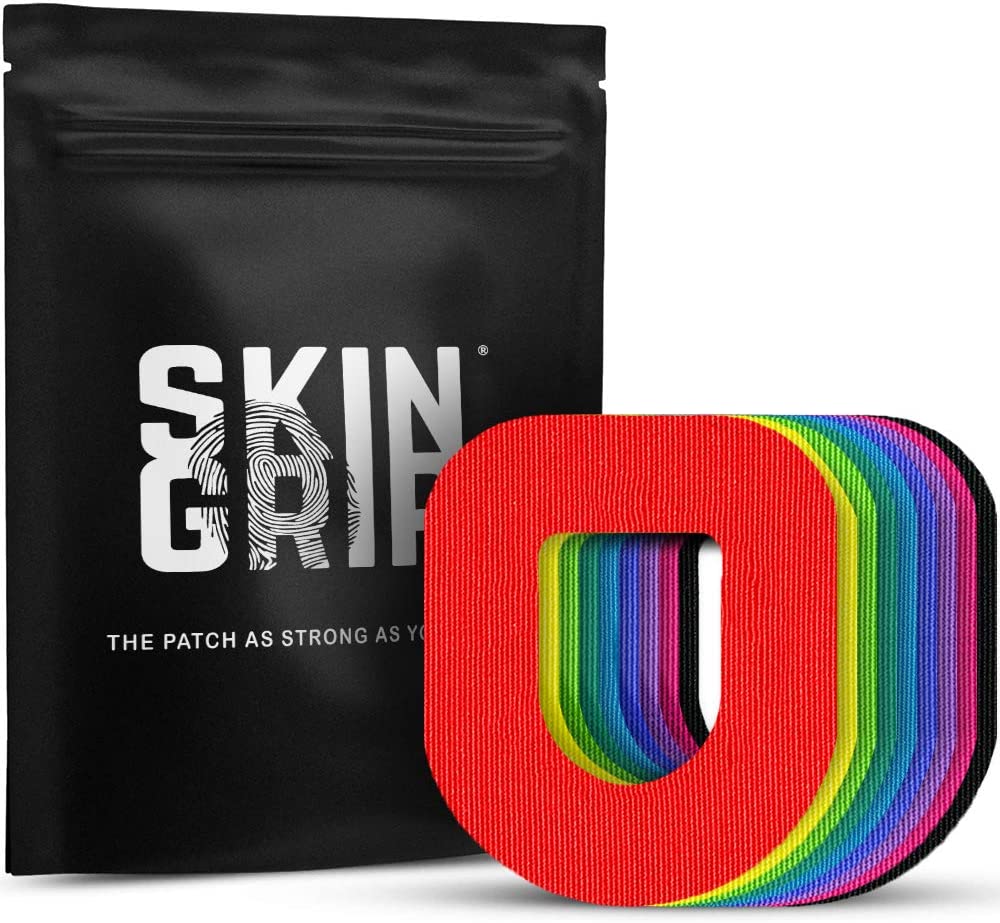
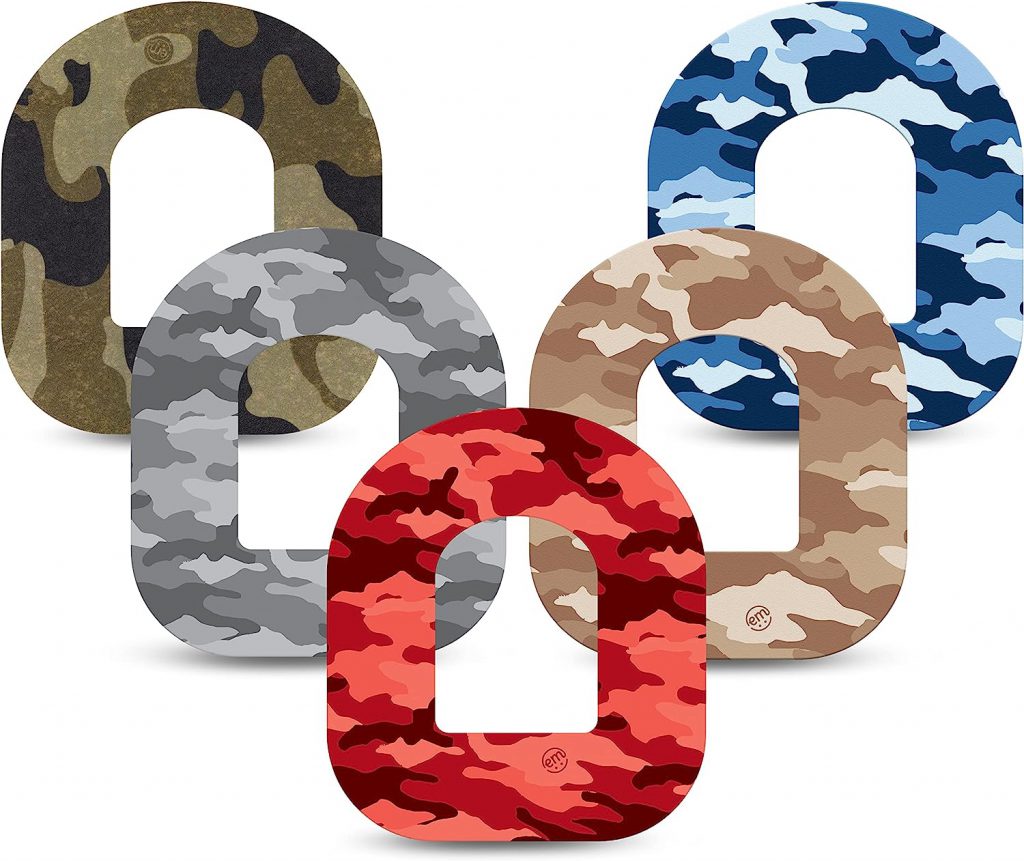
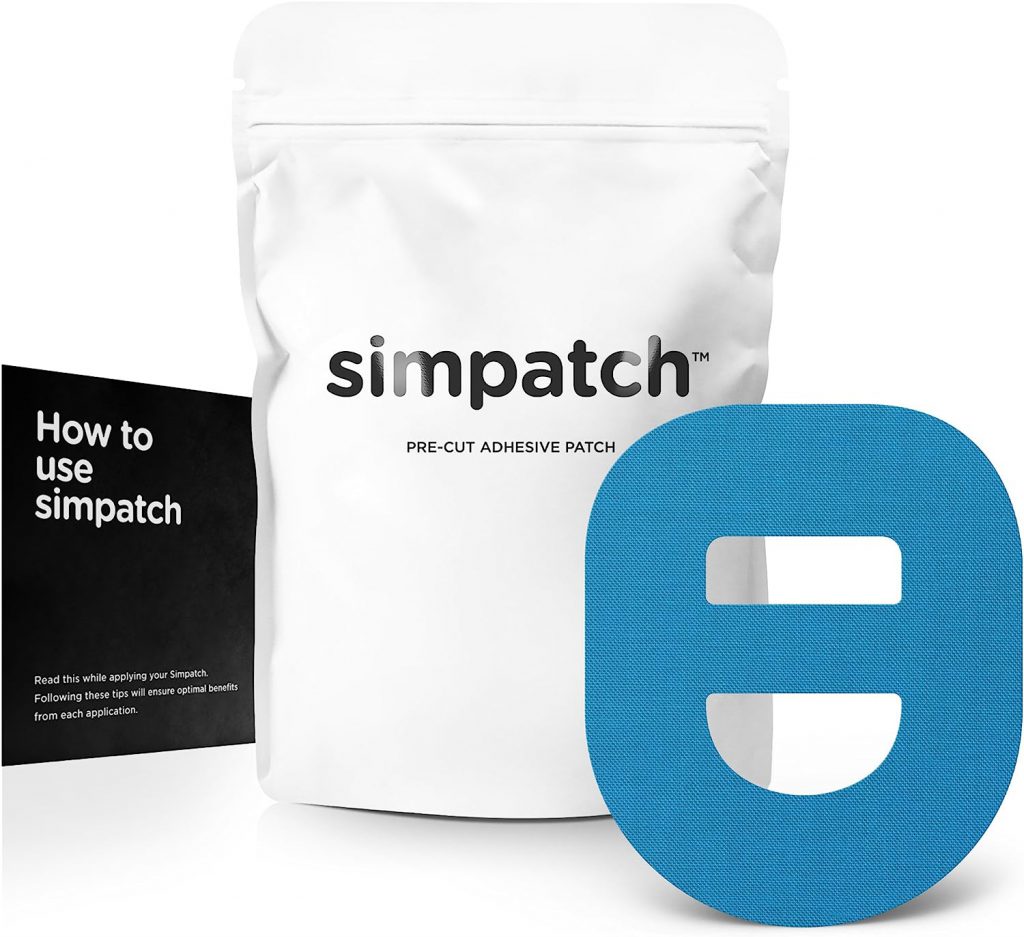
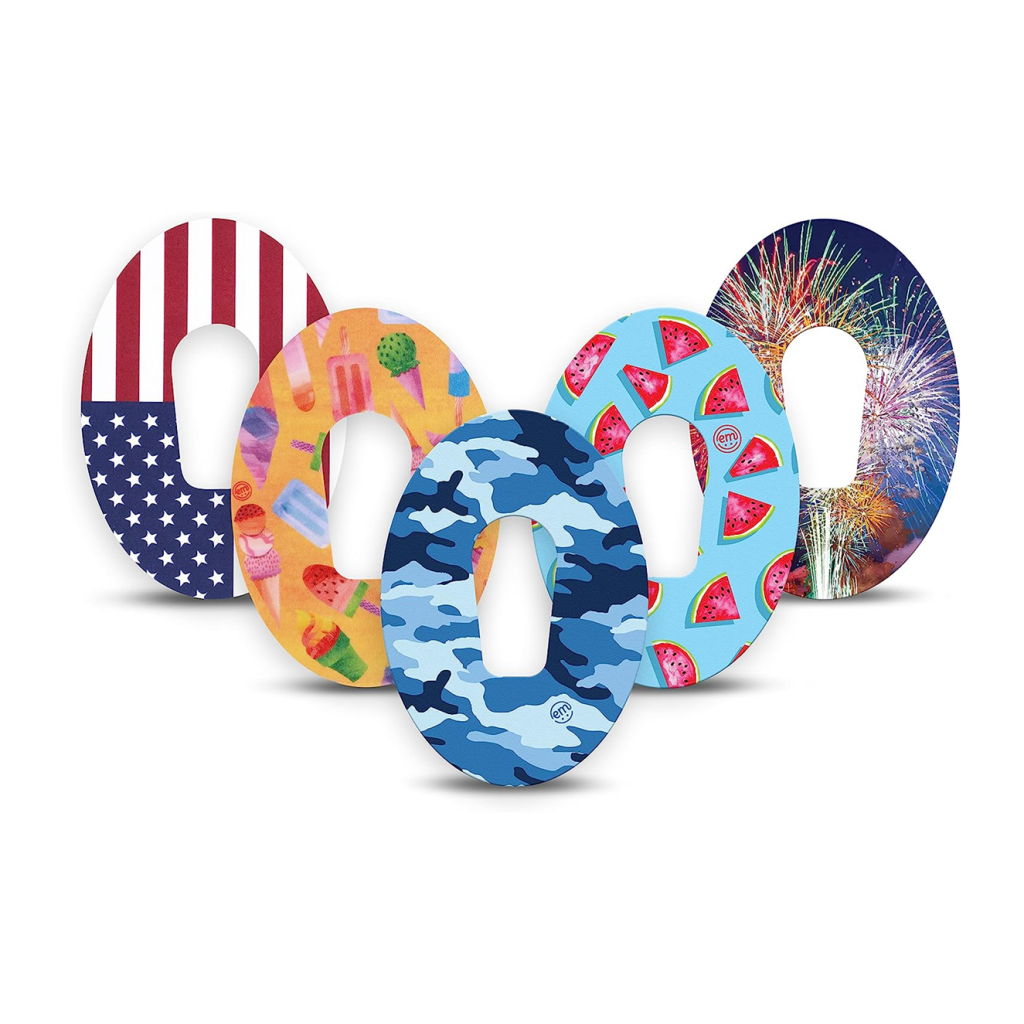
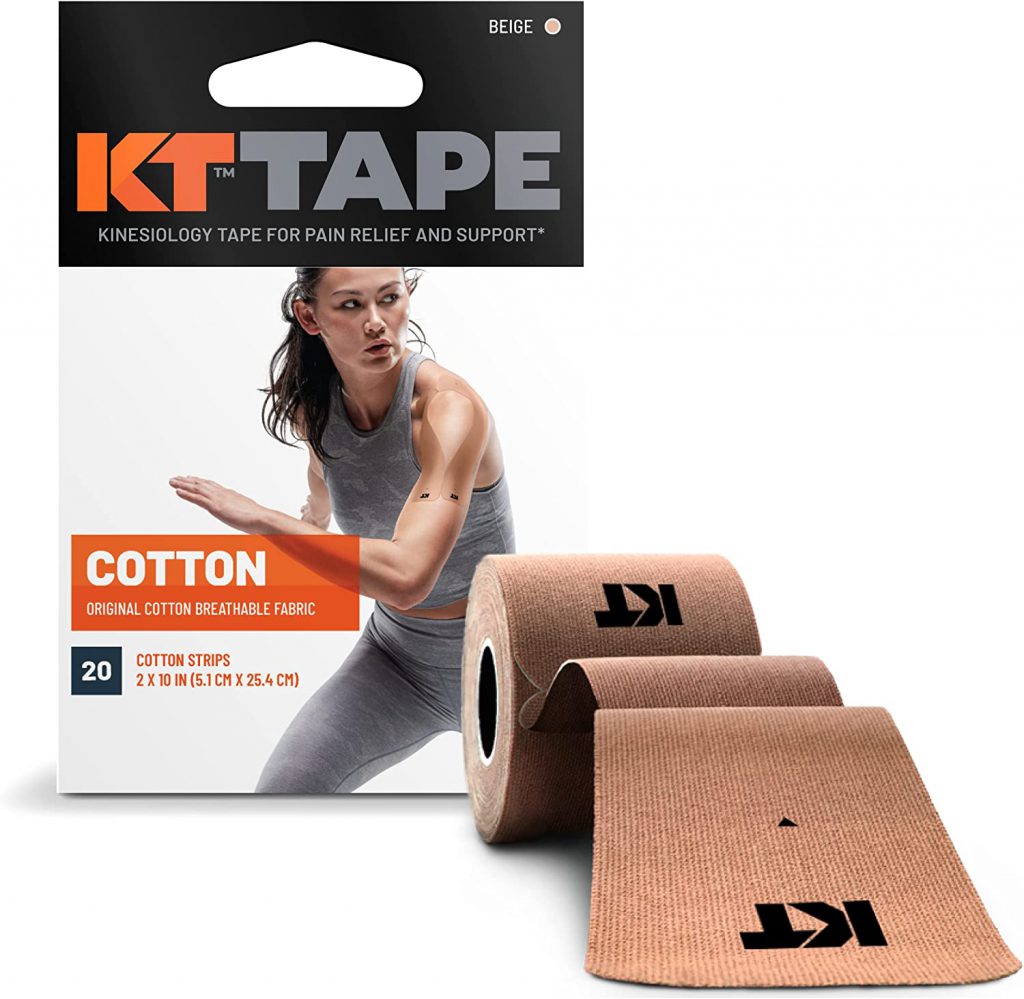
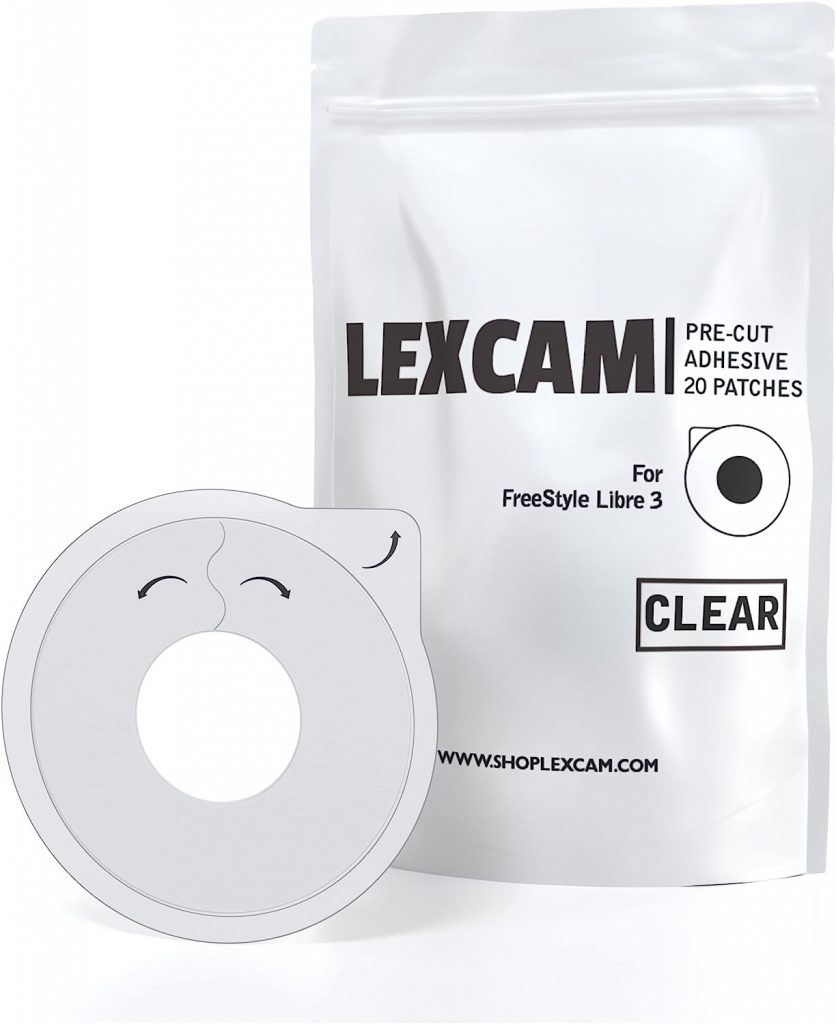
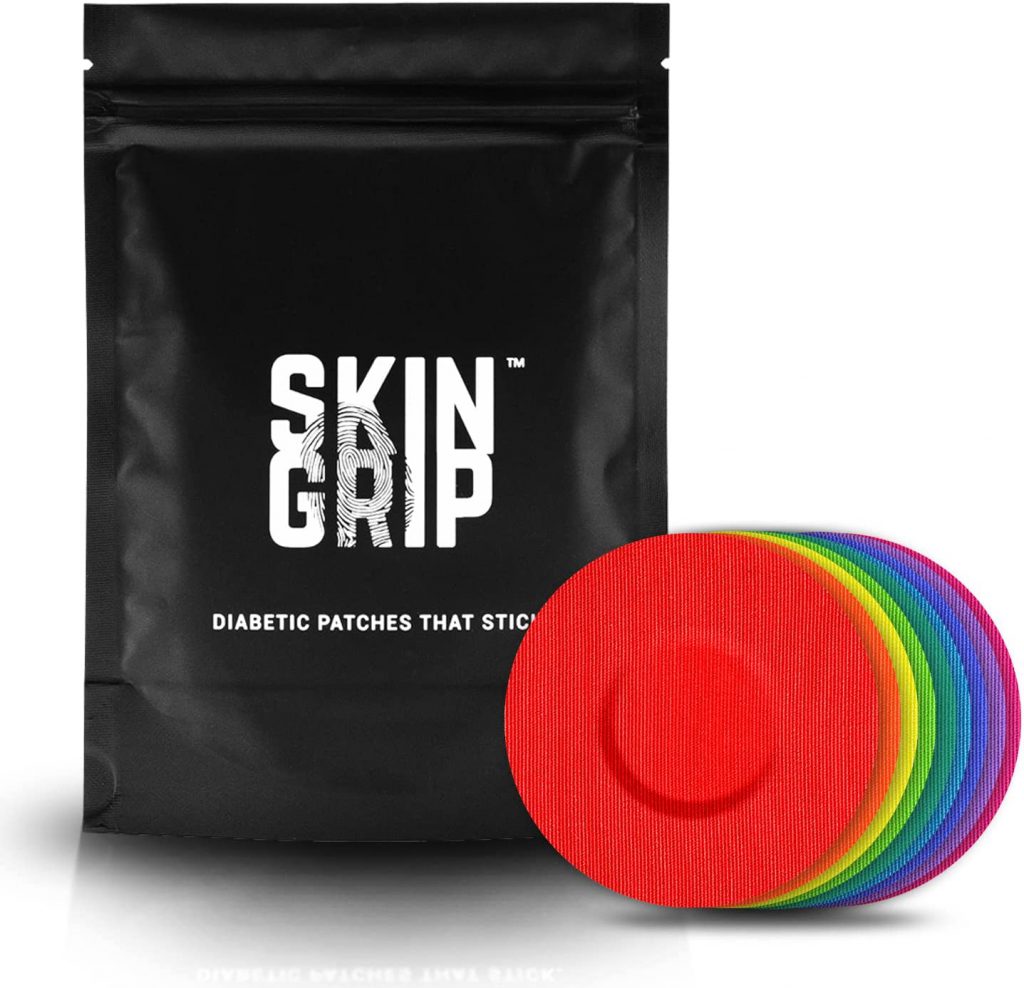
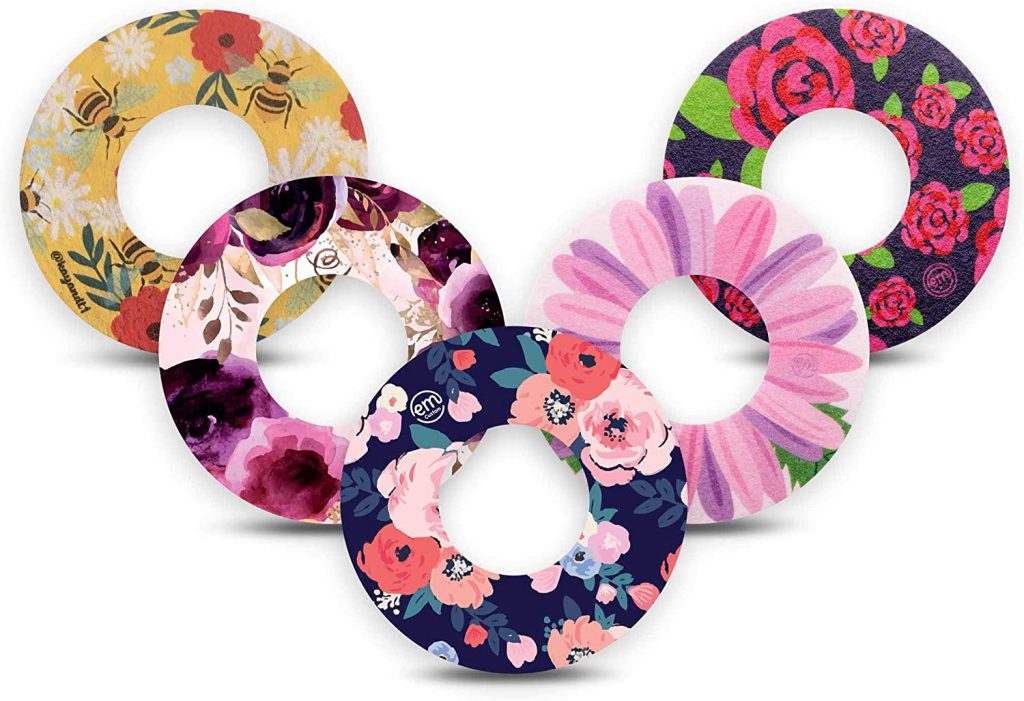
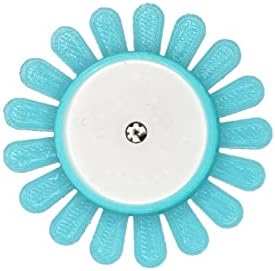
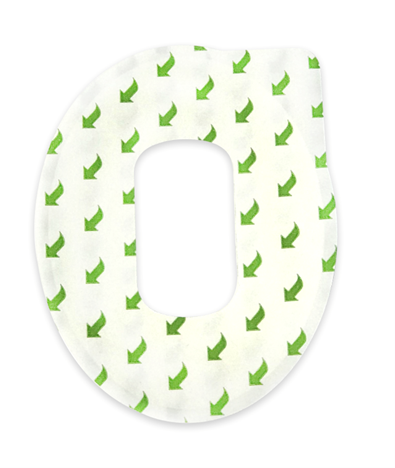
Overpatches – add an extra adhesive patch over Dexcom’s initial adhesive patch. Overpatches are typically precut to fit over the transmitter (and available in various colors and designs). Dexcom supplies free overpatches via an online ordering form.


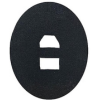
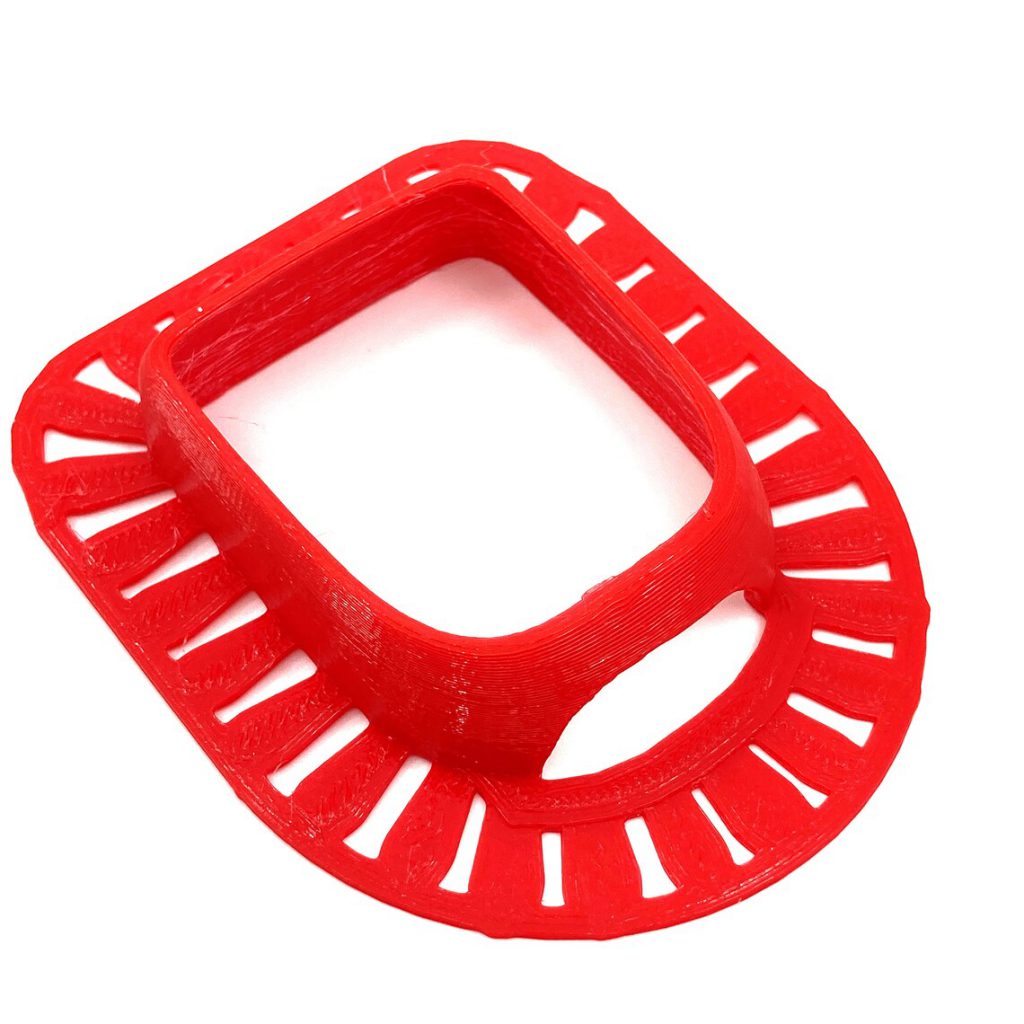
Shield – Add a shield before applying an overpatch to your Dexcom CGM to allow for easy removal of the overpatch. The shield protects the CGM’s initial adhesive patch when applying/removing an overpatch. When the overpatch starts to peel at the edges, simply remove the extra overpatch without disturbing the CGM’s initial adhesive patch.
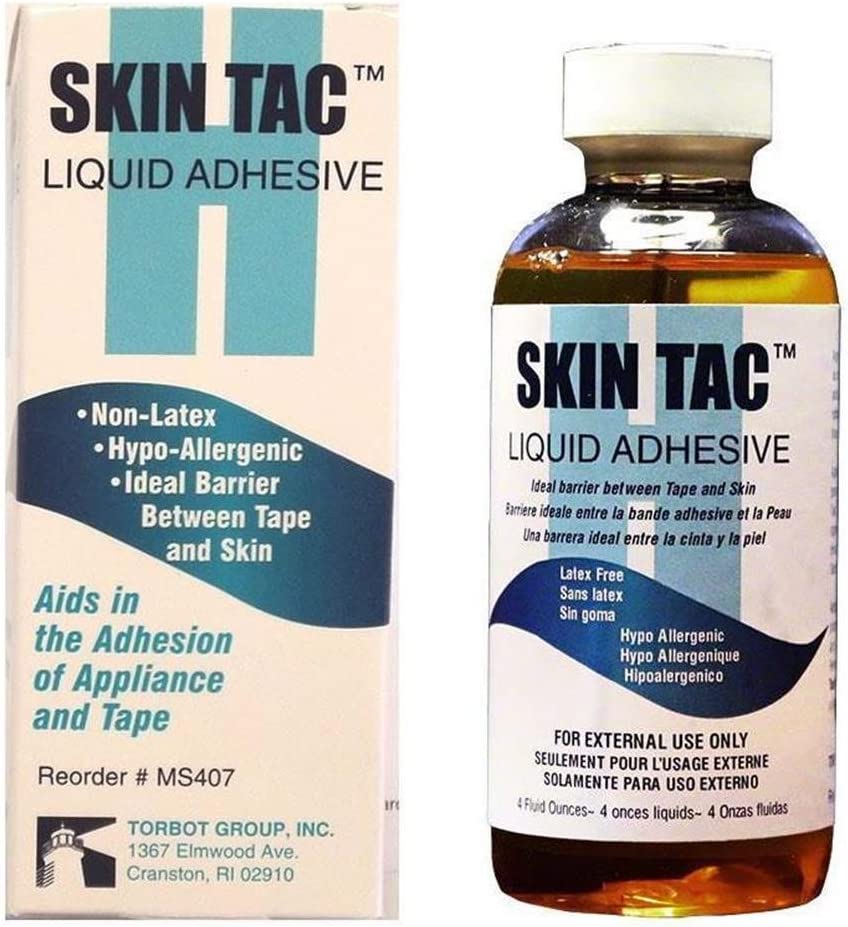
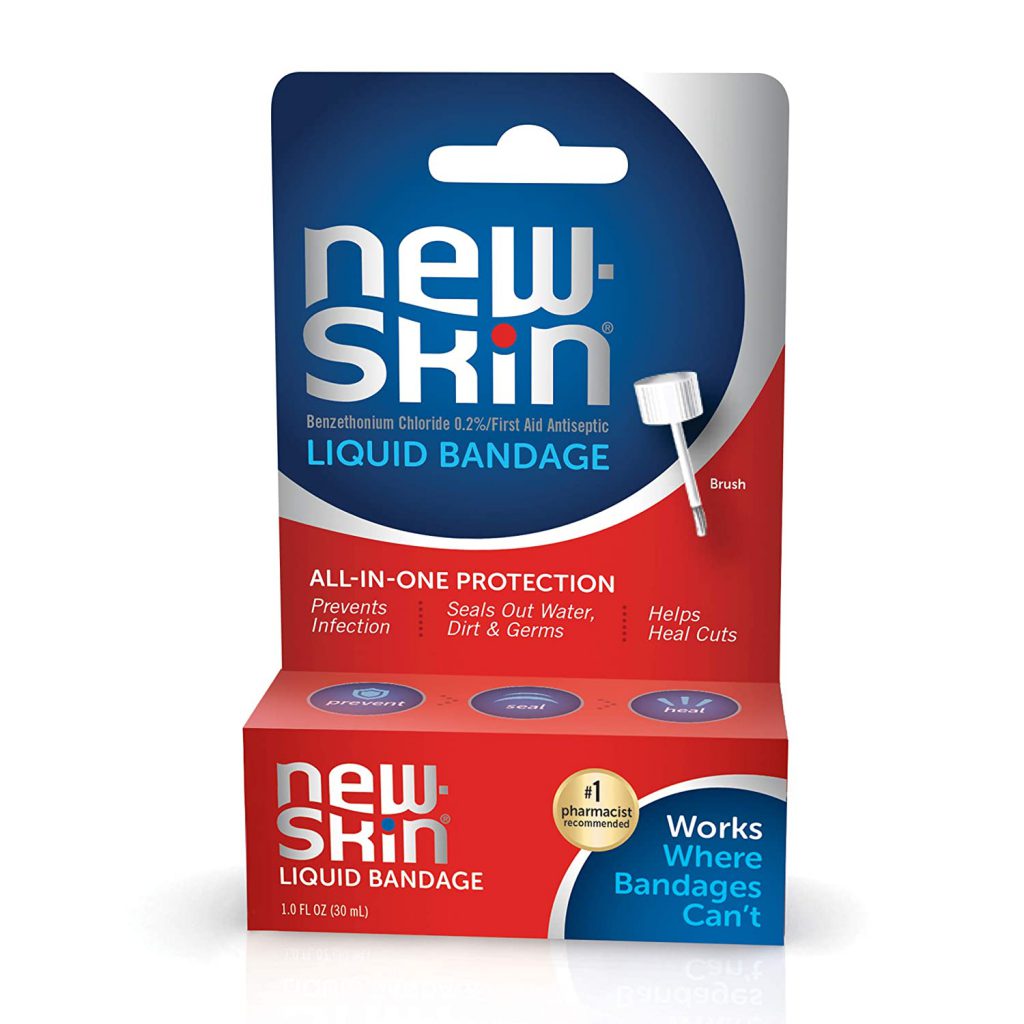
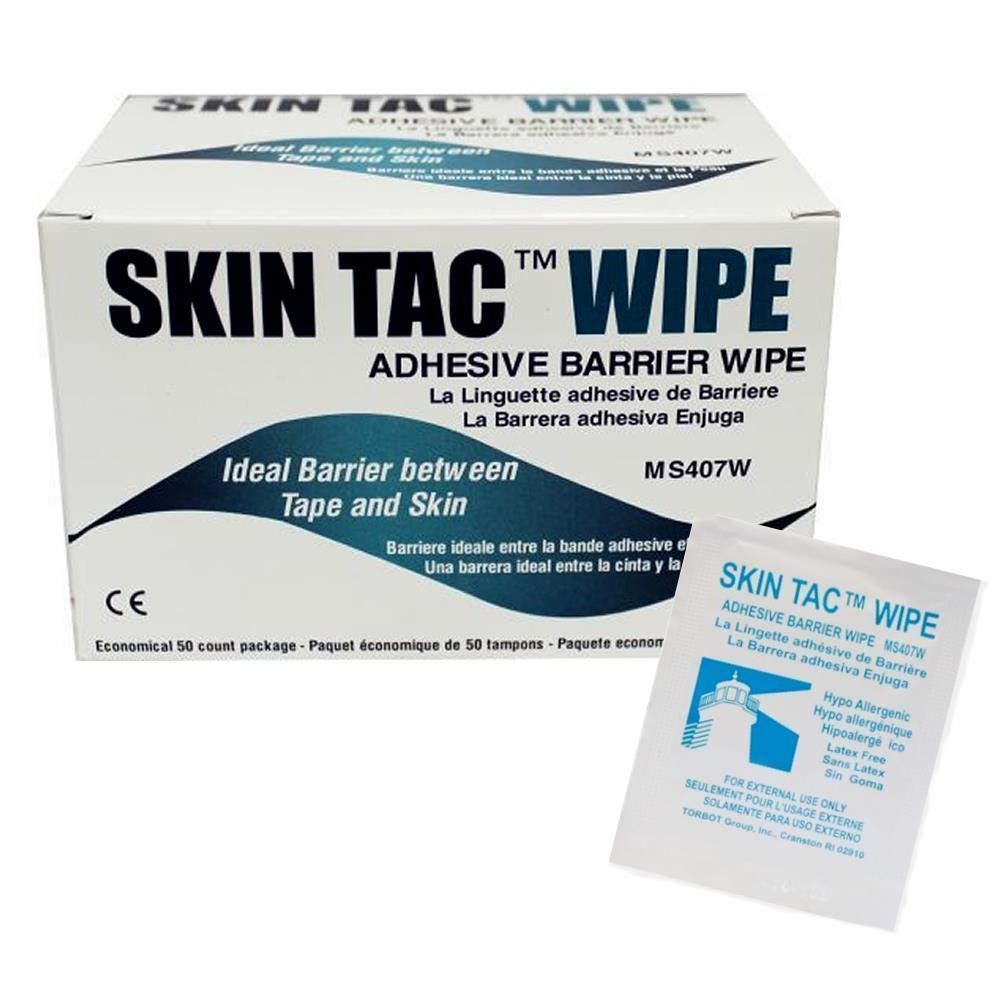
Liquid Adhesive – Adding an adhesive barrier with liquid adhesive before applying a Dexcom sensor provides skin protection and extra adhesive to the sensor’s initial adhesive patch. A second layer of liquid adhesive on top of the sensor’s patch provides even more sticking power. Further, apply liquid adhesive to the edges of an adhesive patch that starts to peel-up from daily wear-and-tear. Purchase in economical bottle or in travel wipe size.
Accessories
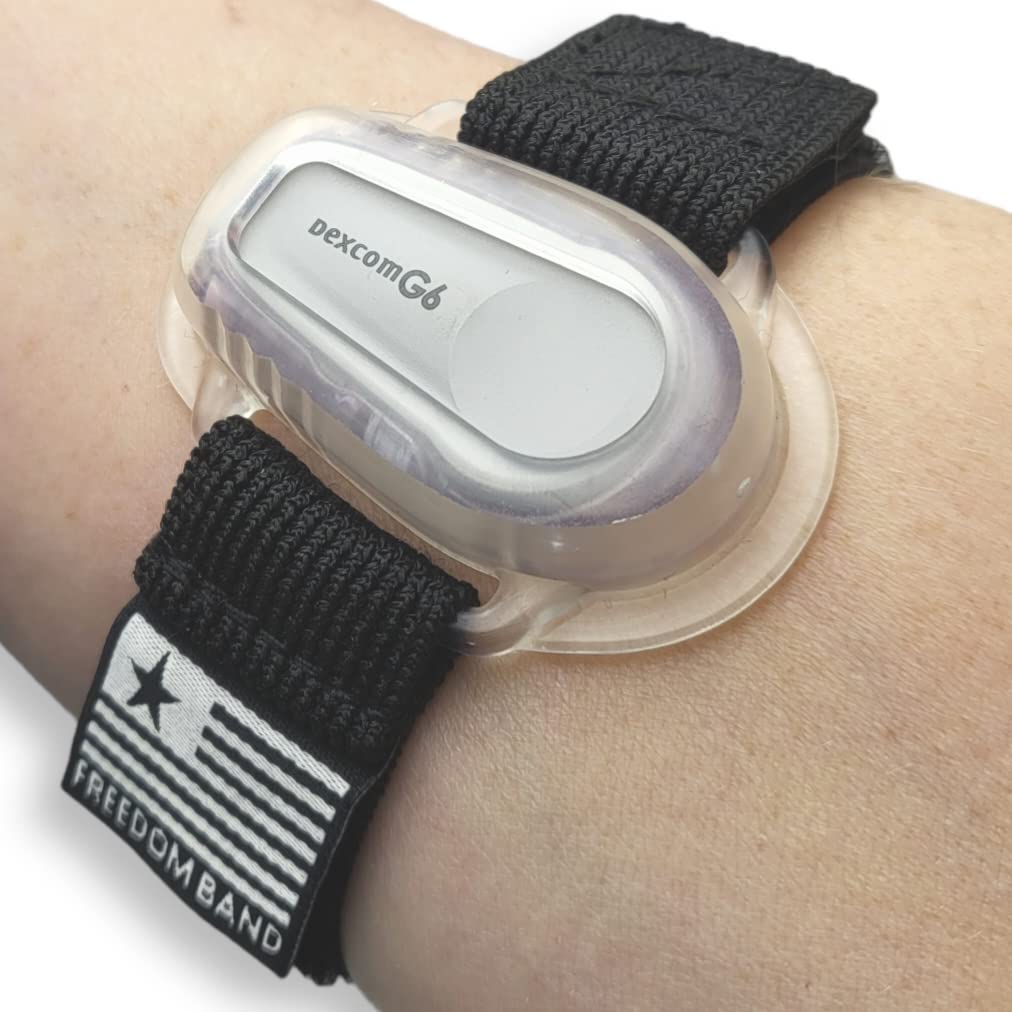
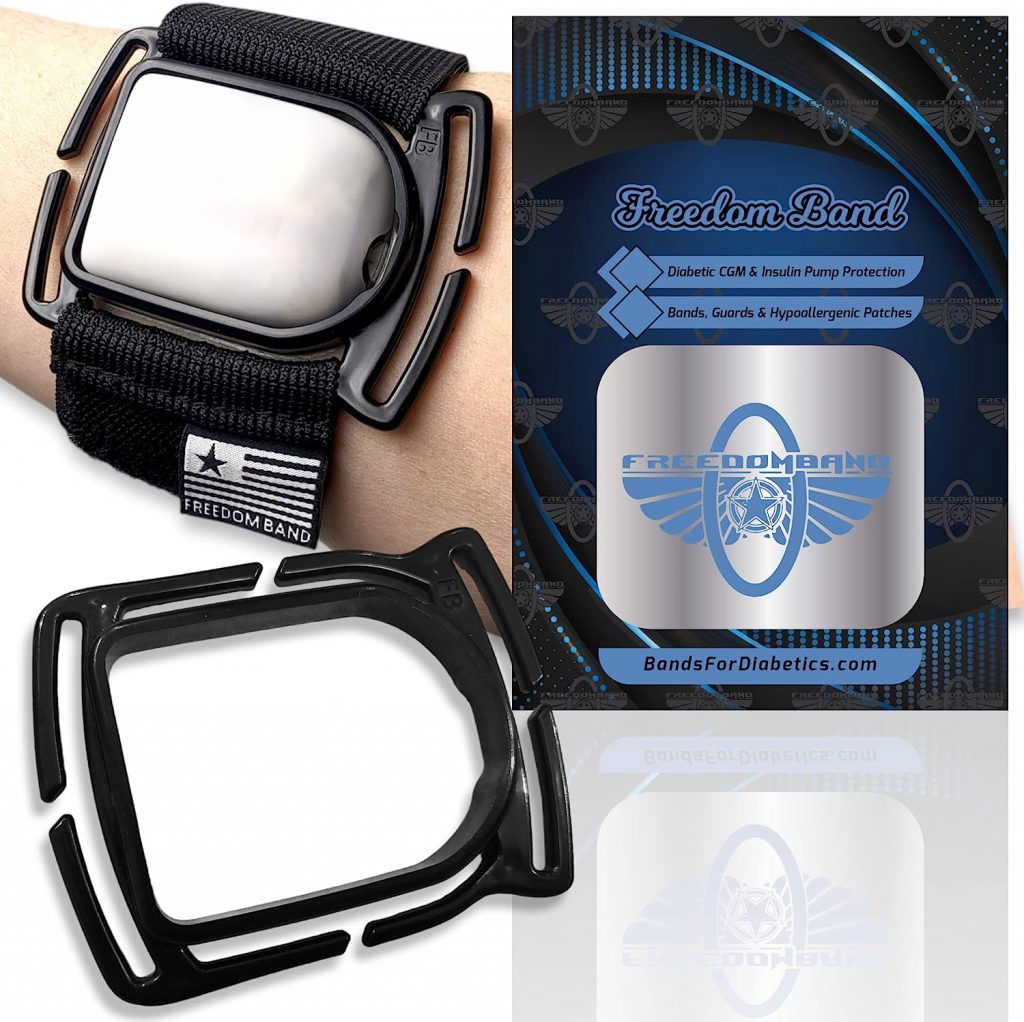
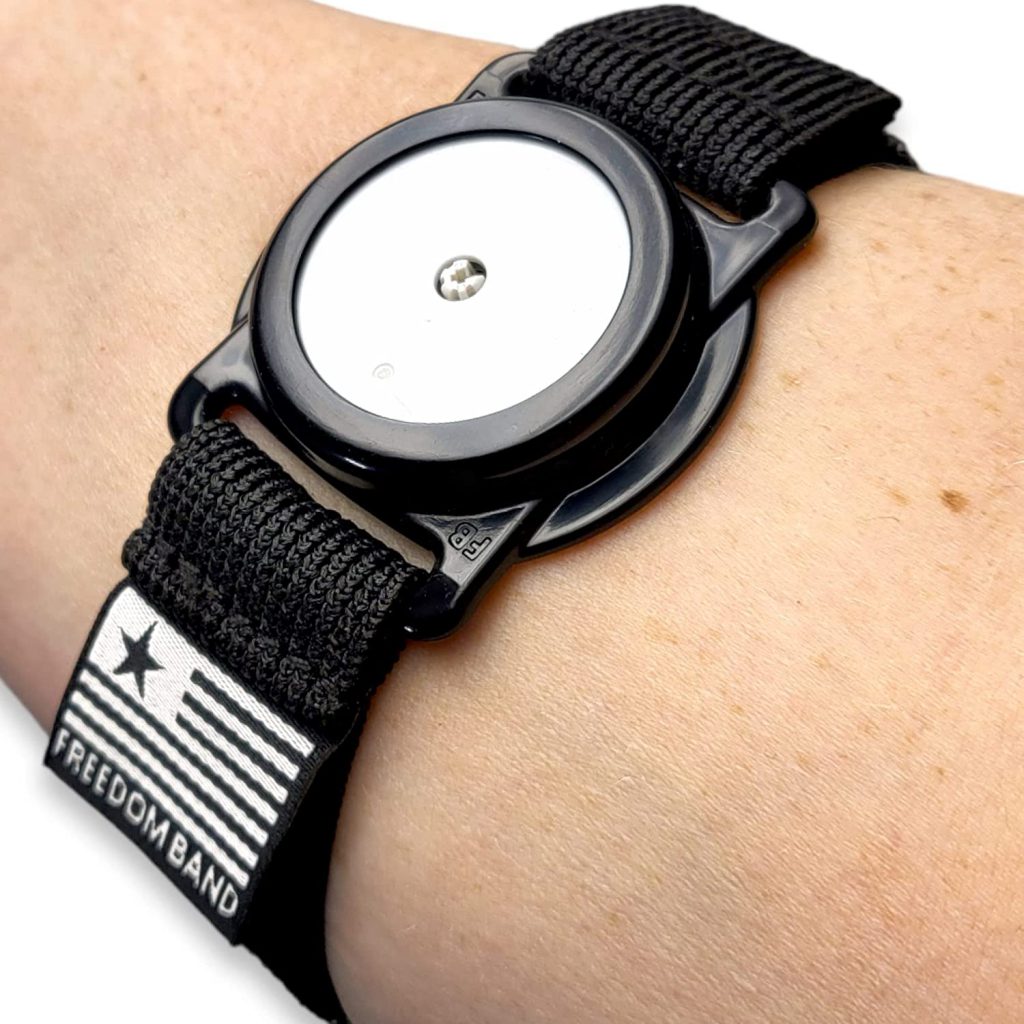
Arm Bands – Arm bands can worn over a Dexcom sensor’s initial patch and transmitter or be used in addition to overpatches. Adding an arm band over a sensor’s initial adhesive patch can help during water activities (be sure to keep the arm band on until the adhesive patch dries to help keep the adhesive patch and sensor wire in place).
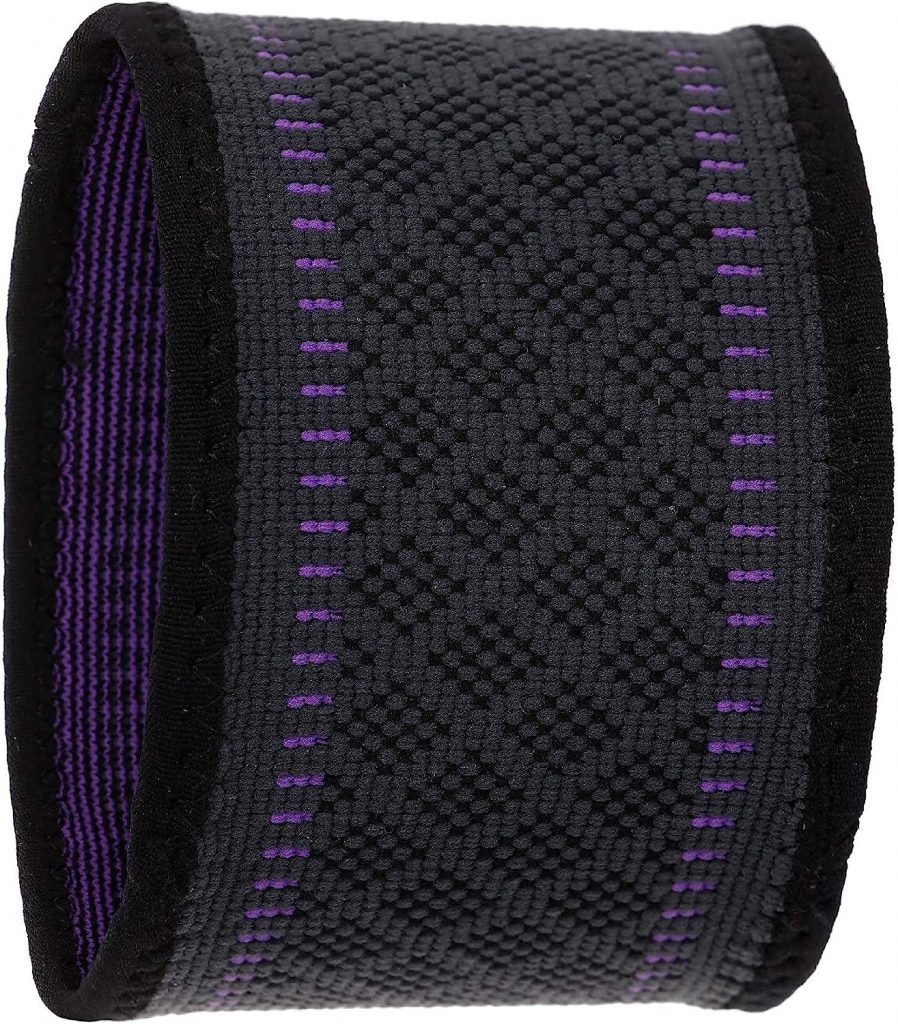
Compression Band – wear a compression band over a Dexcom sensor and transmitter to protect the CGM from being ripped off your body and during water activities (wear in water and then wear the compression band until the band dries to help keep the adhesive and sensor wire in place).
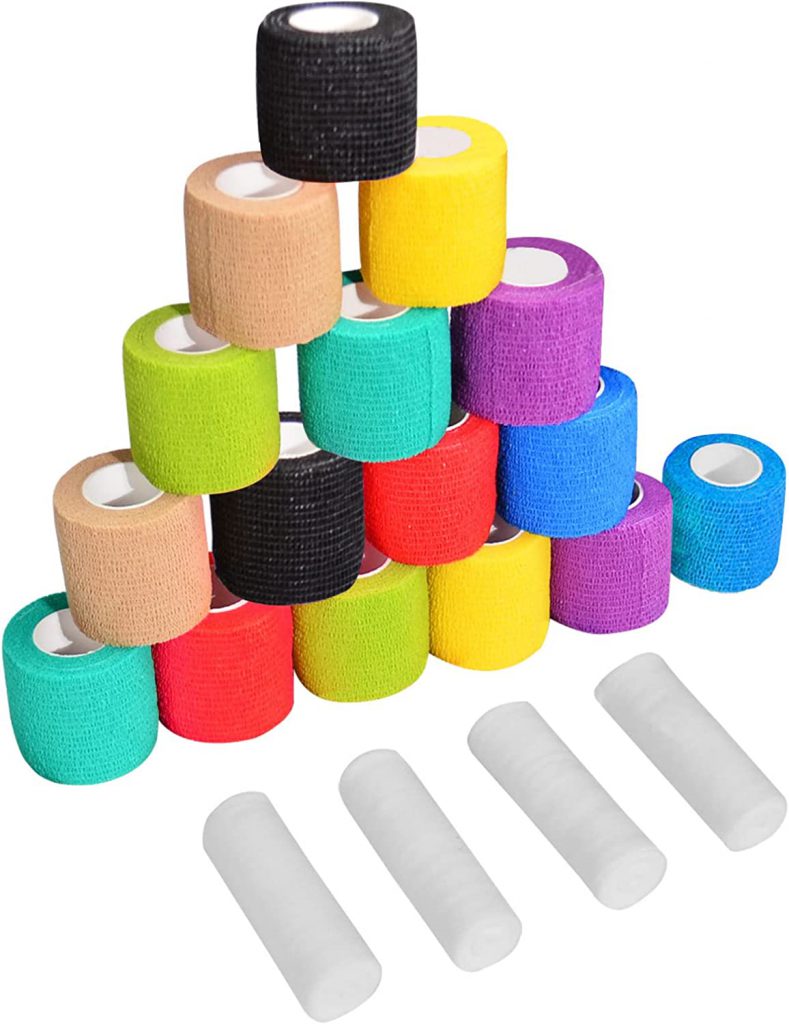
Adhesive Bandage Wrap (a.k.a. Vet Wrap) – comes in various colors and sizes to wrap over the Dexcom CGM sensor and transmitter. Vet wrap works like a compression band but is much easier to remove and dries faster. Also, allows for custom sizing of the wrap to cover Dexcom on arms, legs and stomach. Tip – vet wrap can shrink when going from dry-wet-dry again. It is important to check the tightness of the wrap throughout the day on young kids.
Sunscreen
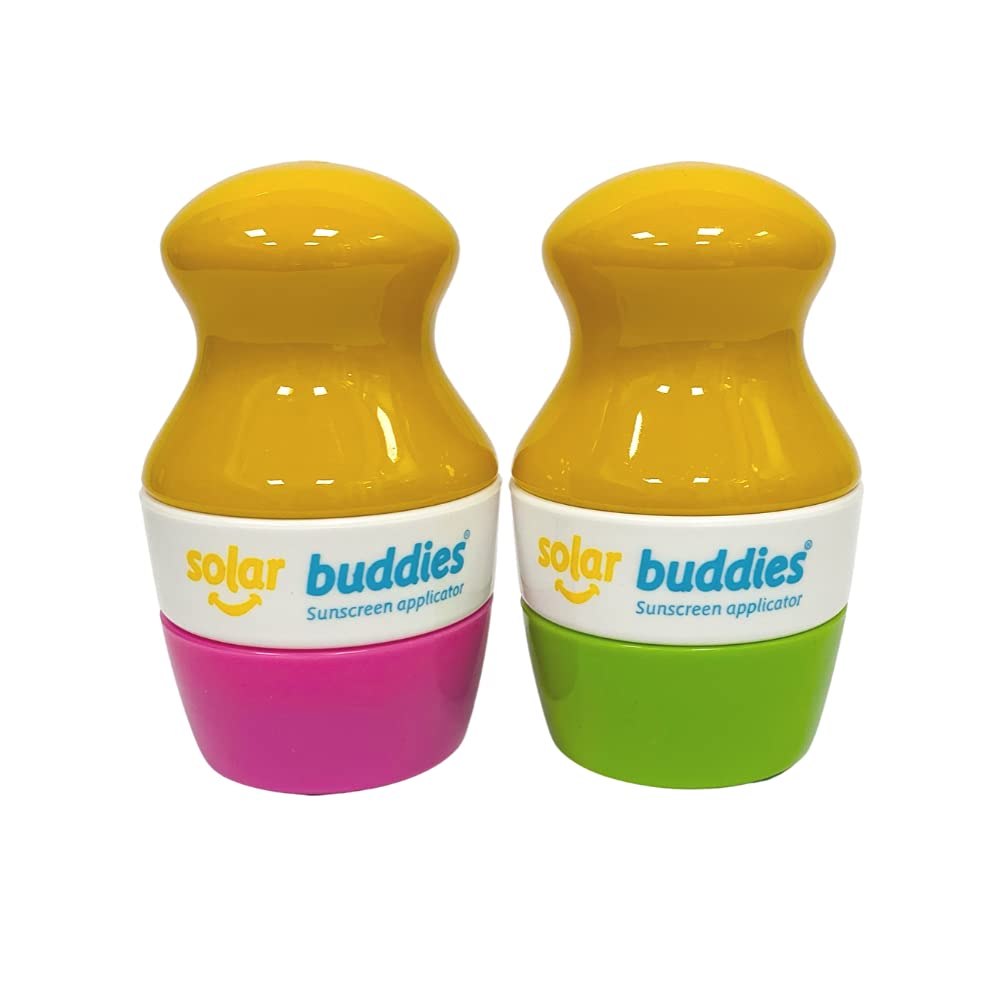
When applying sunscreen stay clear of the Dexcom sensor’s adhesive patch (sunscreen can make the adhesive malleable and device will just slide off). Consider using a sunscreen stick or solar buddy to apply sunscreen safely around adhesive patches.