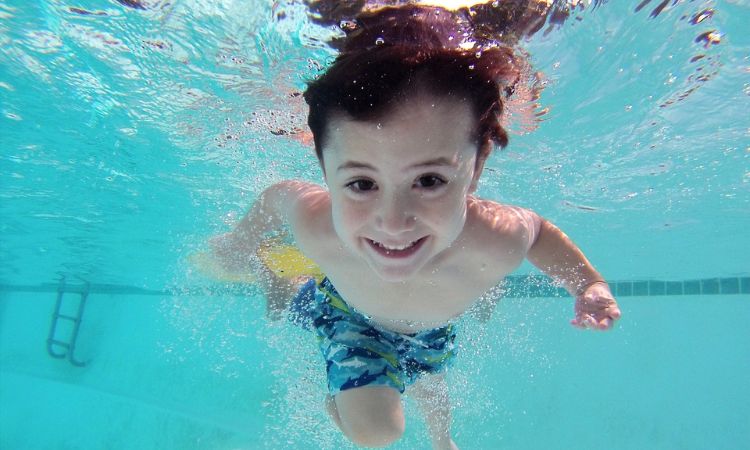
Pool days and swimming require special considerations for Type 1 Diabetics. Have a relaxing and manageable day swimming at the pool with the right preparations for managing Type 1 Diabetes (medical devices [pumps and CGMs] and blood sugars).
Supplies / Insulin / BGs / Hot Tubs / Swimwear / Sunscreen
This post may contain affiliate links. Please see the affiliate disclosure for more details.
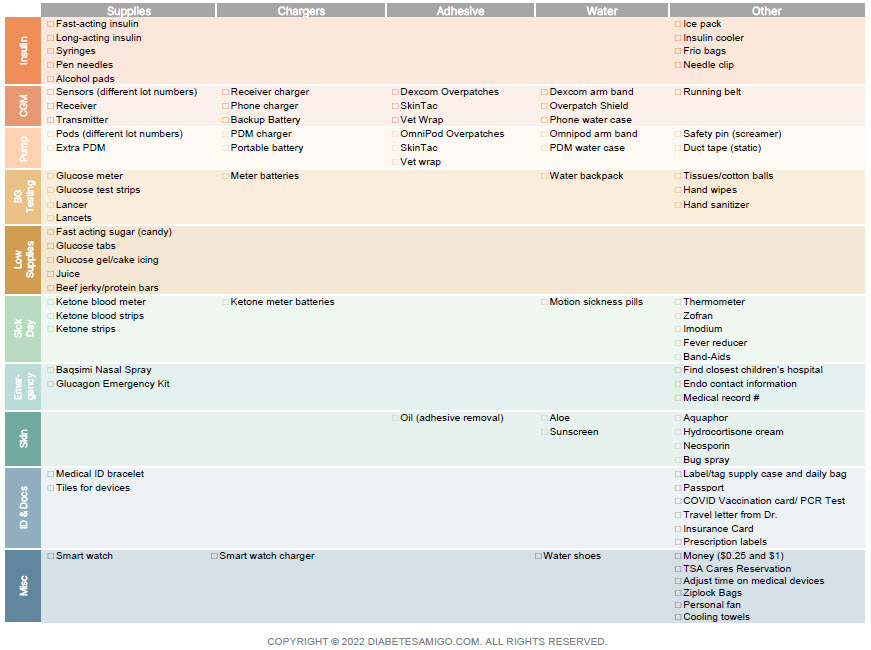
Supplies
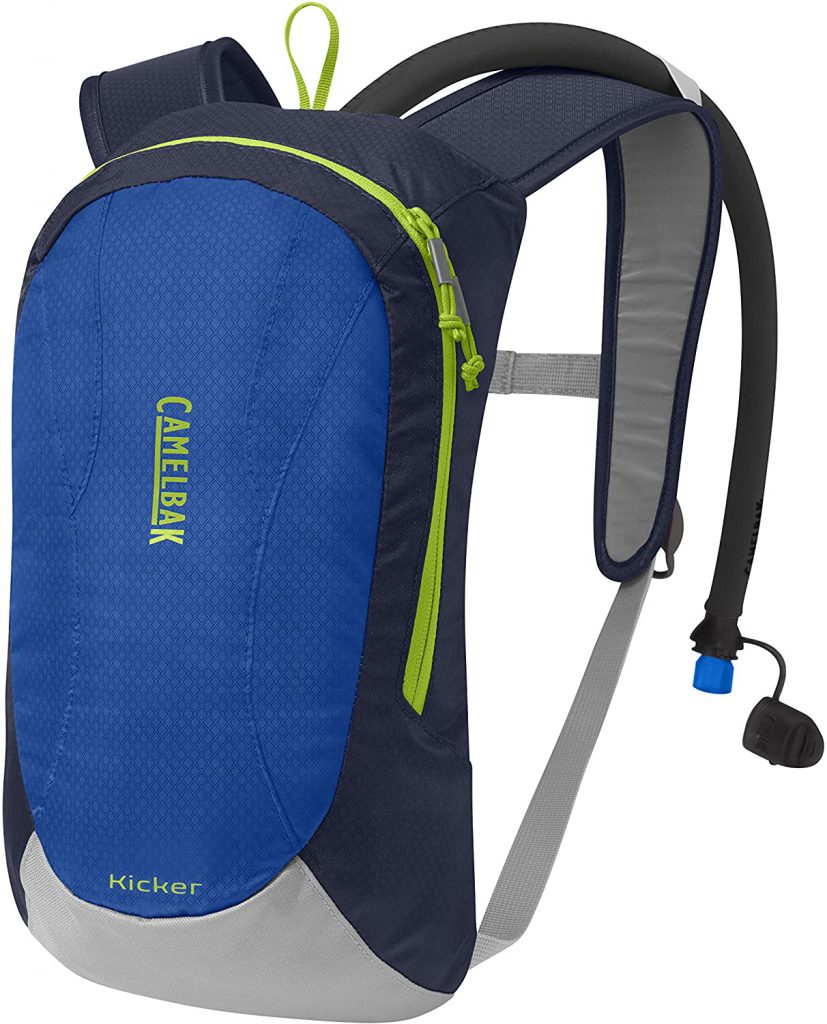
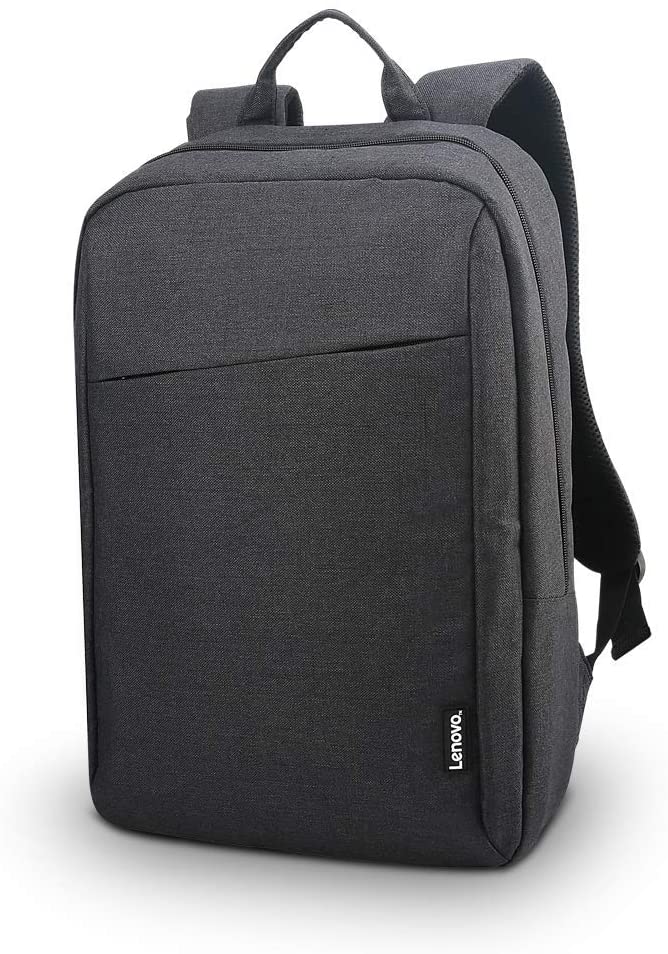
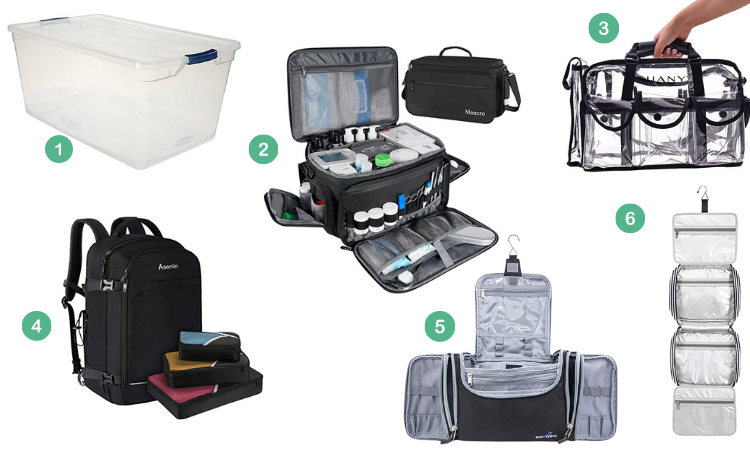
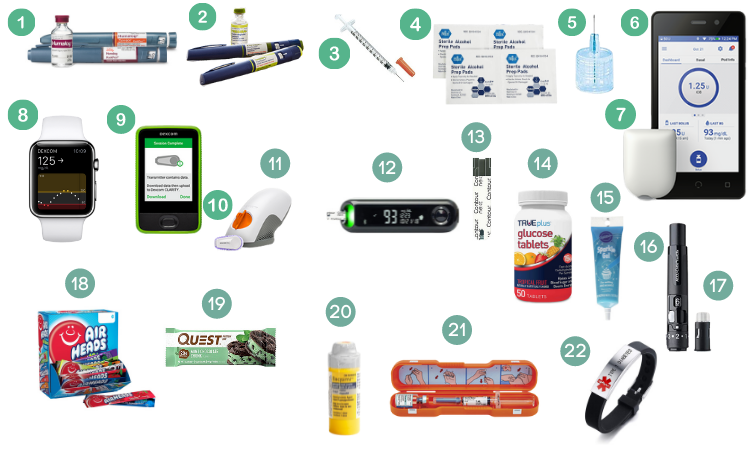
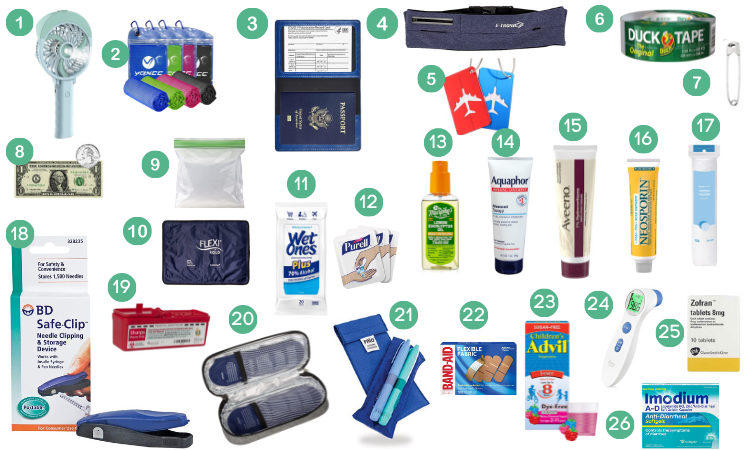
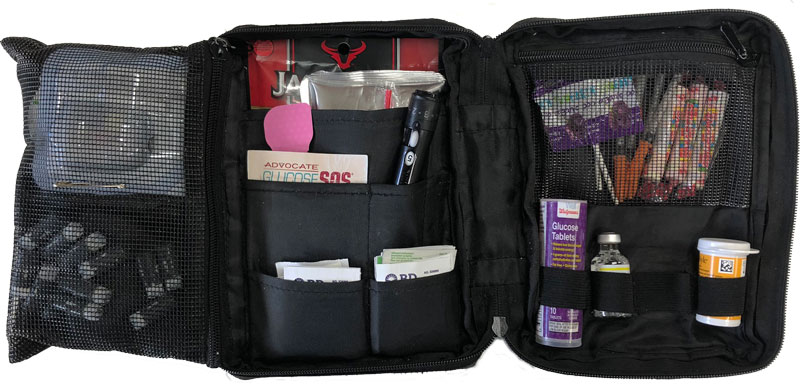
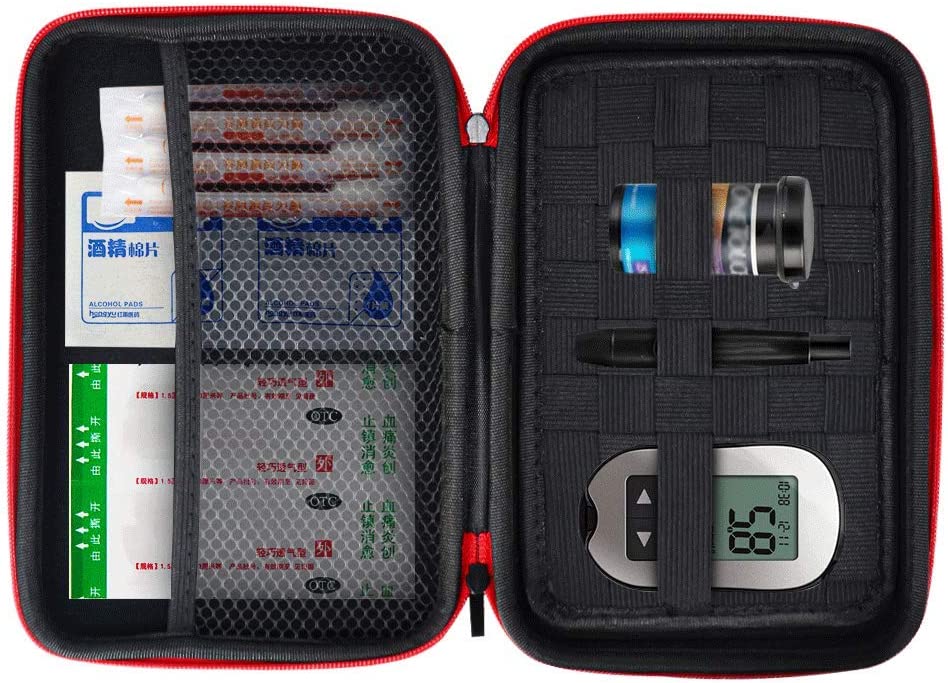
We have a compact daily supply bag that holds all our Type 1 Diabetes (T1D) supplies. The supply bag is compact and convenient when accessing supplies. For pool days, consider additionally bringing the following supplies:
- Extra CGM (Dexcom or Libre) sensor and transmitter – just in case the entire device is lost in the water, a back up might be needed.
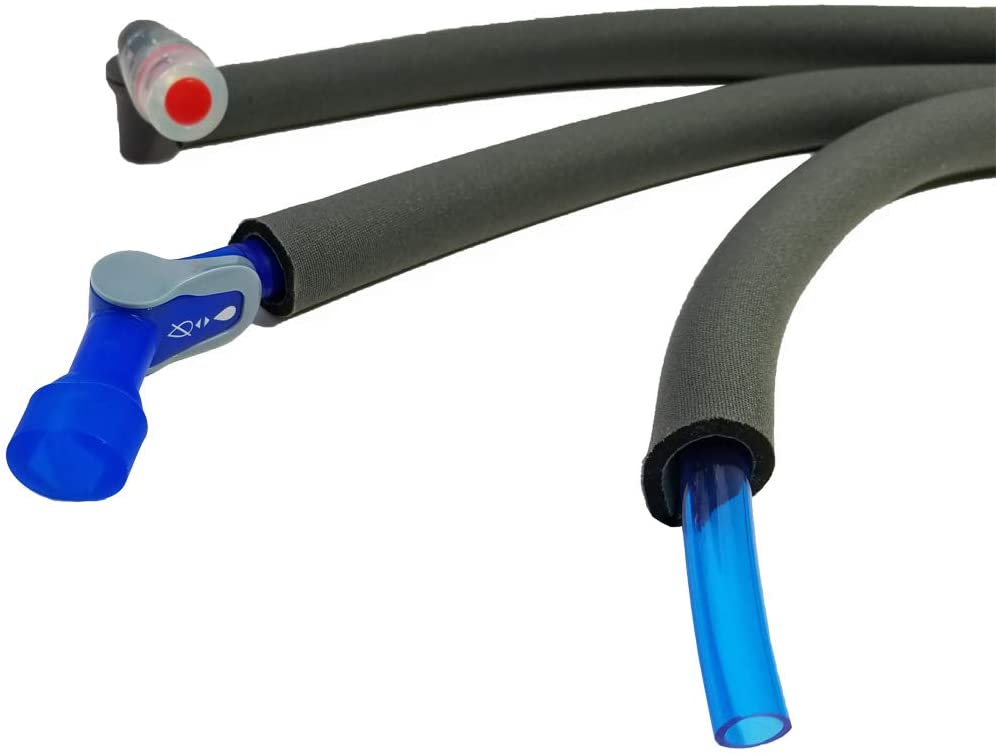
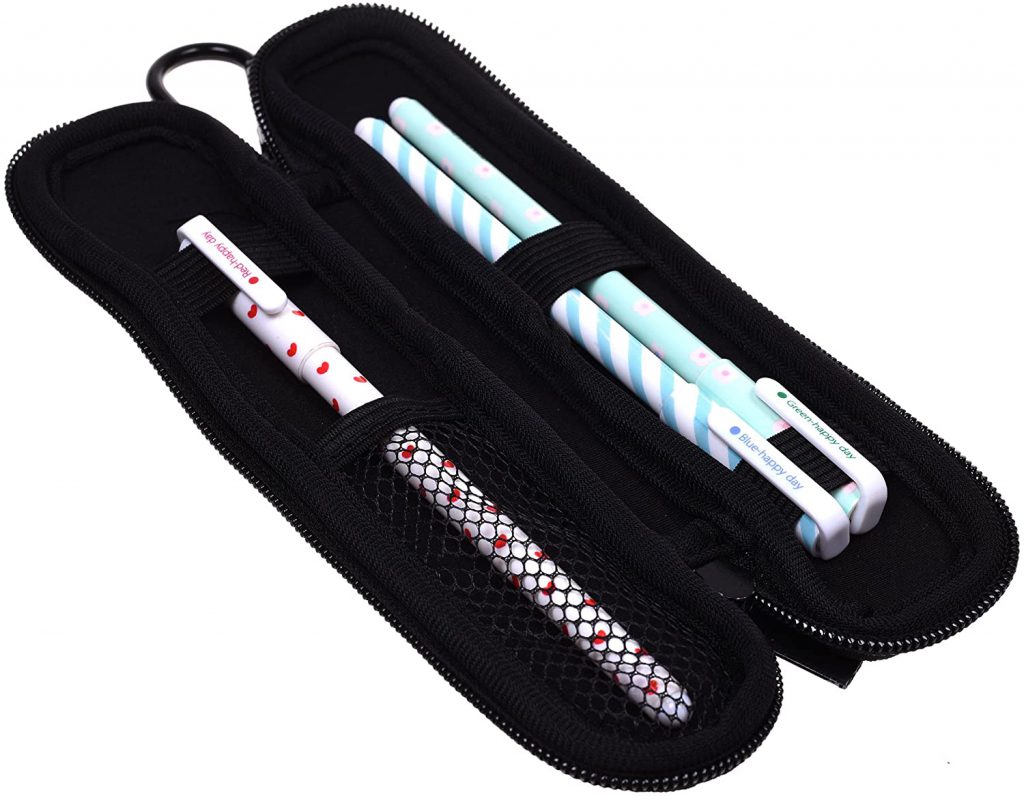
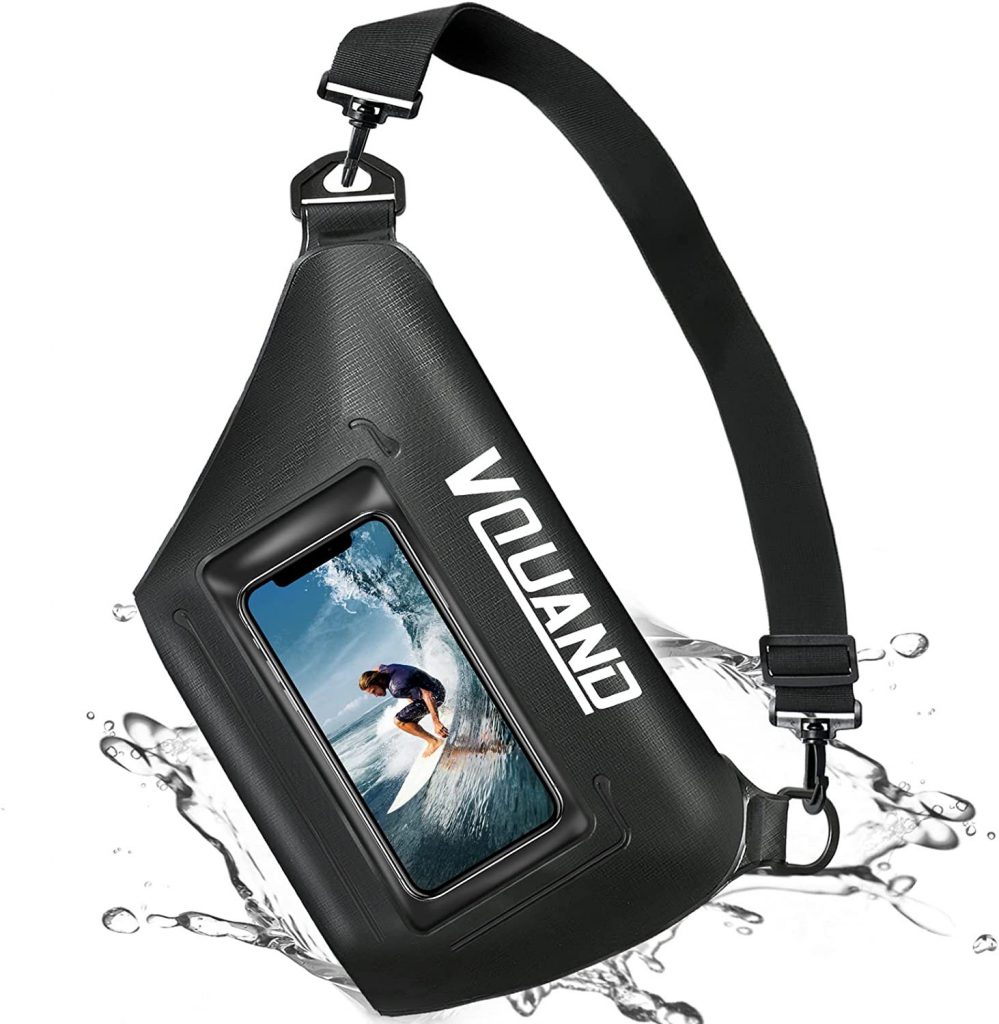
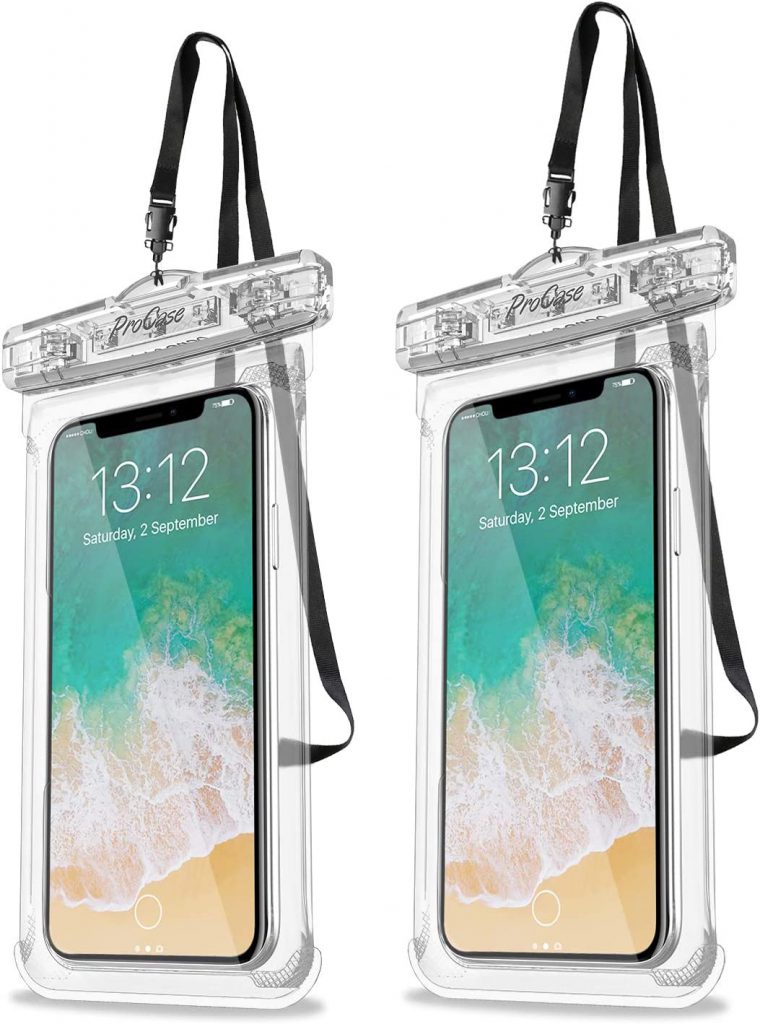
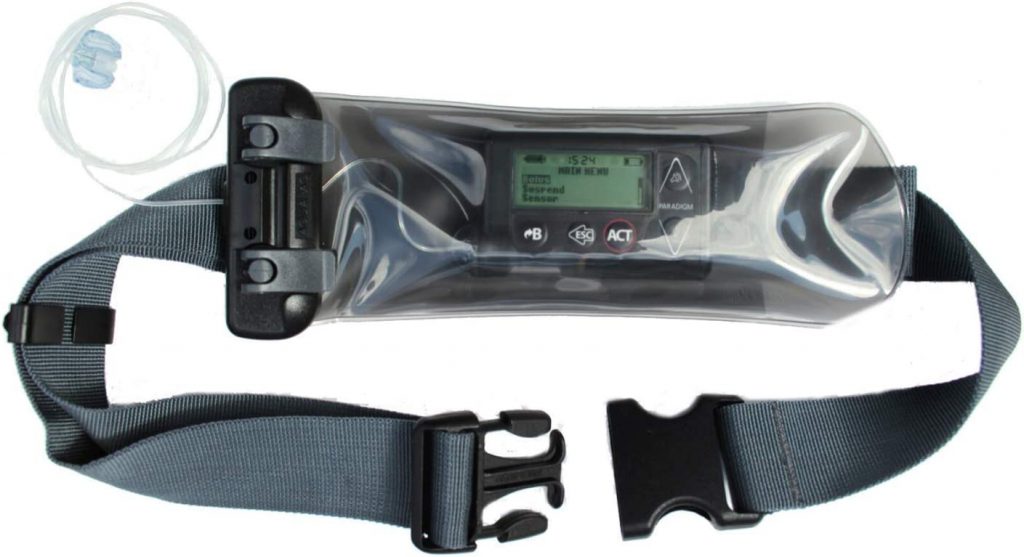
- Waterproof Cases – consider keeping receivers, phones, pump controllers, and pumps (disconnected or connected) in waterproof cases.
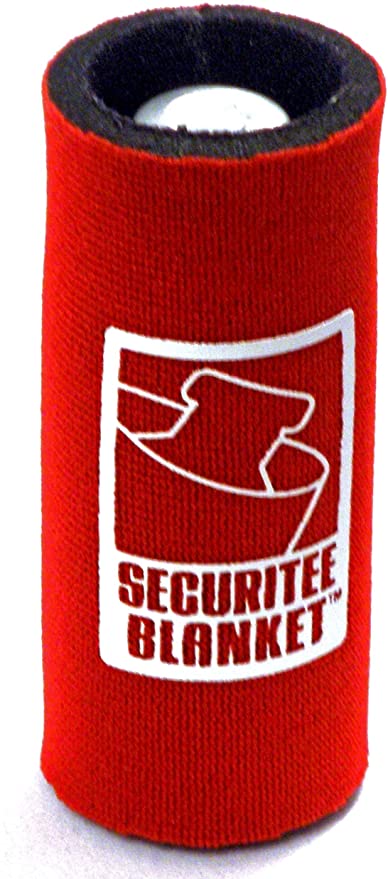
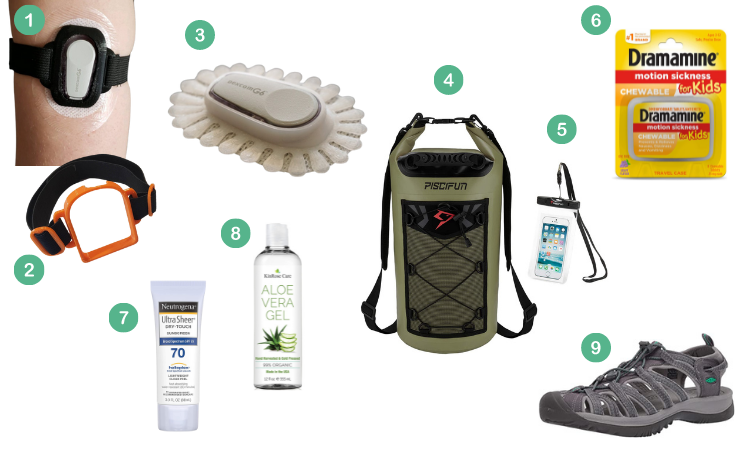
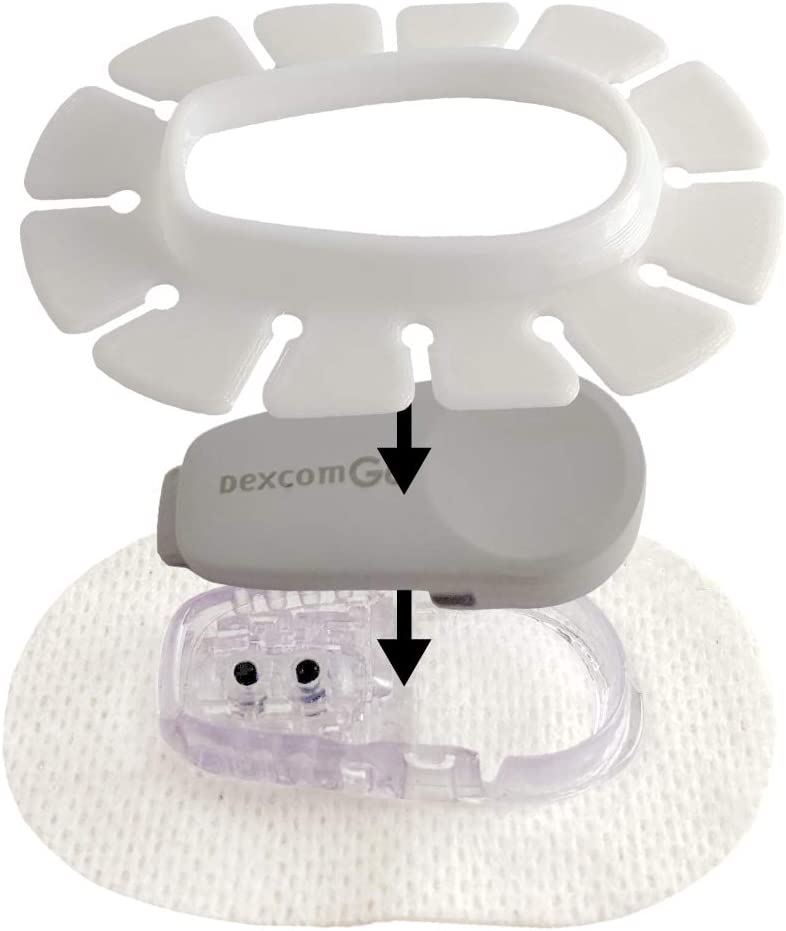
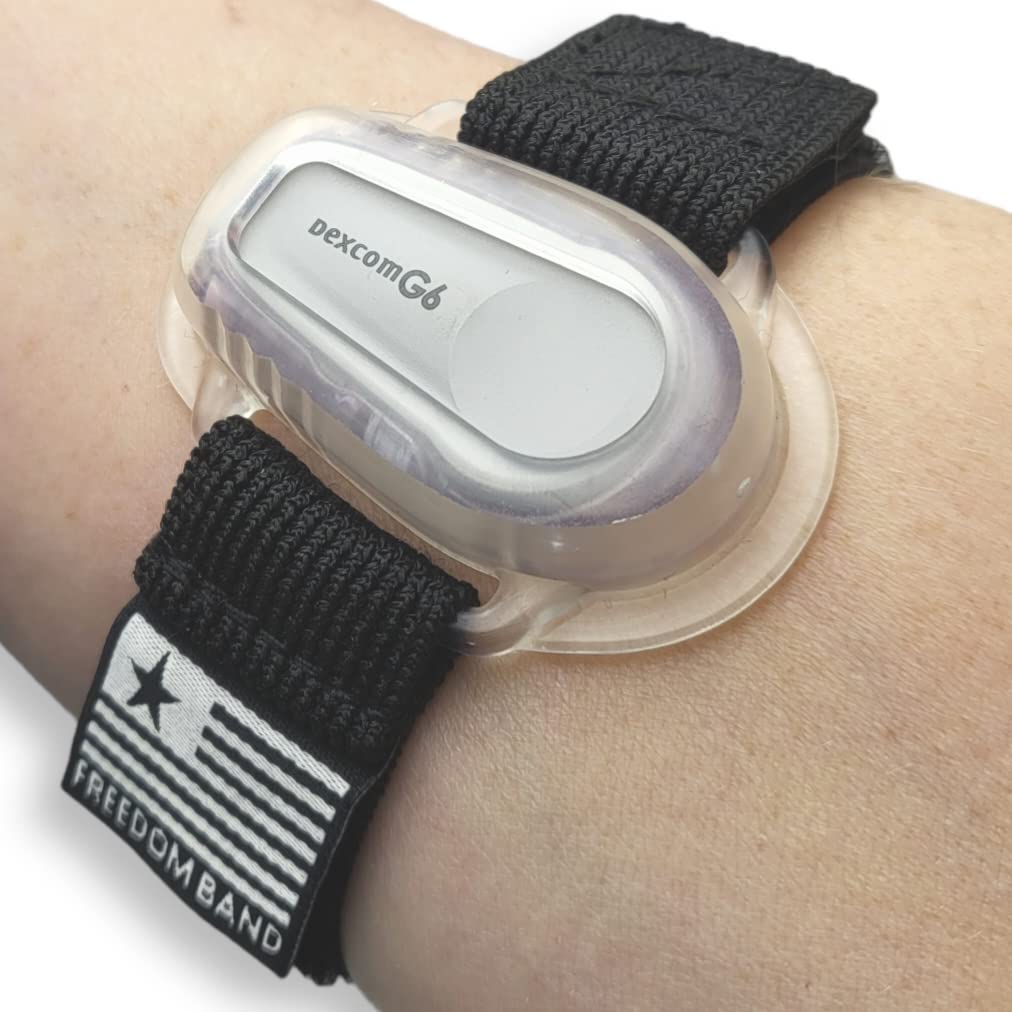
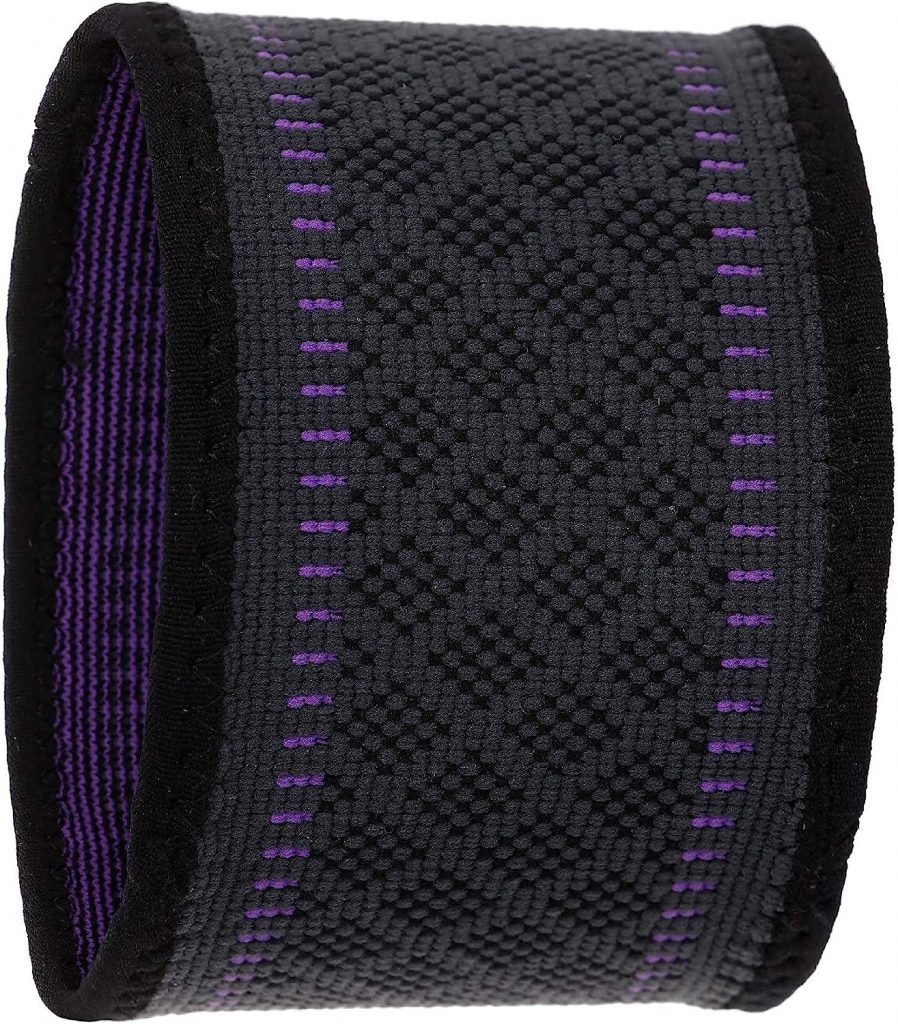
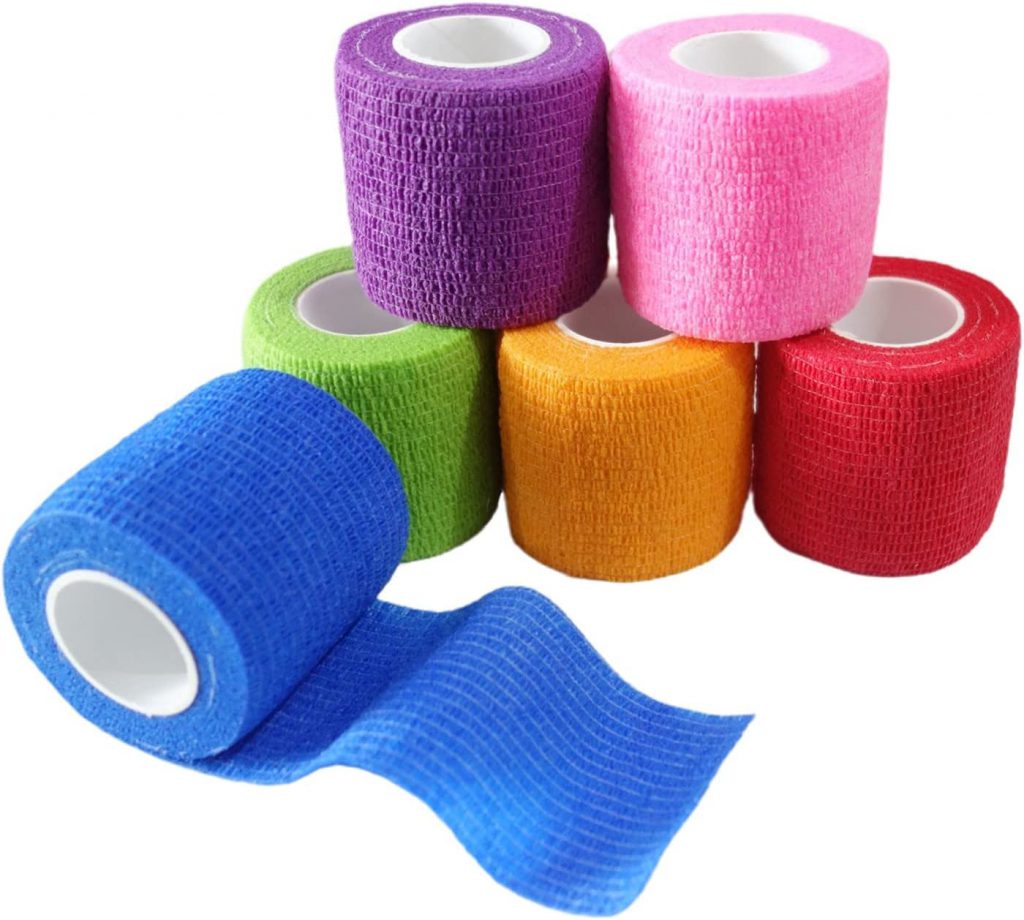
- Extra Protection for the CGM and Pump – options include overpatches, CGM shield, armbands and/or vet wrap. Giving the medical devices extra help to stay on during hours of being submerged in water helps.
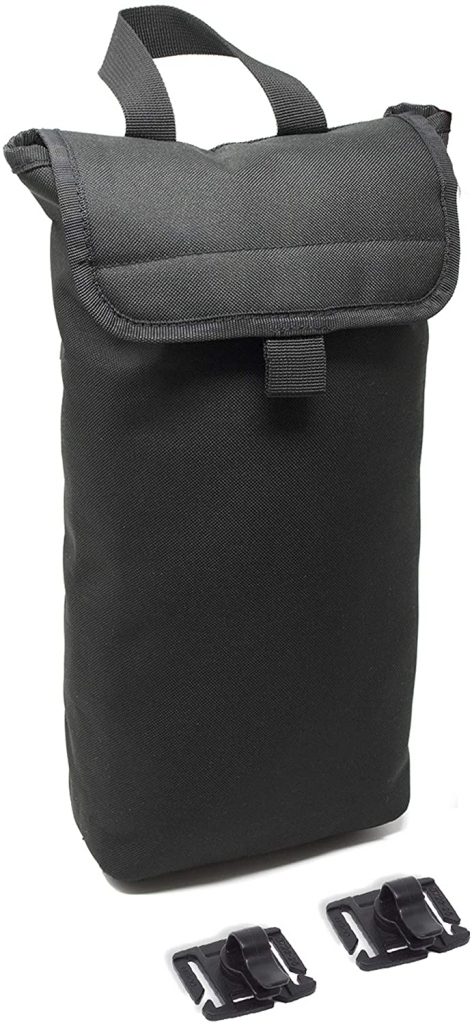
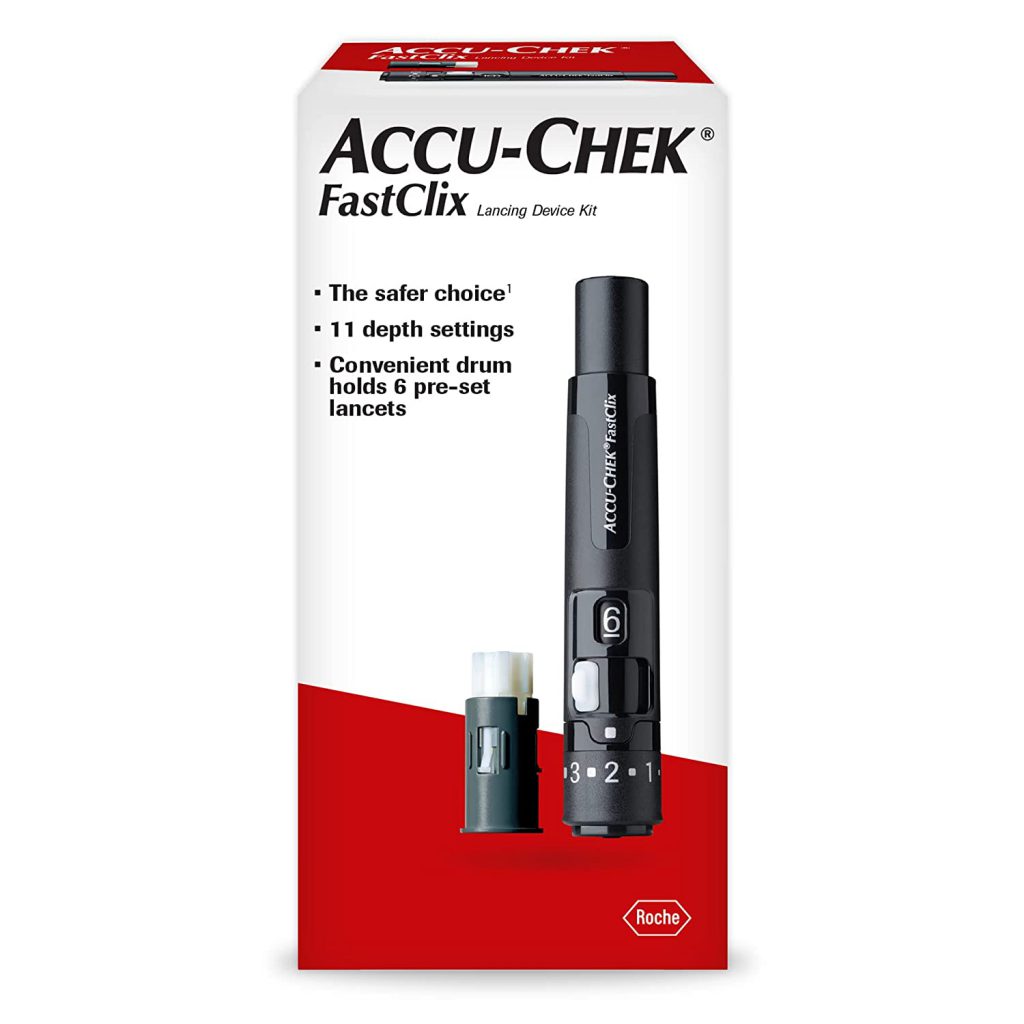
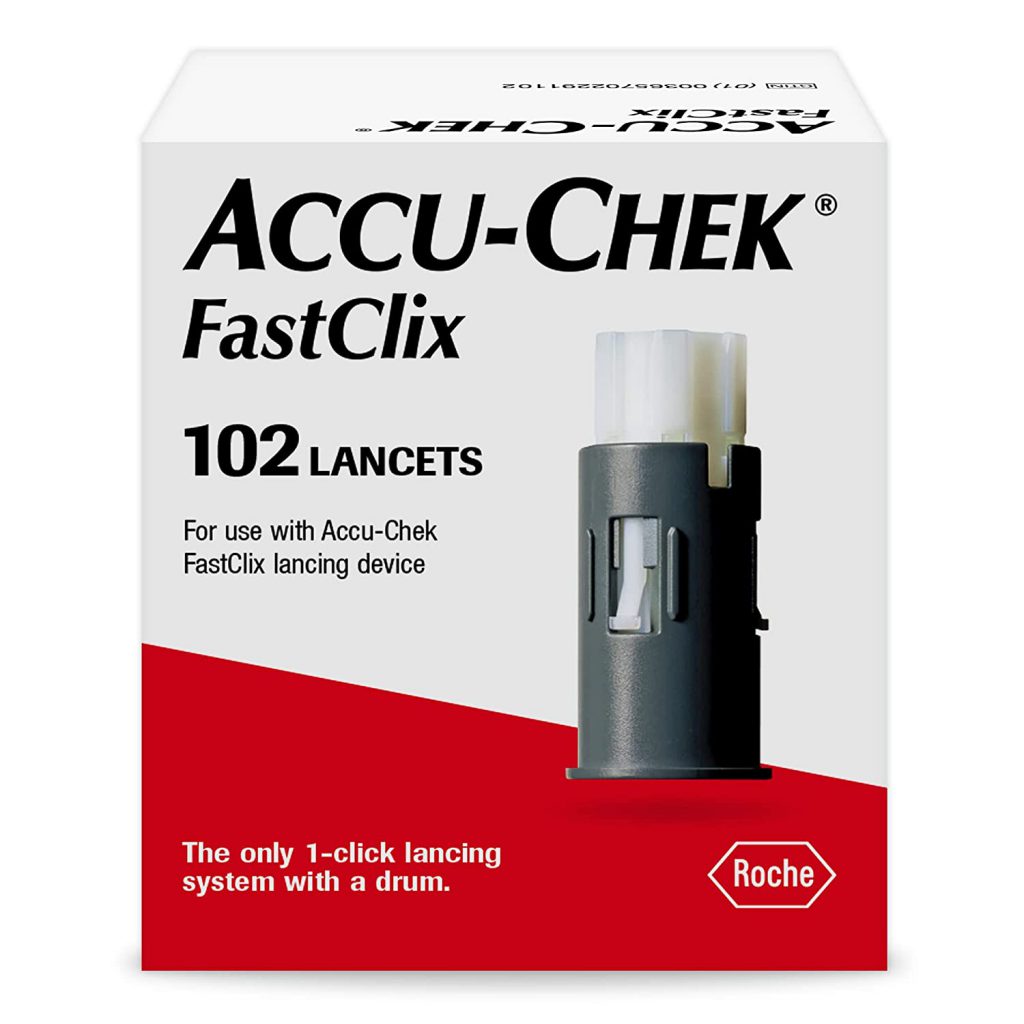
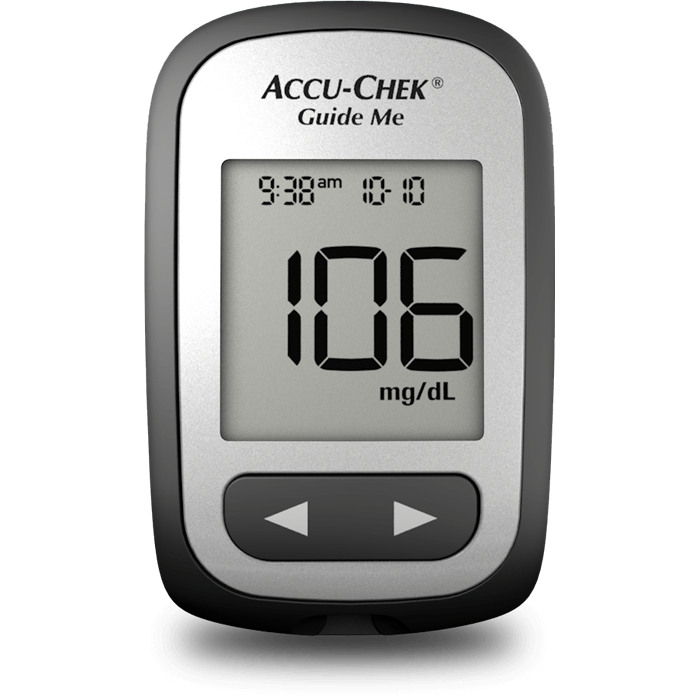
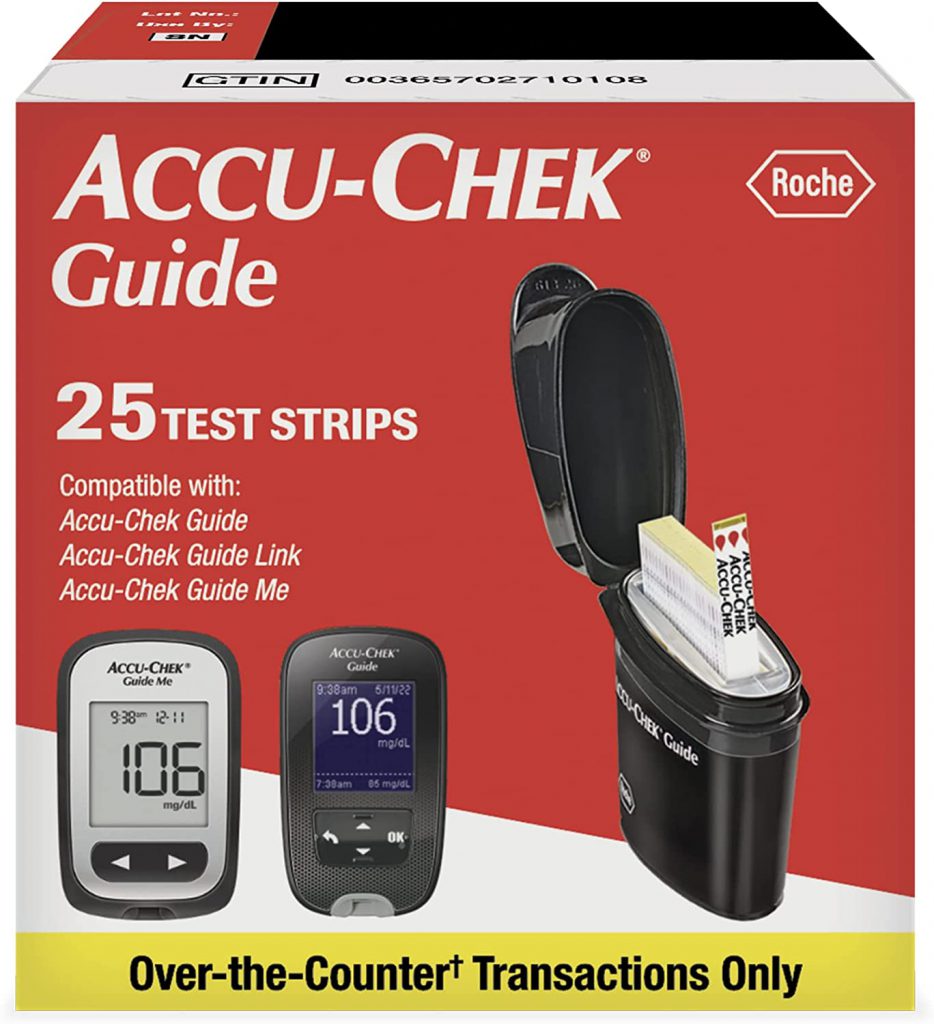
- Travel BG Checking Supplies – CGMs do not send blood glucose data to receivers or phones while swimming underwater. Getting the CGM and phone to reconnect can take up to 15 minutes once out of the water. In the absence of CGM data, we manually test blood sugars every 30 minutes. Consider keeping a small bag that only holds lancer, lancets, blood glucose test strips, the meter and low supplies for easy access. This helps to keep all other supplies dry and manual BG supplies easily accessible.
Insulin
Consider keeping the daily supply bag containing insulin pens or vials out of direct sun exposure. Simply keep the supply bag under your pool seat for shade to keep insulin from getting too hot. If you are concerned about insulin in the shade, here a few tips for keeping insulin at the right temperature:
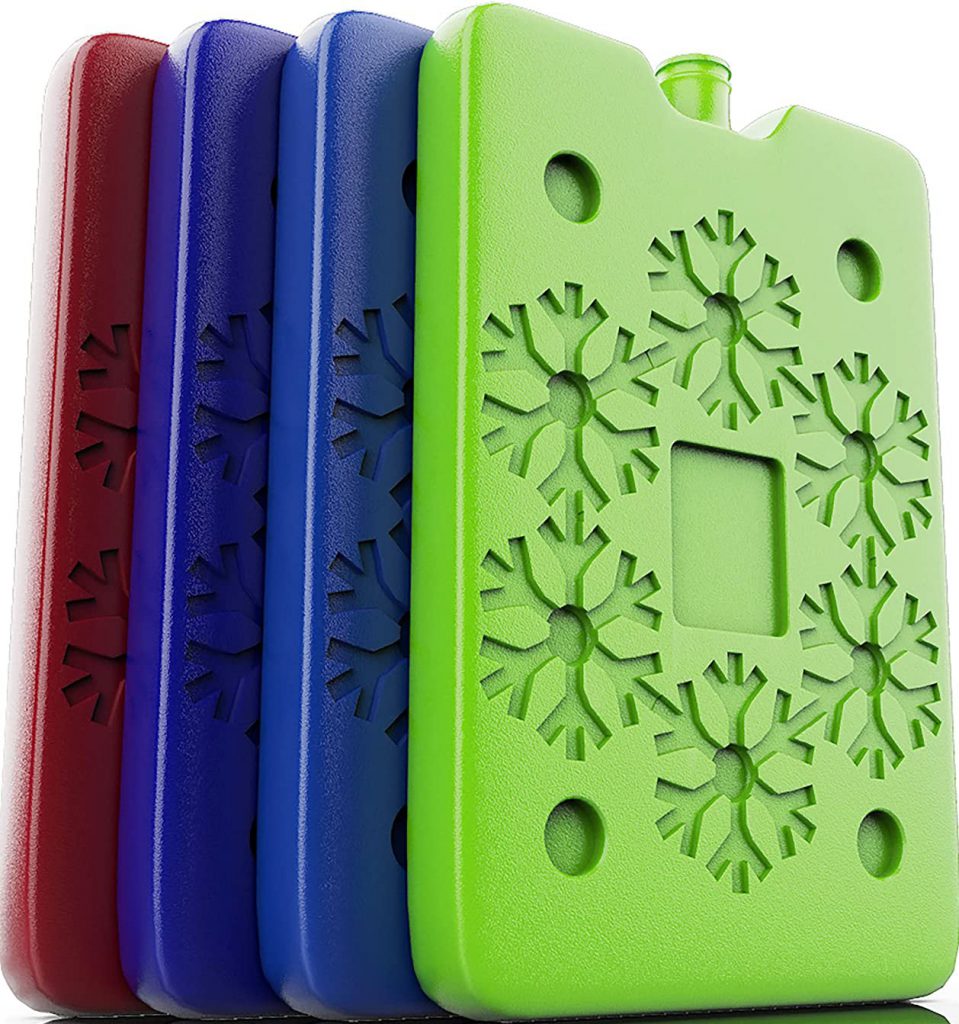
- Lockers – public pools typically have lockers that can get hot (typically a metal box that heats up in both indoor and outdoor pools). Keep supplies cool with ice packs or look for lockers in the shade.
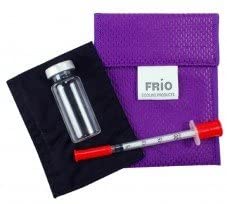
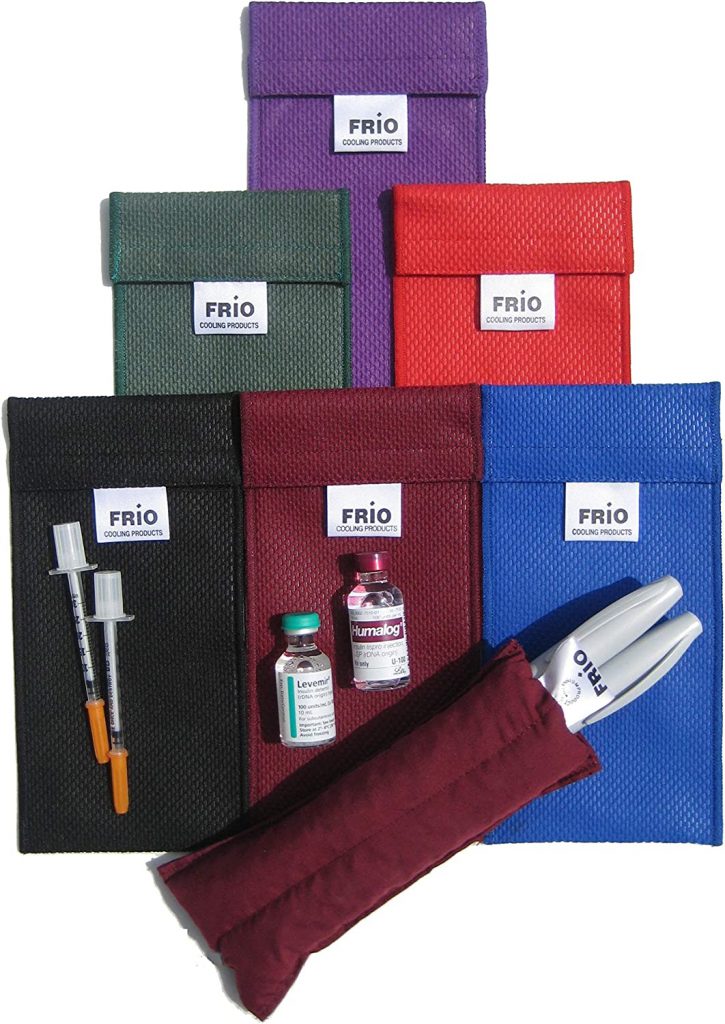
- Frio Wallet – a Frio Wallet will help keep insulin vials and pens cool and does not require a fridge/freezer to activate.
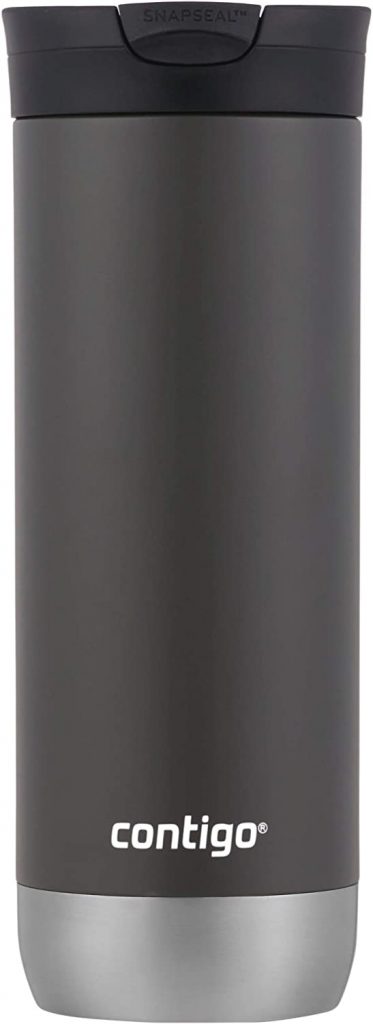
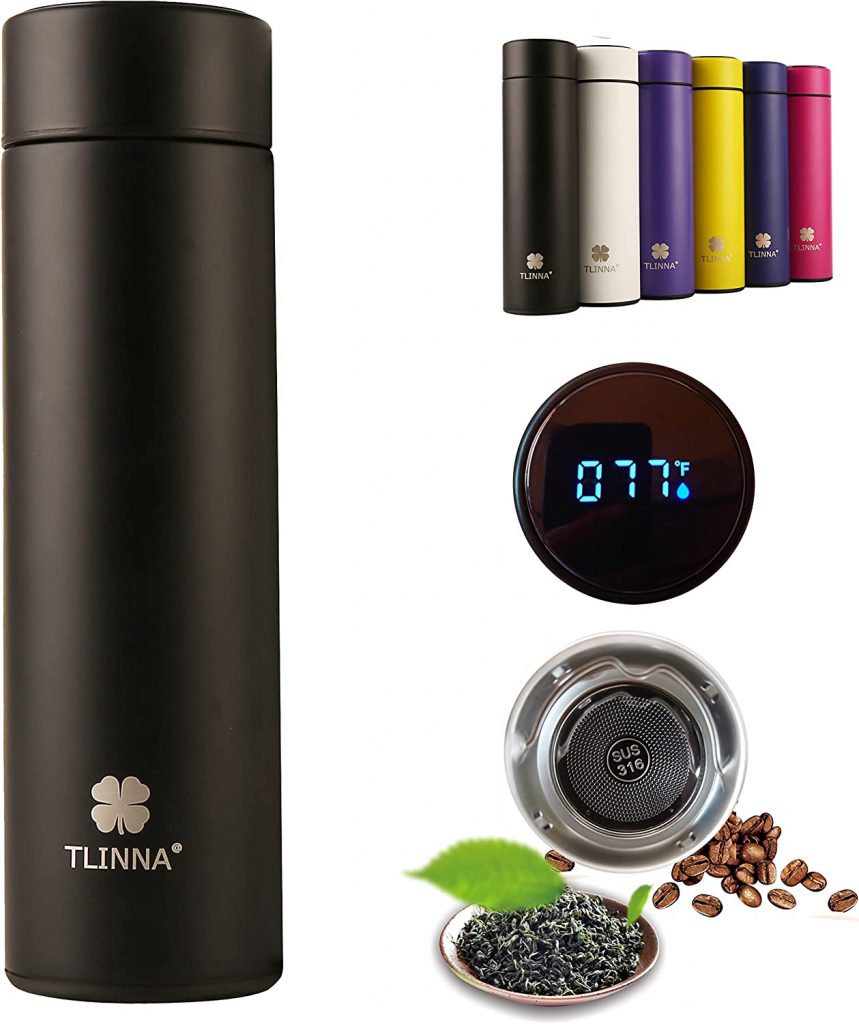
- Insulated Bottle – add ice to an insulated bottle, wrap your insulin pen/vial in a paper towel or Frio bag (adds insulation so the insulin is not directly in freezing water, if the ice melts), place the wrapped insulin pen/vial in sandwich bag and secure with the bottle’s lid. A coffee travel mug works well because of the wide mouth design (any insulted water bottle works though).
Blood Sugars
Every Type 1 Diabetic’s blood glucose levels respond differently while swimming at the pool. Variables that can effect blood sugar include water, water temperature, swimming, exercise, heat, excitement, adrenaline, etc. Be prepared for hypoglycemic (low), hyperglycemic (high) or blood sugars that stay in-range. Make adjustments to basal or I:C ratios based on the individual’s body and how it responds to exercise/water/heat.
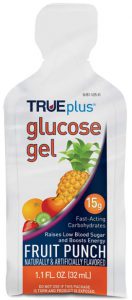
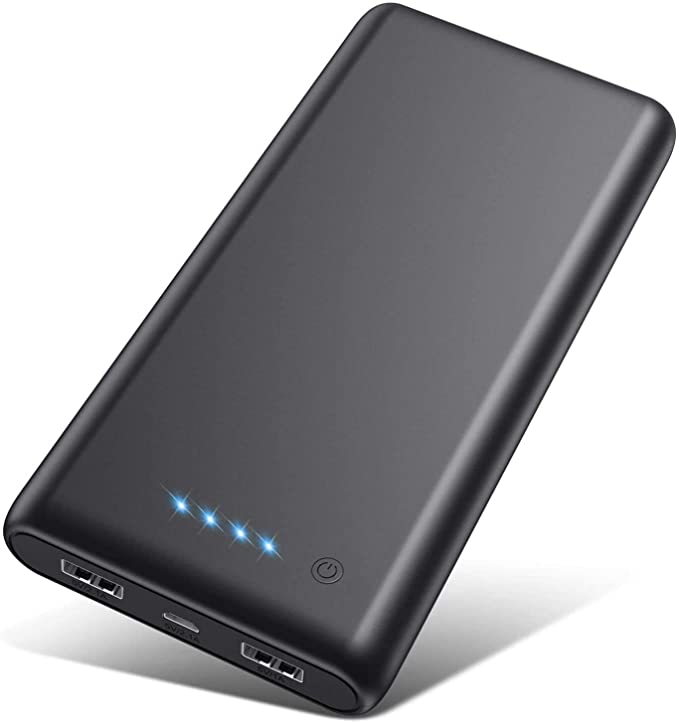
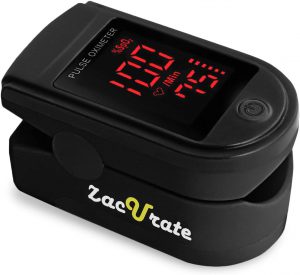
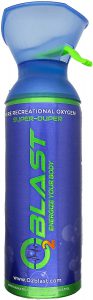
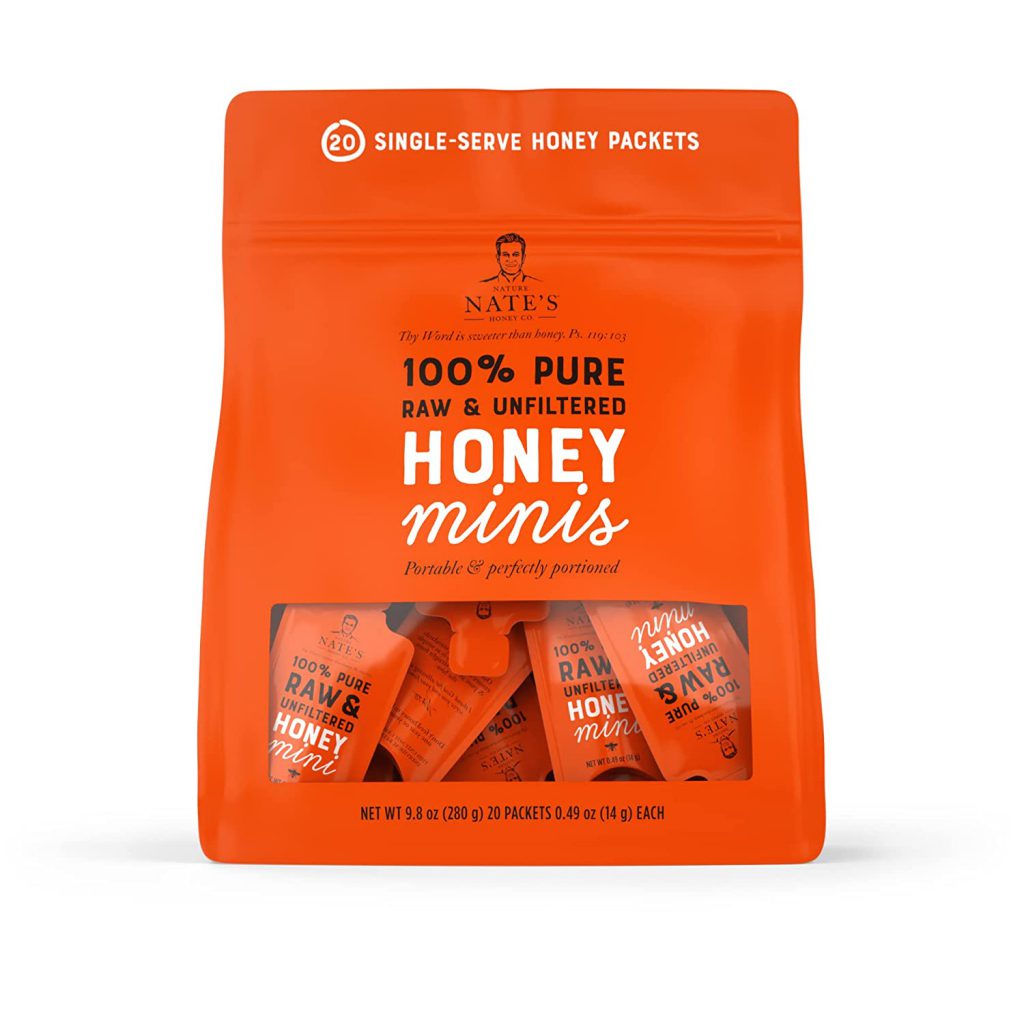
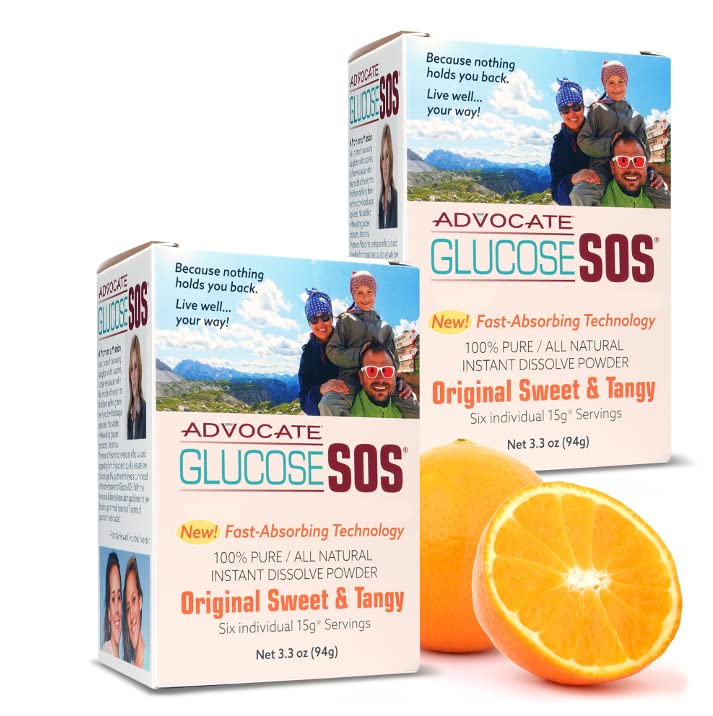
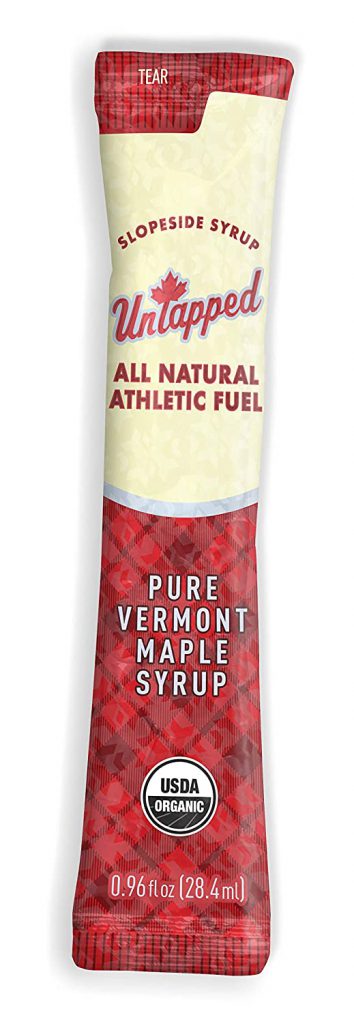
Favorite supplies for managing low blood sugars while swimming at the pool:

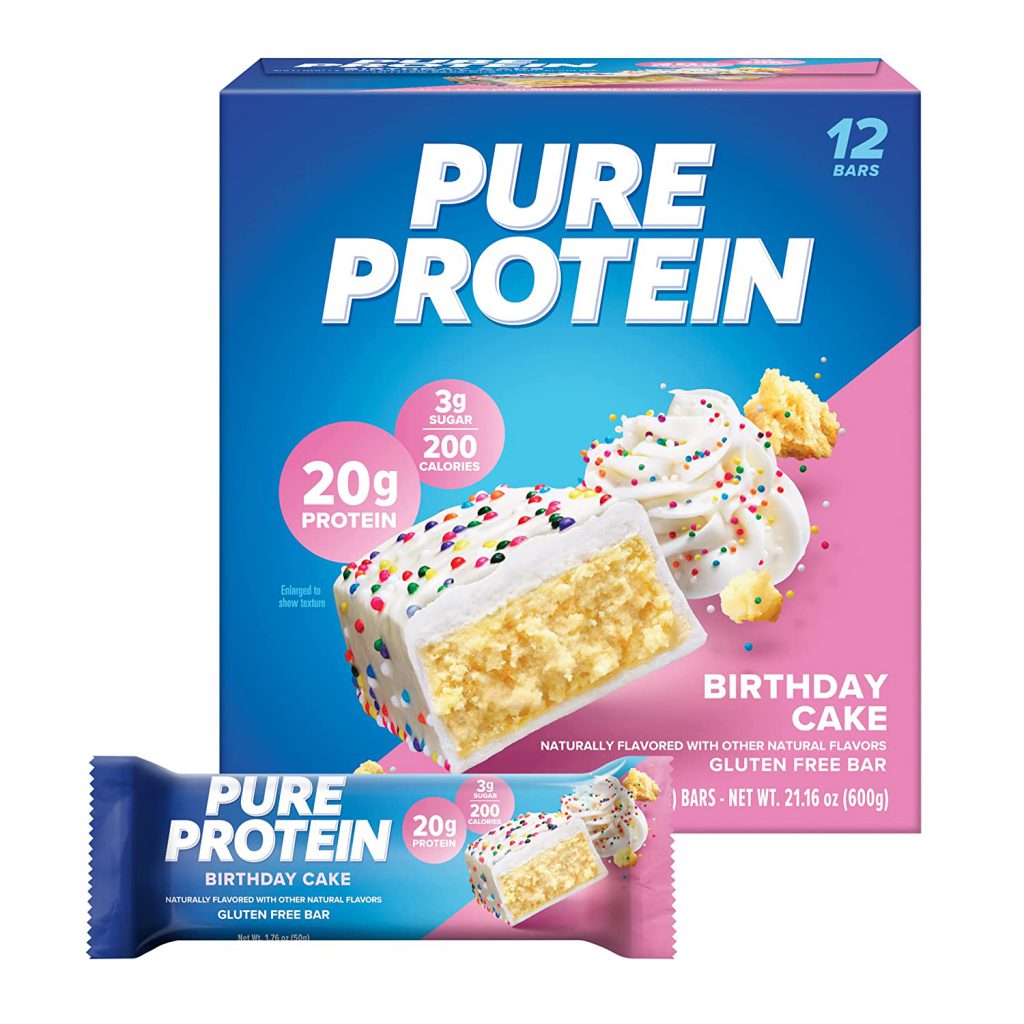
Favorite protein bars that travel well in a swim/pool bag (helps to maintain blood sugars in range):


Hot Tubs
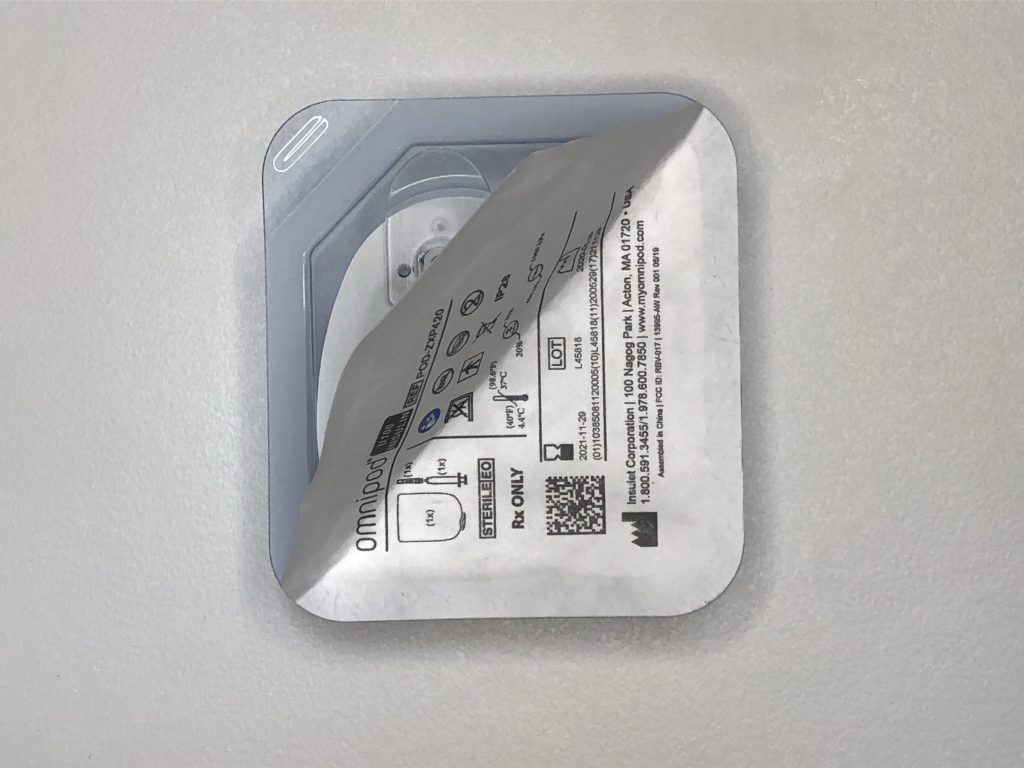
Being in hot water can cause insulin to be absorbed faster. For insulin pumps users other than OmniPod you will have to disconnect and store your pump. This can cause blood glucose levels to rise faster than expected due to not receiving basal insulin while in the hot tub.
Swimwear
The right swimwear can help with keeping Type 1 Diabetes medical devices stuck to the skin while swimming. Consider swimwear that covers the devices for extra protection; cannon balls, diving and jumping into the pool all add extra force onto CGM’s and pump site’s adhesive.
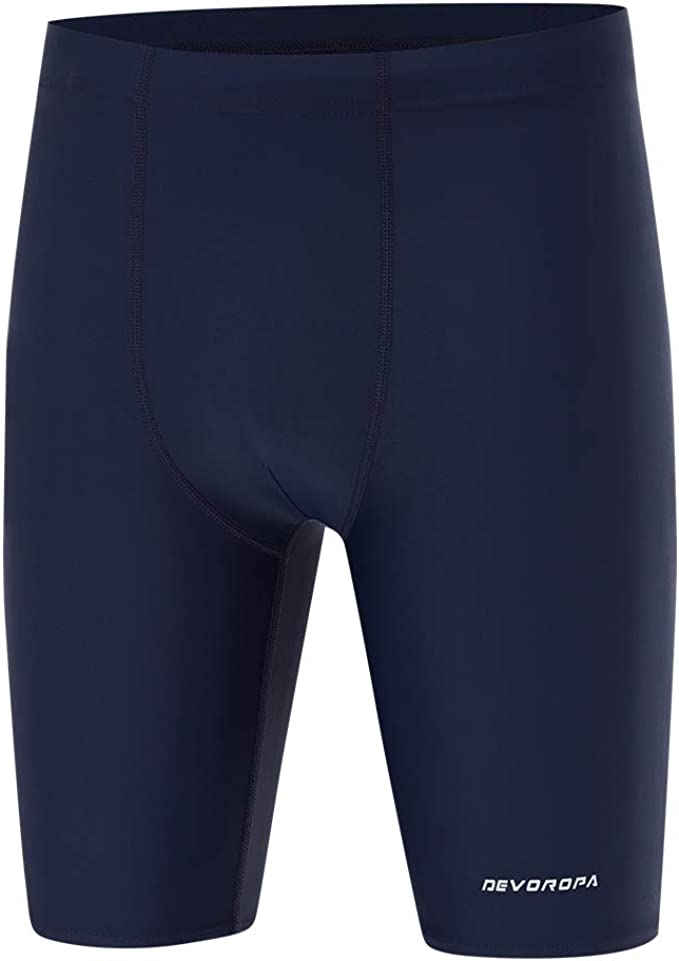
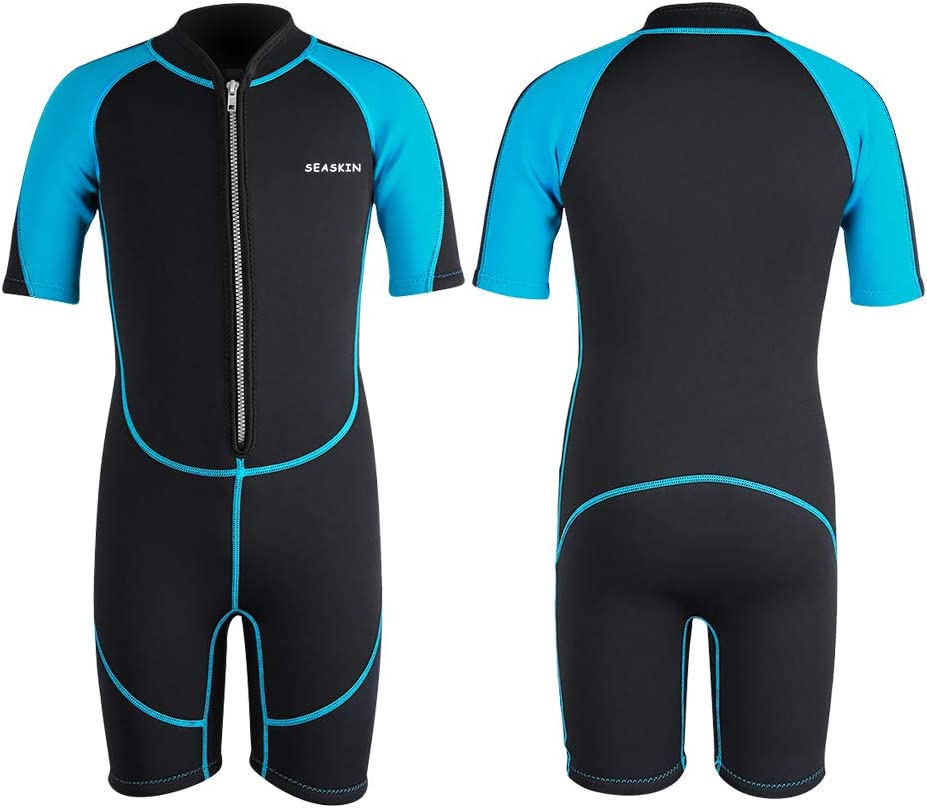
- Swimwear options:
- Swim Jammers – adding swim jammers under swim trunks can protect a CGM or pump site that is placed on the legs.
- Rash Guard – a swim shirt or rash guard is helpful for avoiding sunburns and for protecting CGM or pump site that is placed on the stomach or arms.
- Wetsuit – a lightweight wetsuit (2mm) is comfortable to wear all day long, protects most CGM or pump sites all at one time and helps avoid sunburns.

Sunscreen
Keep your skin protected even at indoor pools. Sunburns can cause high blood glucose levels and ruin your fun. When applying sunscreen stay clear of medical device’s adhesive patches (sunscreen can make the adhesive malleable and device will just slide off) and OmniPod insulin pumps (sunscreen causes pods to crack/leak).