


Living with Type 1 diabetes doesn’t mean you have to anchor your dreams of adventure, especially when it comes to cruising. From managing blood sugar levels on the open water to navigating dietary needs at sea, this journey requires thoughtful planning.
Know Before You Go / Sea Sickness / Ship Security / Packing Checklist / Supplies
This post may contain affiliate links. Please see the affiliate disclosure for more details.
Know Before You Go
Guest Services at the various cruise lines are familiar with people living with diabetes and typically offer the following services/exemptions:
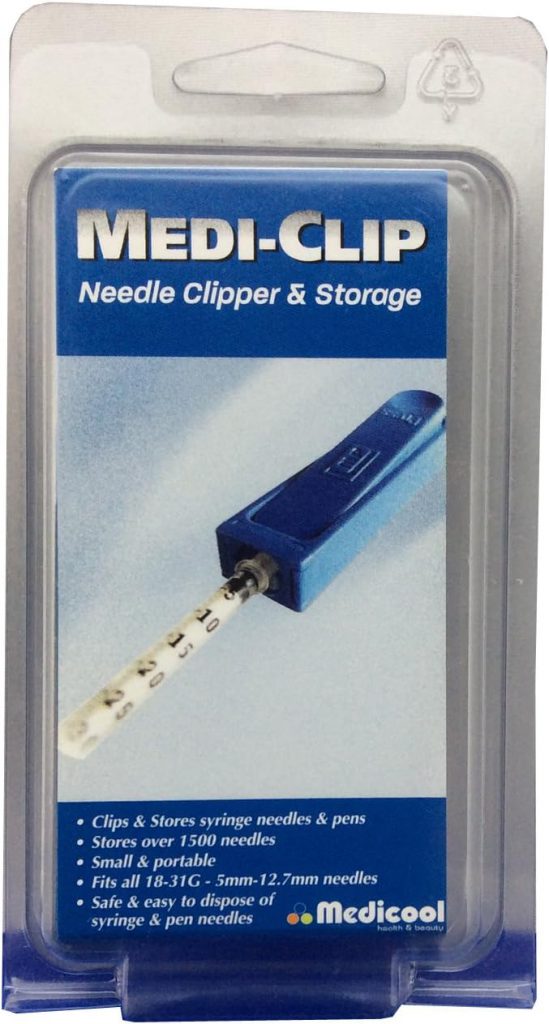
- Sharps containers for in-room use (some public restrooms may have sharps disposal)
- Tip: Skip a sharps container and use a needle clip instead
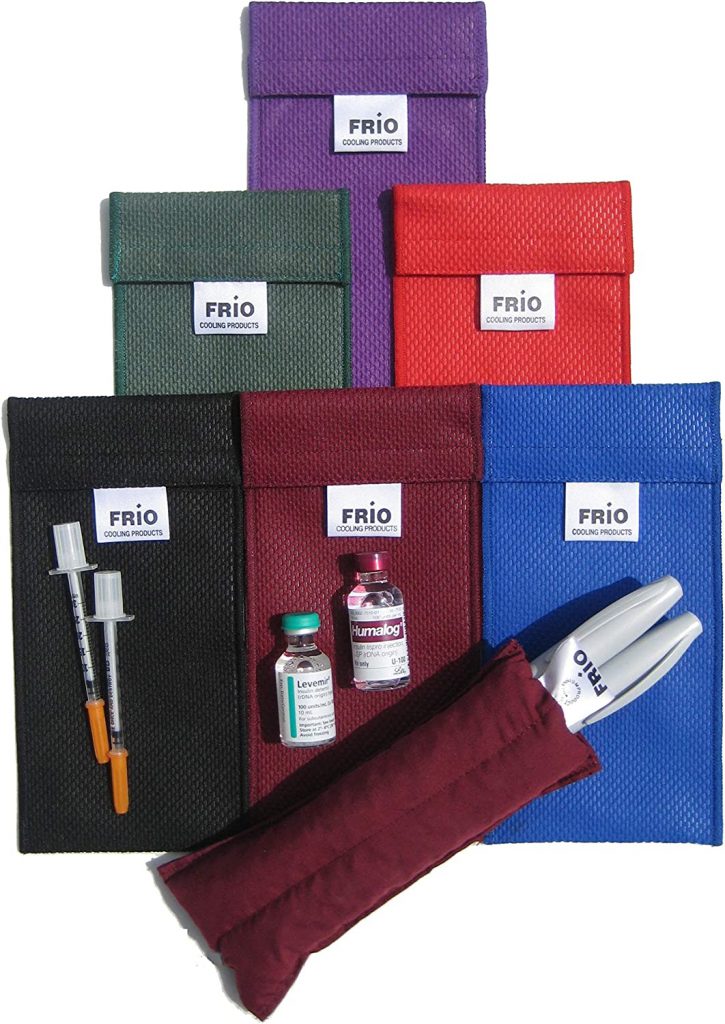
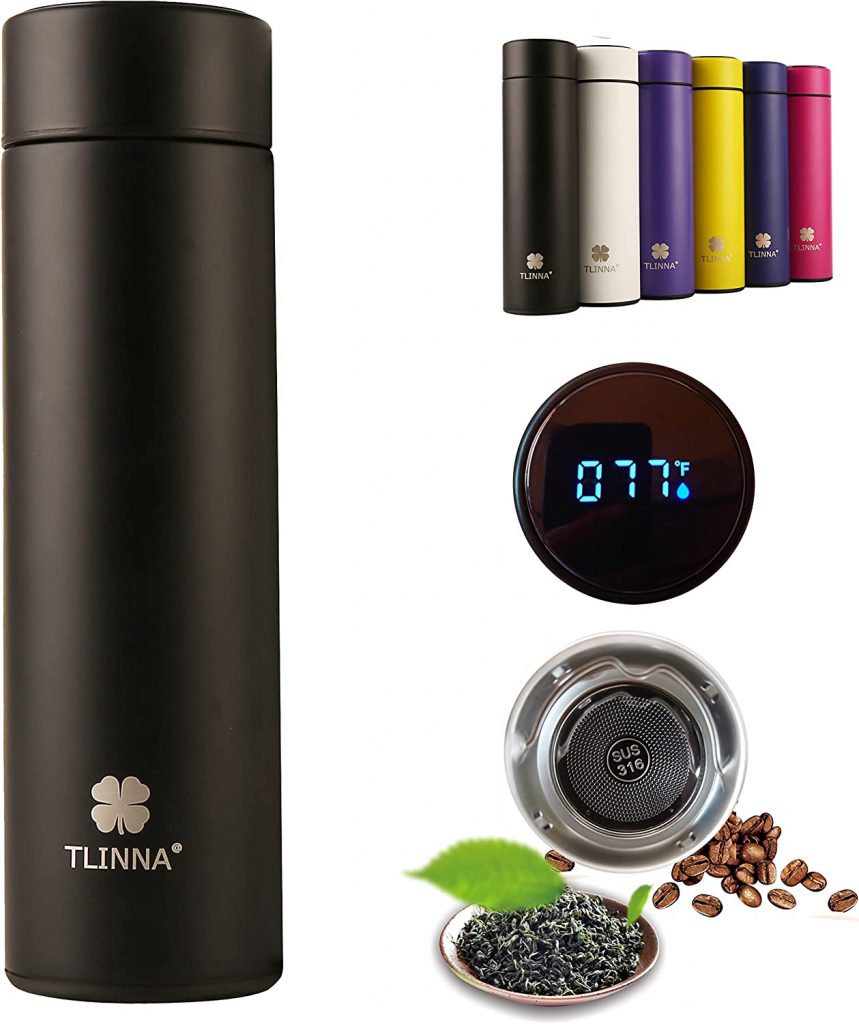
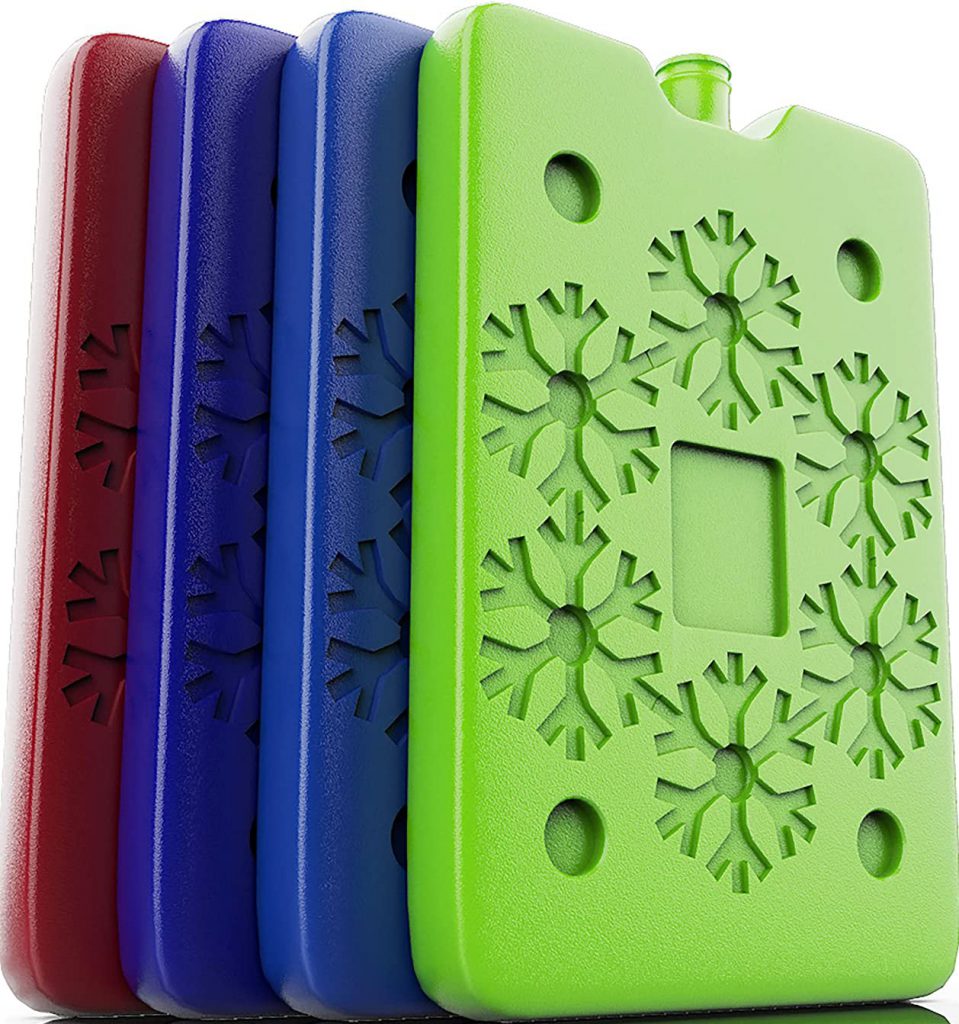
- Portable medi-coolers for insulin storage or ice buckets
- Mini fridges to maintain the temperature of beverages (i.e., juice or milk)
- Free Wi-Fi for the management of medical devices (i.e., CGM or pump data), but typically requires a letter from your doctor
- Liquids exemption – allows you to board the ship with water, juice, and shelf-stable milks that are used for lows/hydration. This exemption also applies to liquids when reboarding the ship from ports of call.
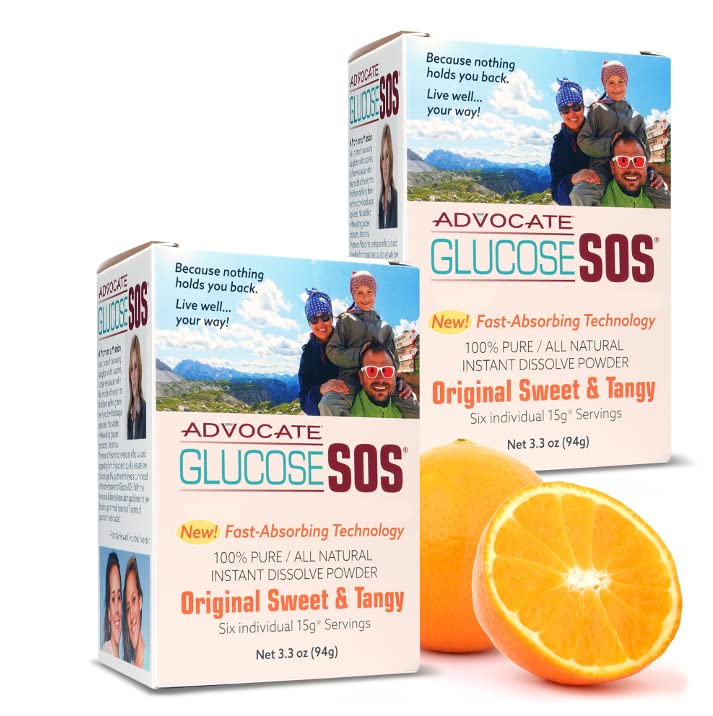
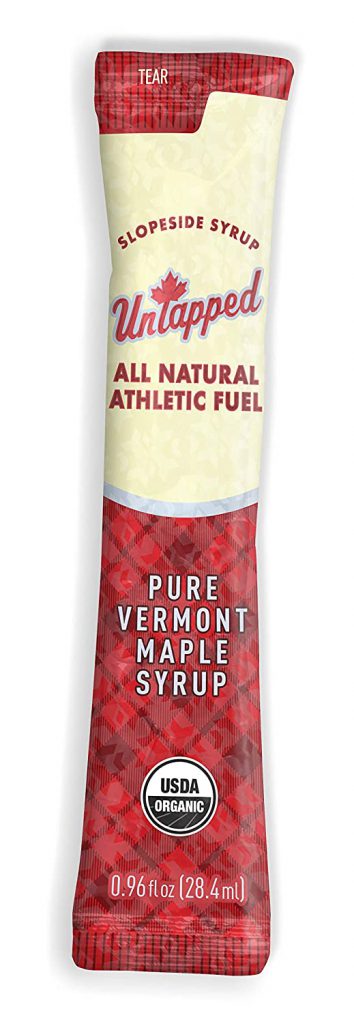
- Food exemption – allows you to bring food on board for the treatment of lows.
As soon as you book your cruise, email Guest Services for any special needs/requests to allow time to gather any requested documentation and to ensure availability.
| Travel Insurance Consider if travel insurance is something you need. Some travel insurance plans cover medical transport, if needed. |
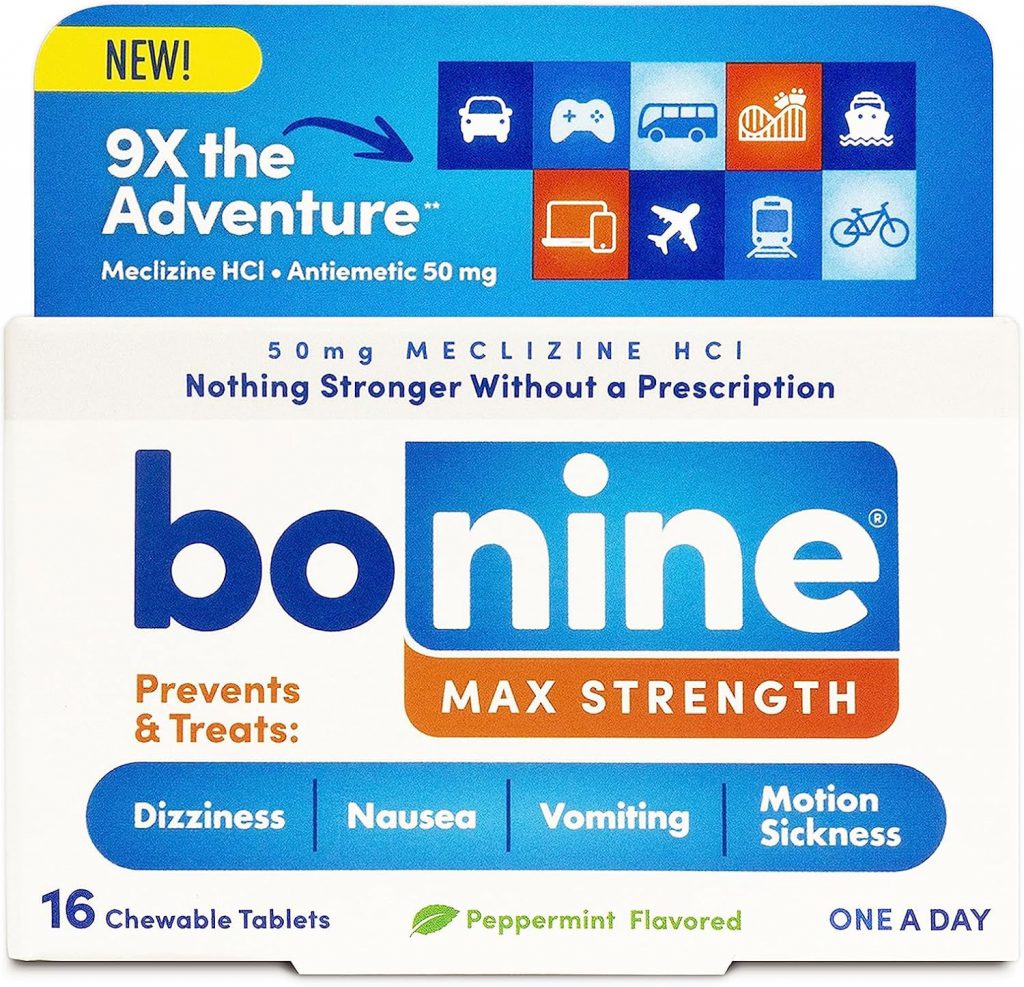
Sea Sickness Prevention
If prone to motion sickness, it might be a good idea to prepare your body for the motion of the cruise ship. Consider taking any of the following the night before the start of the cruise.

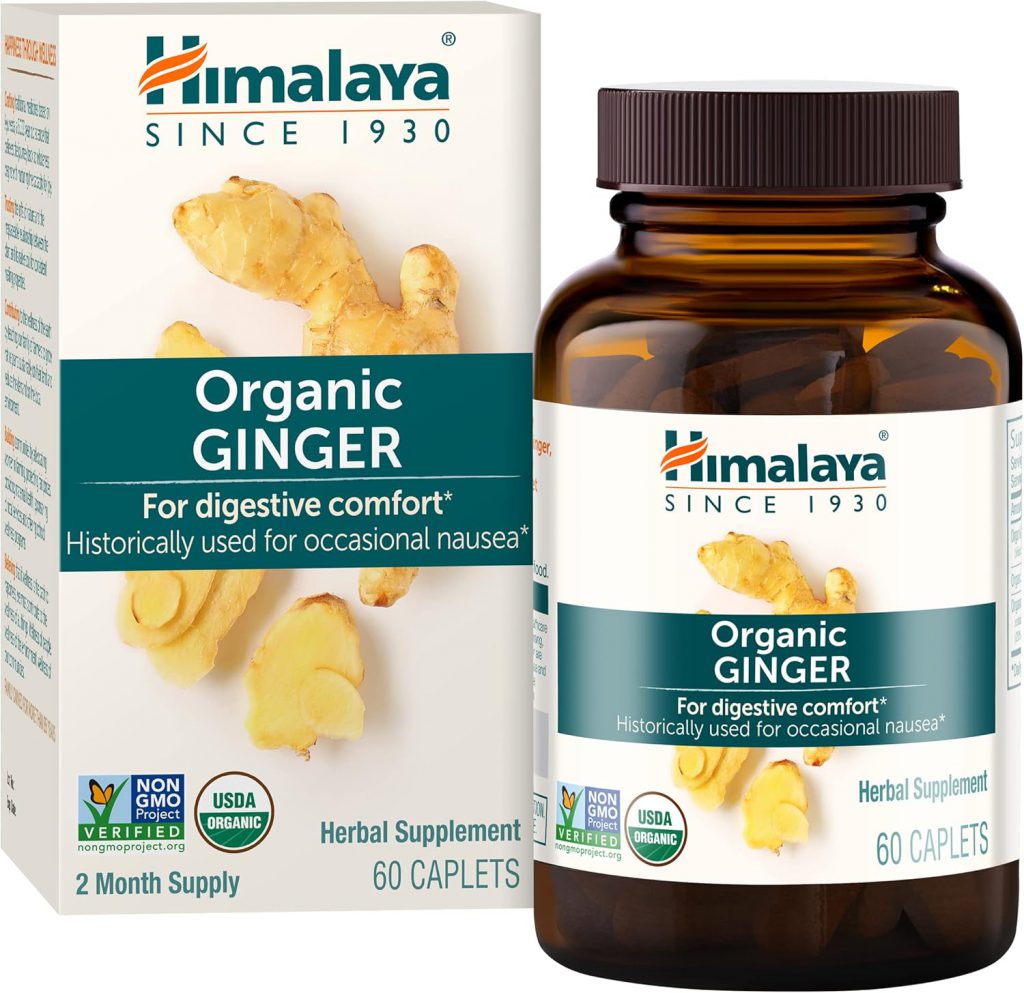
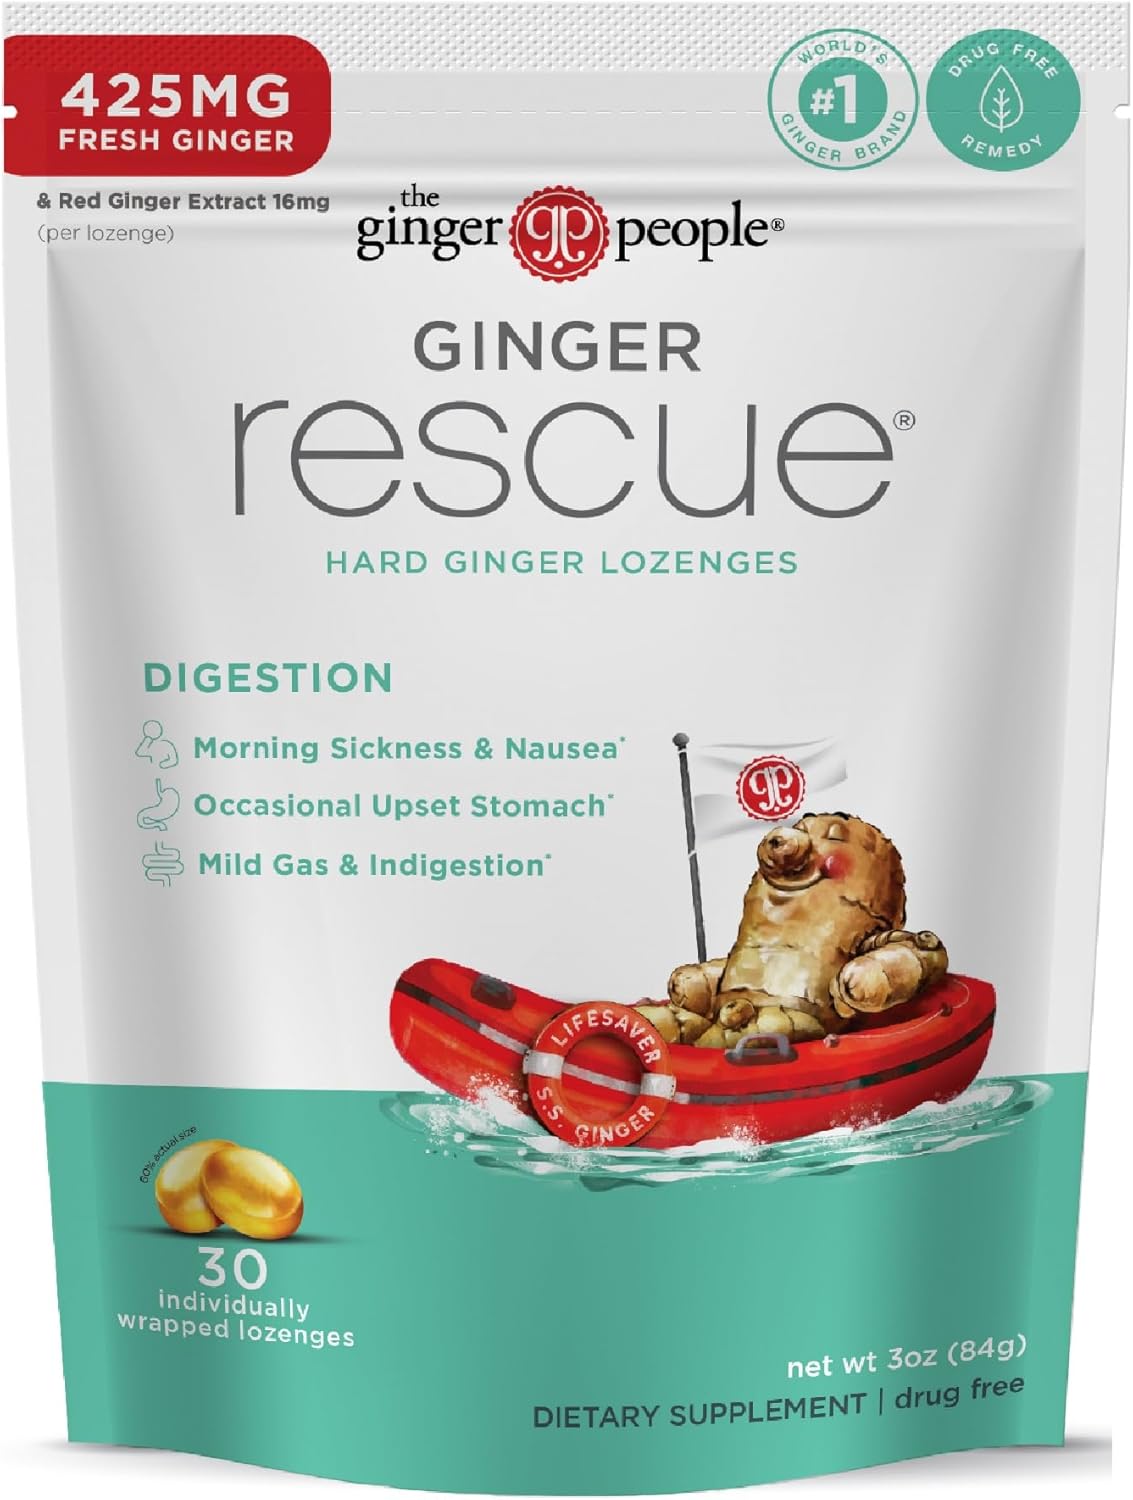
If feeling sea sick during the cruise, a ginger candy or tea can help settle your stomach.


Cruise Ship Security
Be prepared to have your diabetes supplies and other carry-on items scanned. Cruise ship boarding is very similar to flying and going through TSA at the airport. The person wearing medical devices will also be asked to walk through an X-ray/body scanner machine.
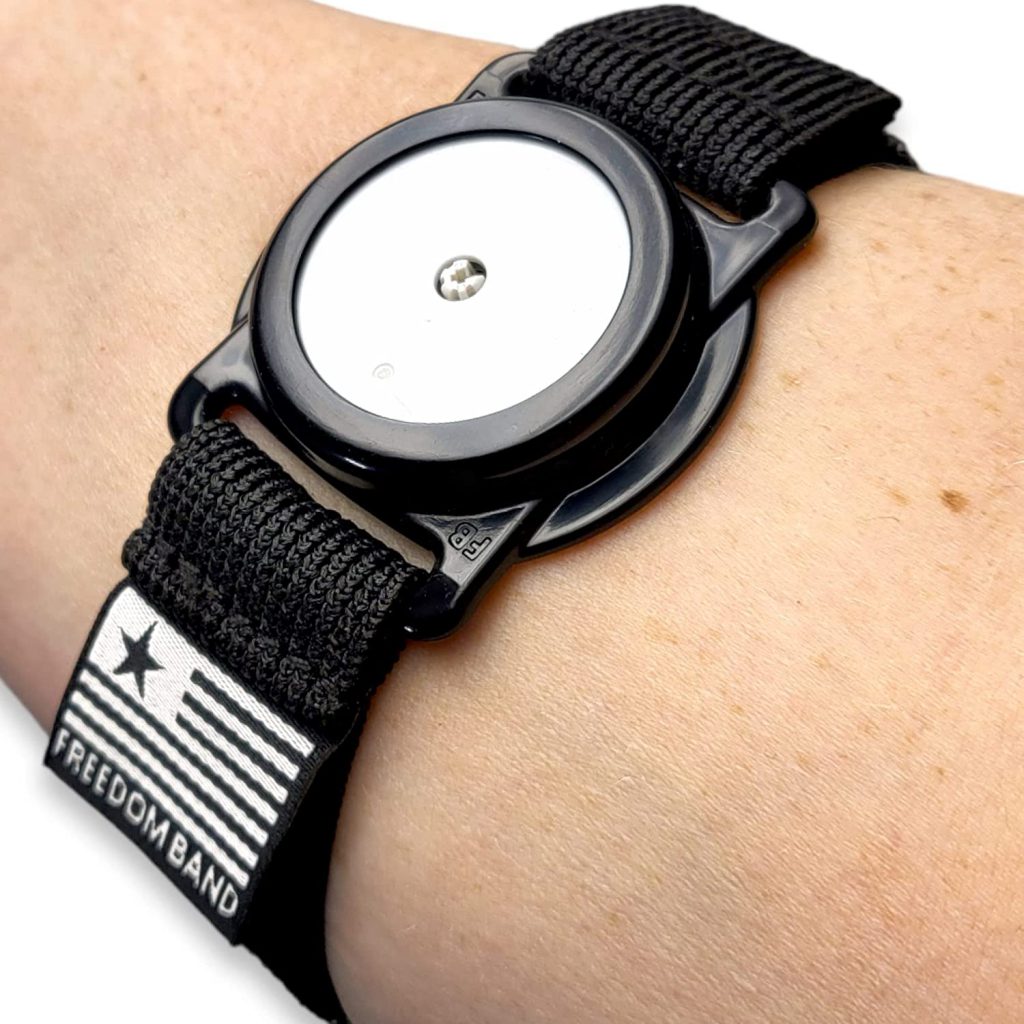
Consider which supplies you are comfortable having x-rayed, and/or check the user manuals for each medical device to determine whether x-raying is permitted. Many people with diabetes have their supplies x-rayed and report no issues. I avoid having medical supplies/devices (CGM, Omnipods, backup pumps, and spare meters), and the person wearing them go through an X-ray.
If cruising internationally, bring copies of your prescriptions, the medication box, and/or a letter from your doctor.
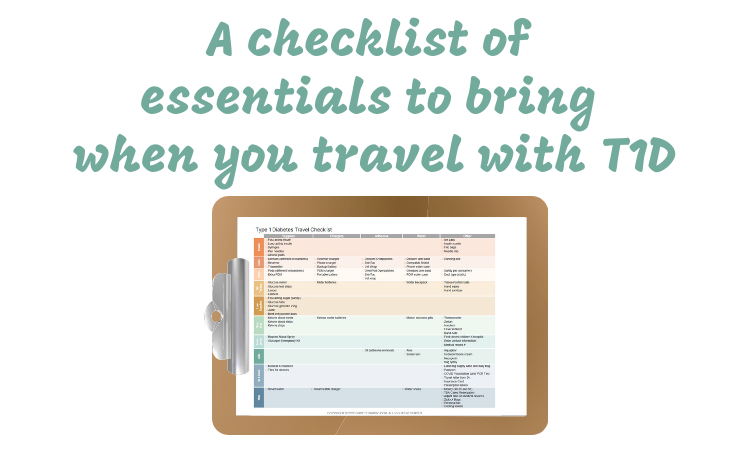
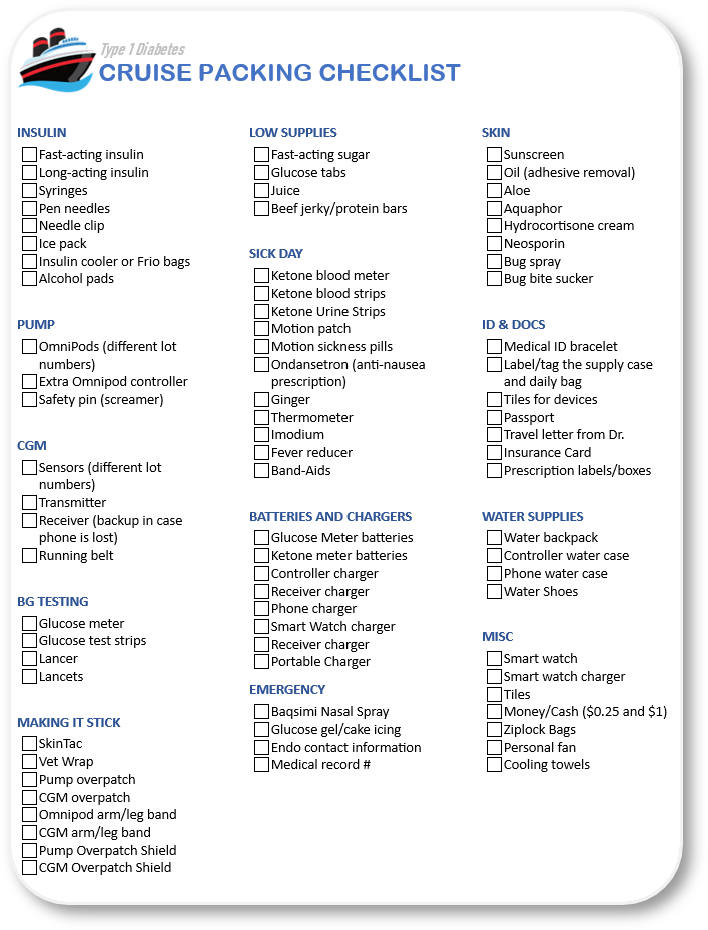
T1D Packing Checklist
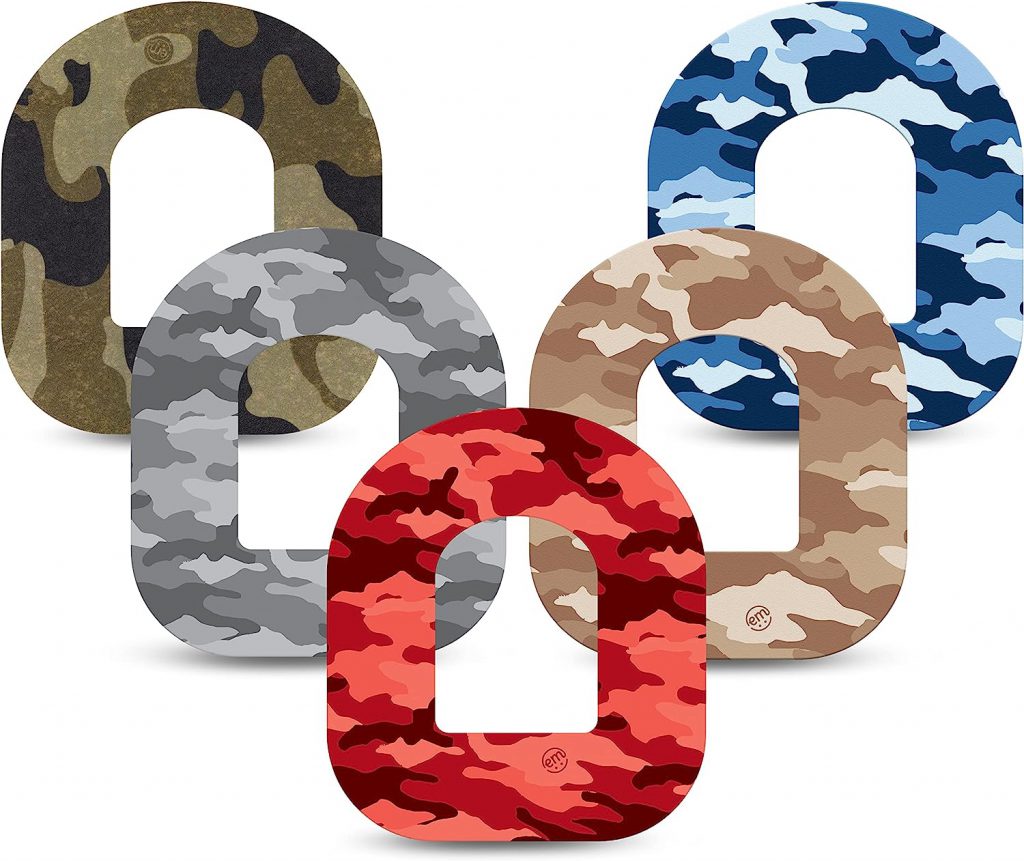
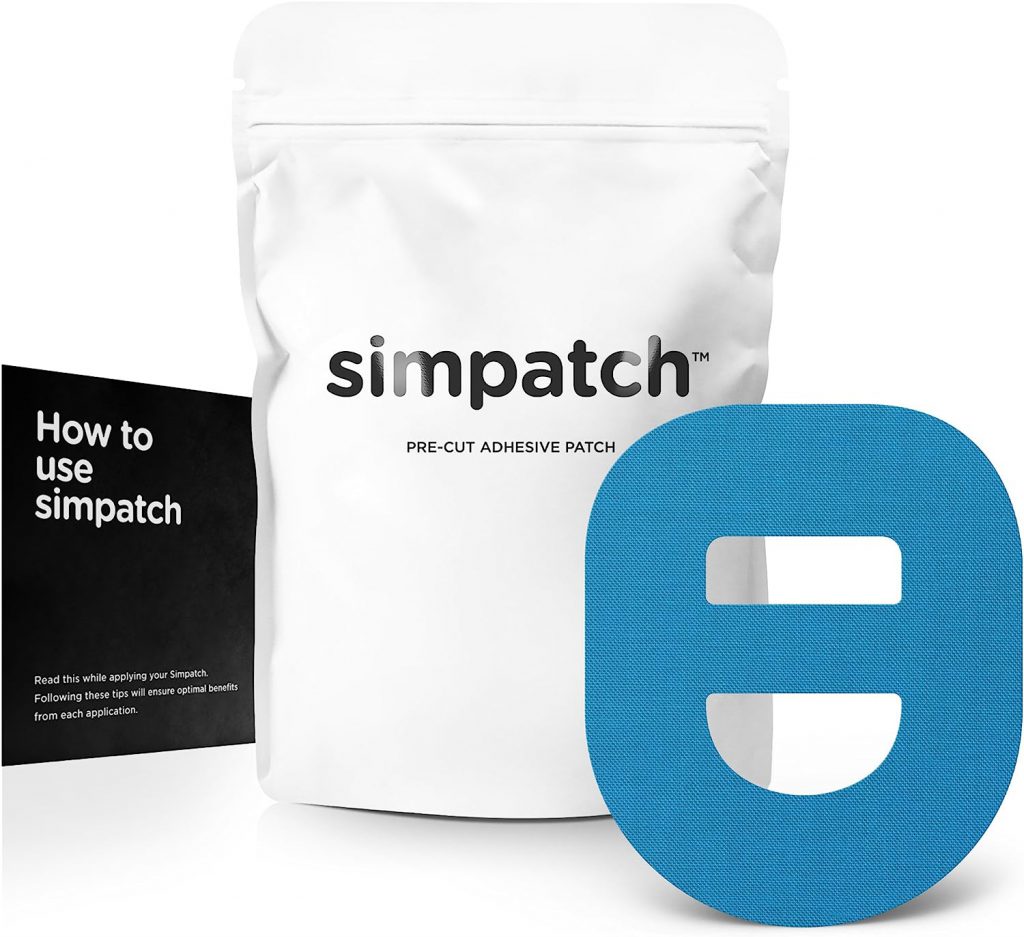
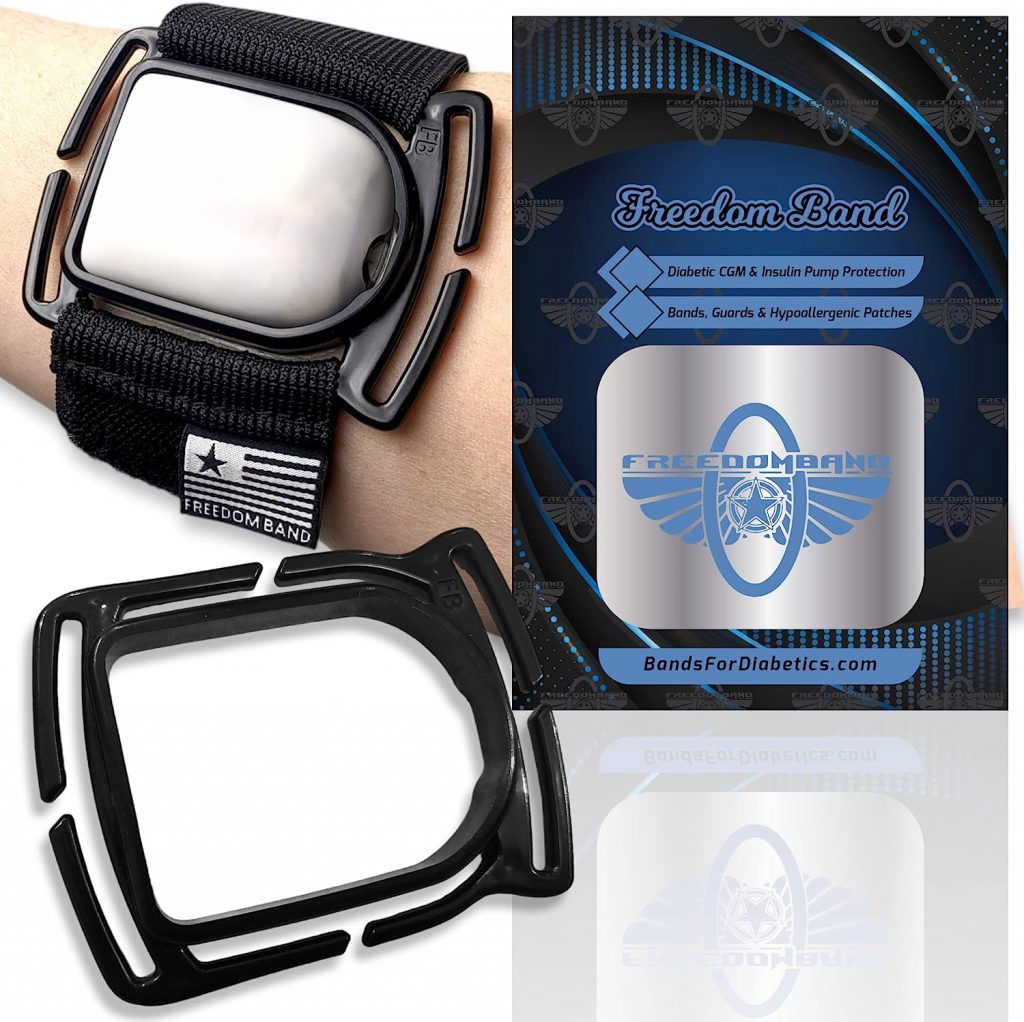
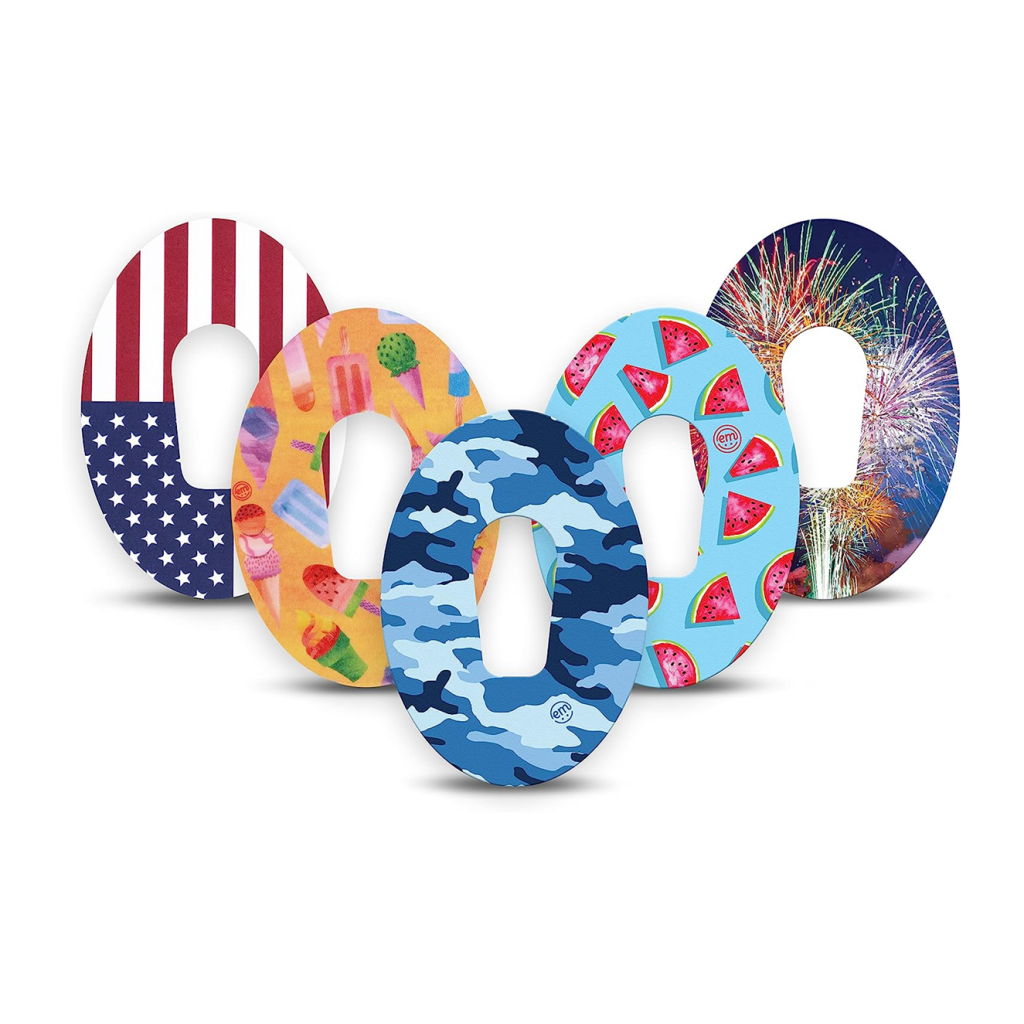
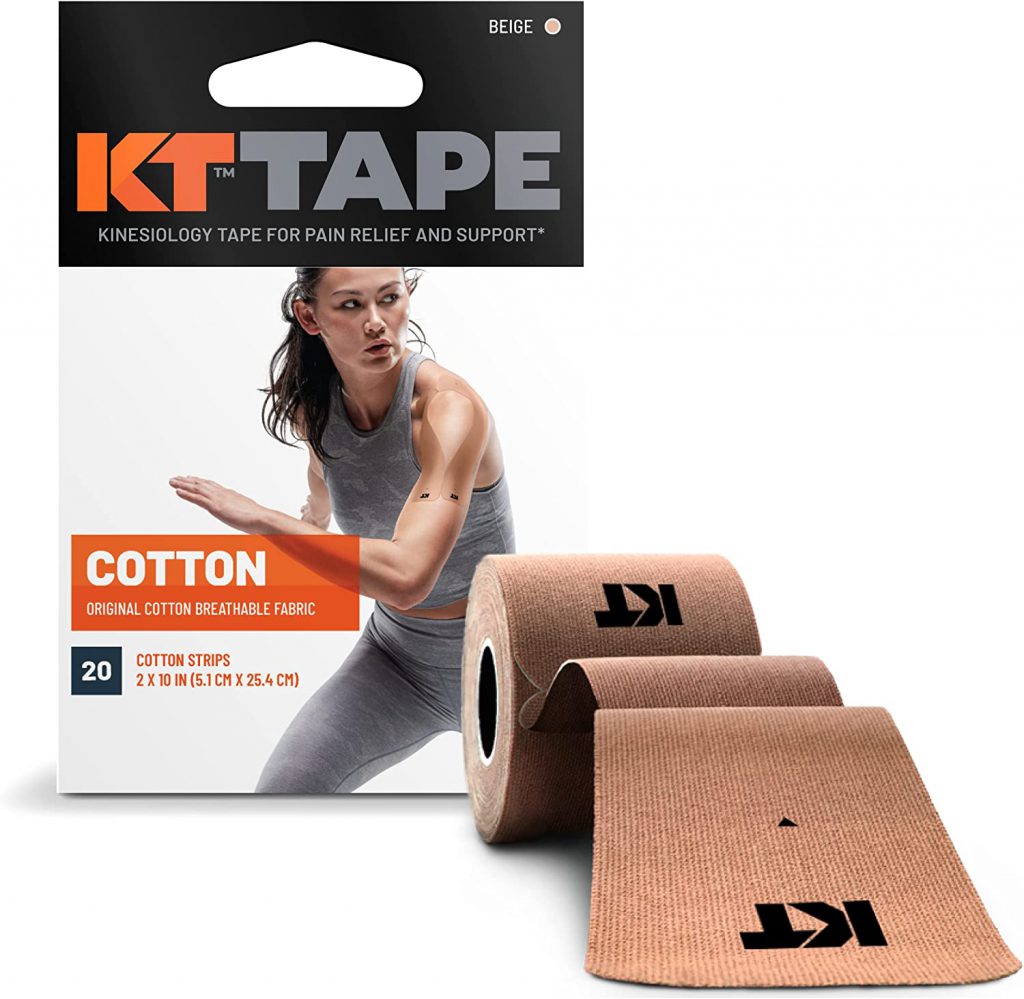
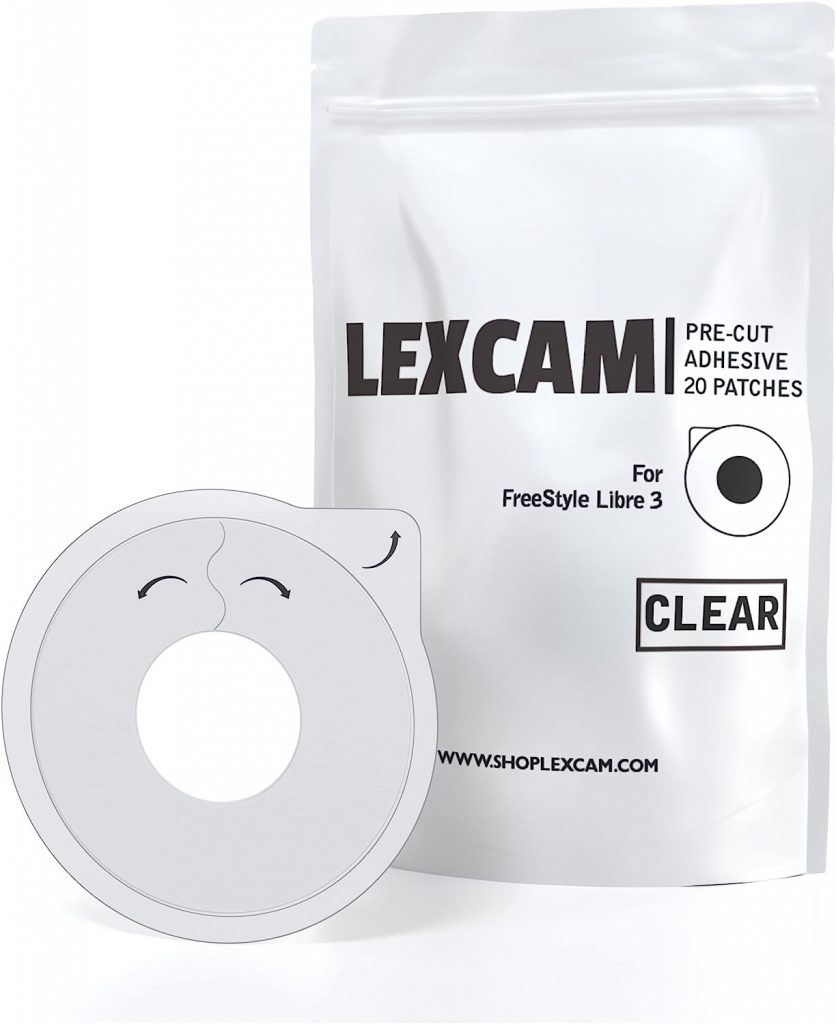
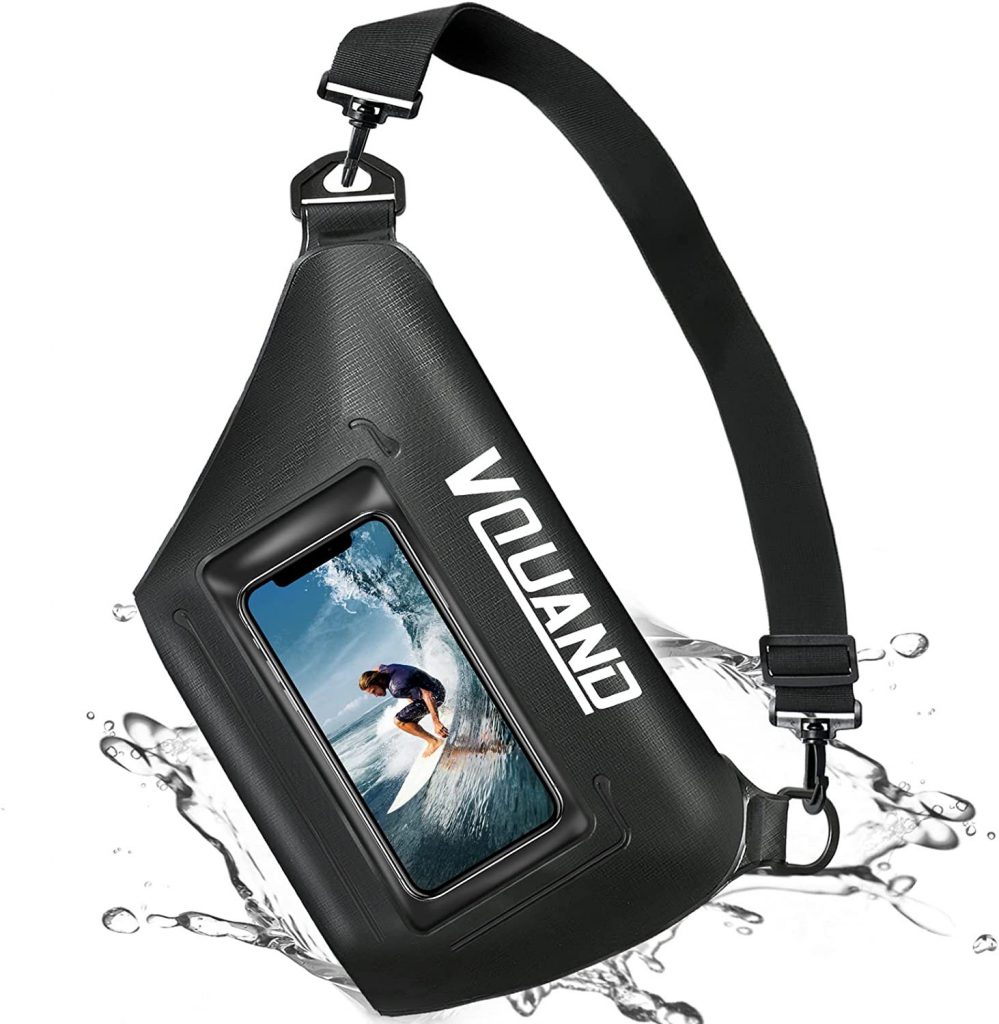
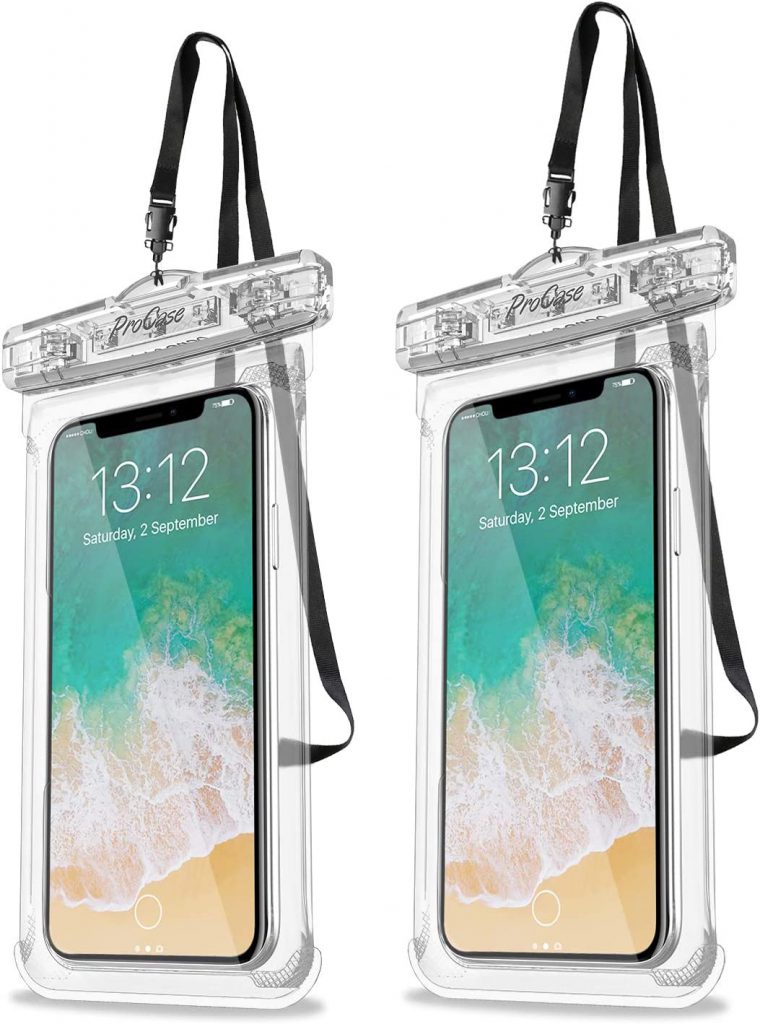
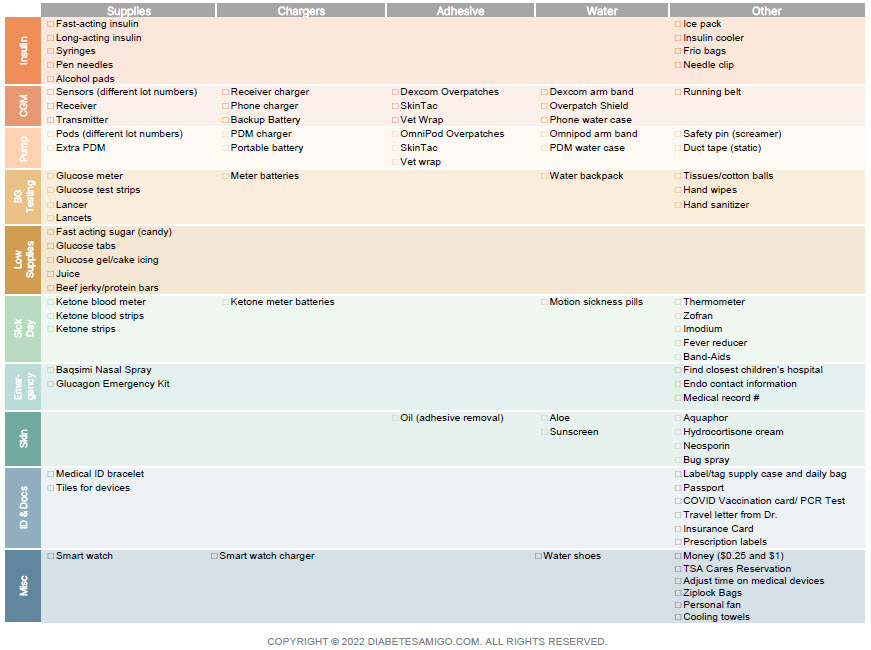
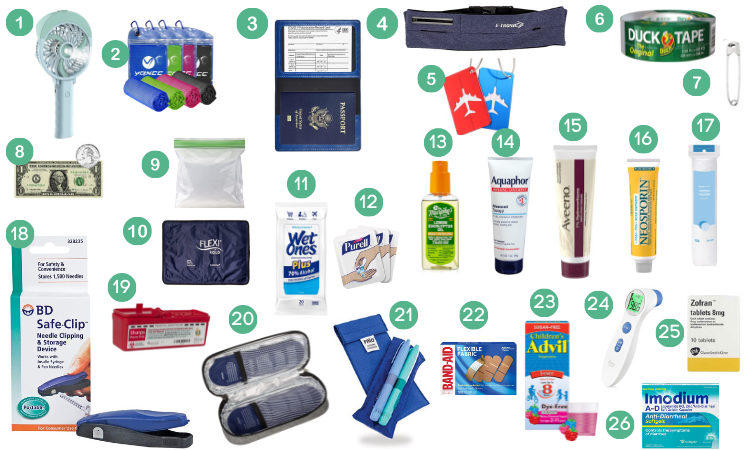
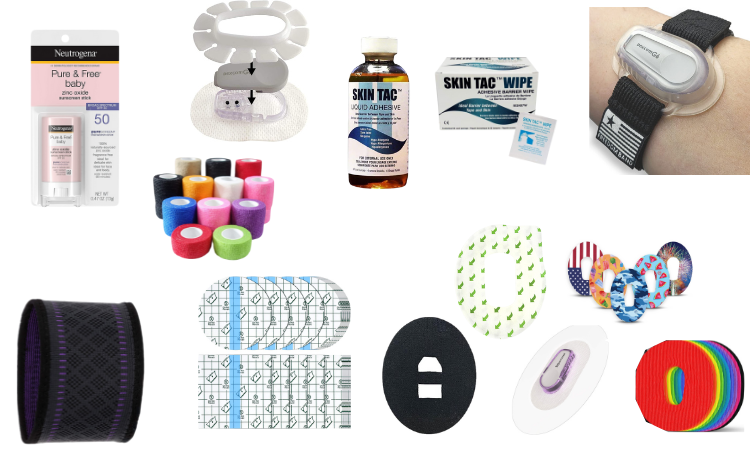
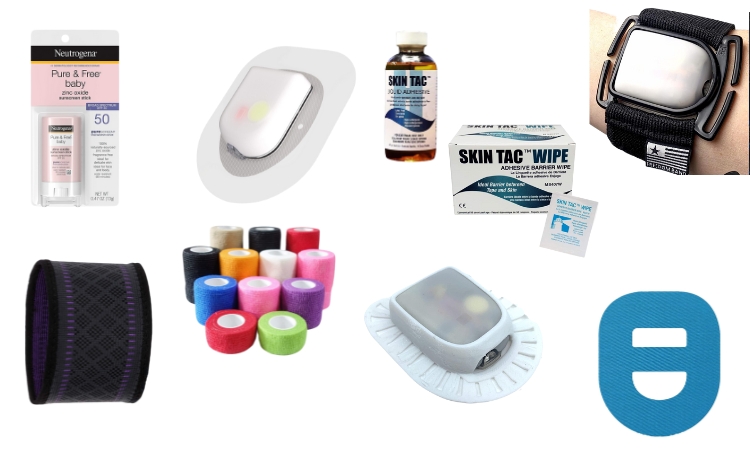
The Cruise Packing Checklist is organized by topic and includes items for diabetic supplies, chargers, extra adhesive, considerations for water activities, seasickness, and other miscellaneous needs during a cruise. The quantity of supplies is not listed because it will vary based on your length of stay and travel type. It is recommended to bring triple the required supplies.
Download the editable MS Word T1D Cruise Packing Checklist:
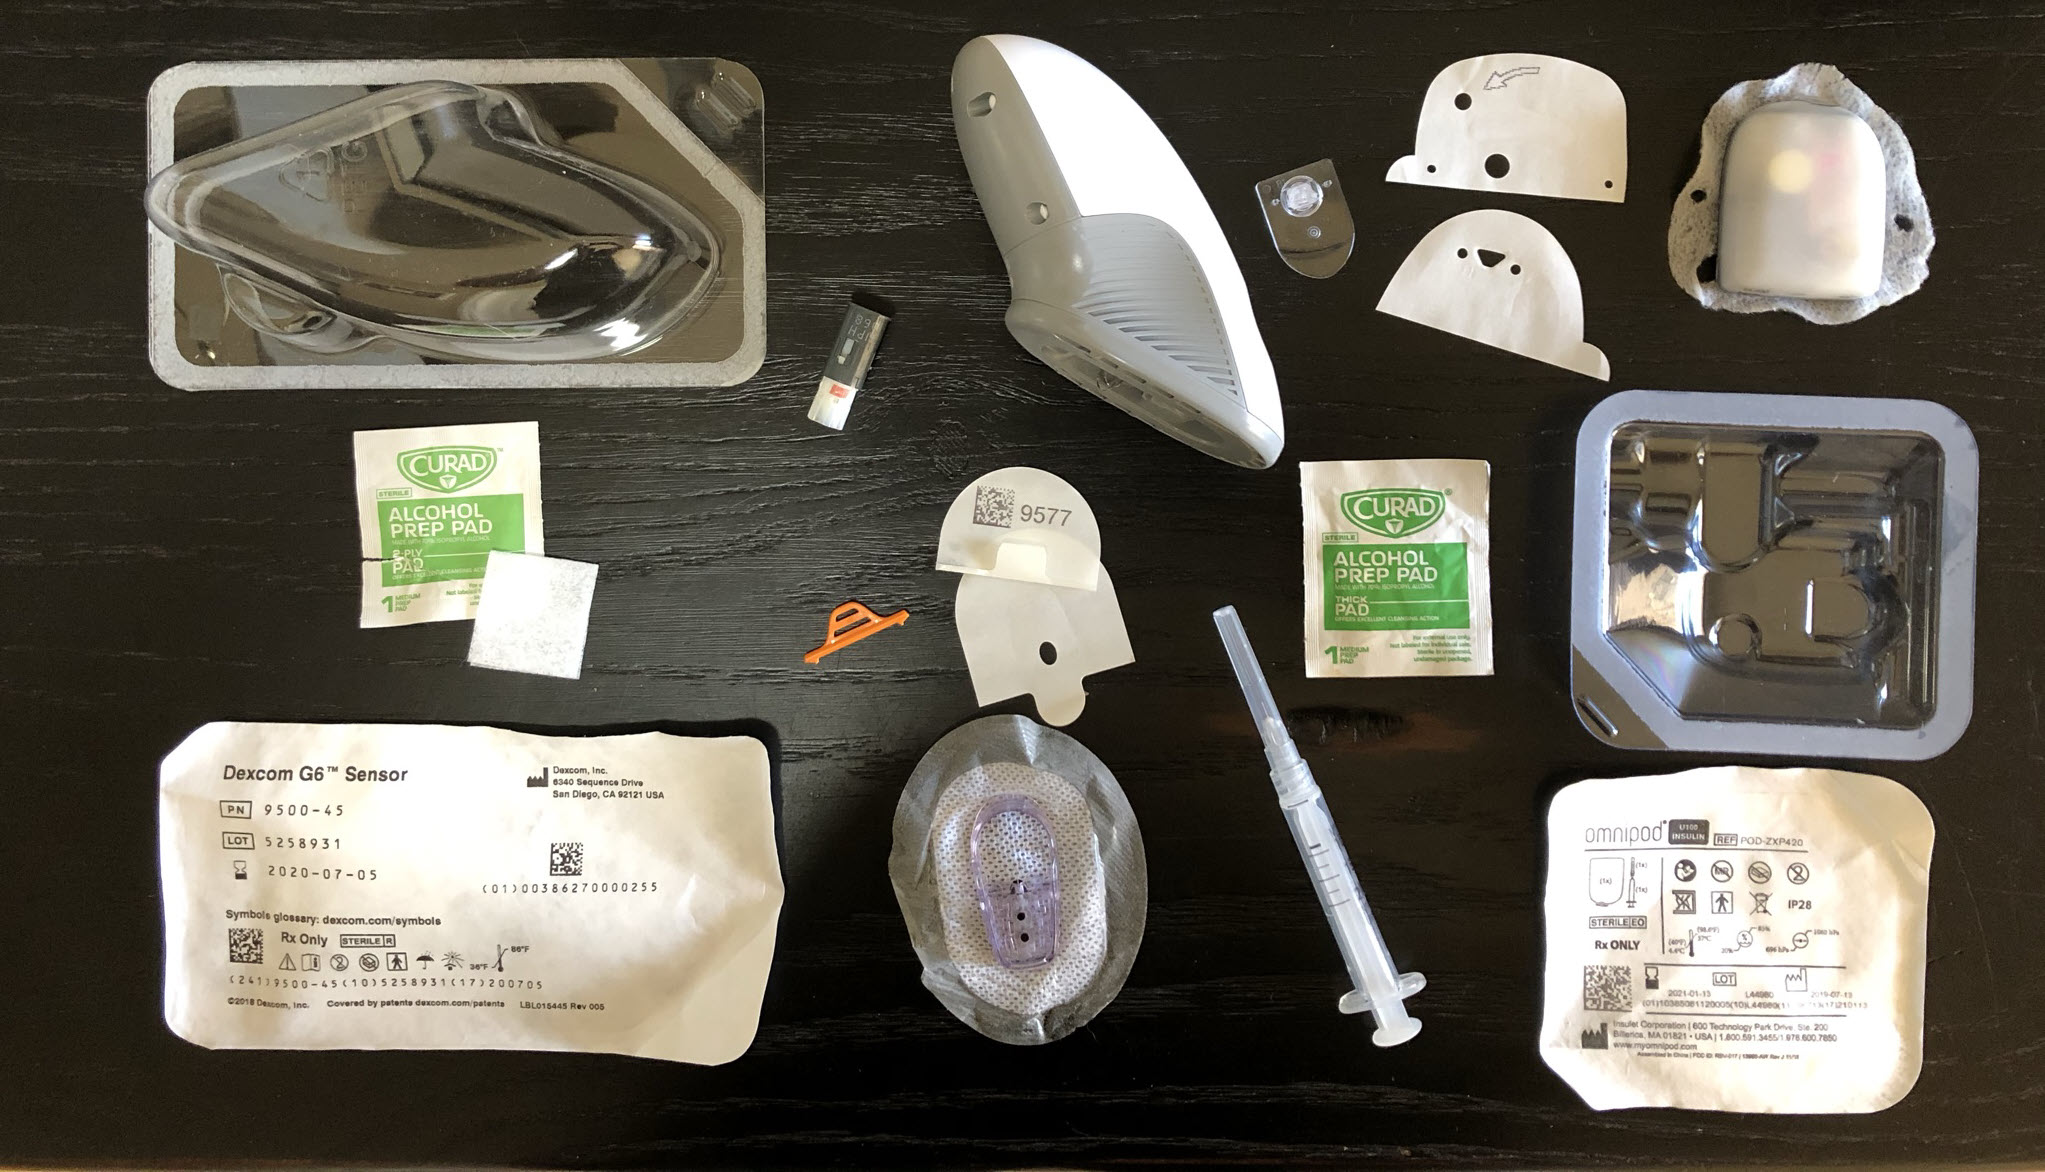
Packing T1D Supplies for a Cruise
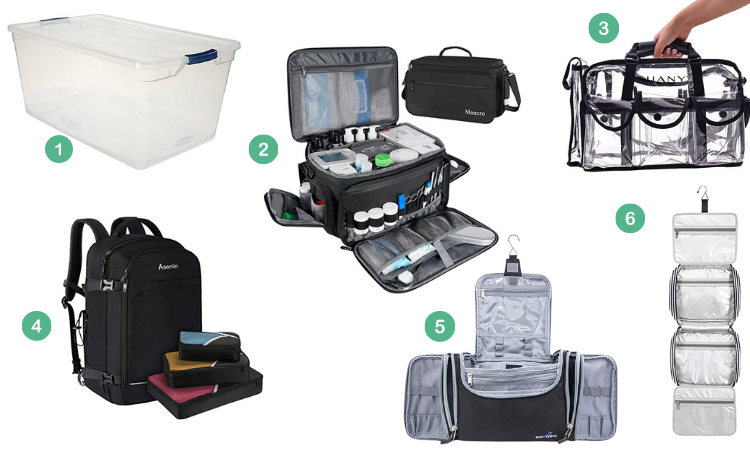
Bring all your diabetes supplies on your cruise as carry-on items. An organized carry-on bag is key for getting through security efficiently. Consider packing your diabetes supplies in three (3) packing cubes:
- Non X-Rayed Supplies
- CGM Sensors
- CGM Transmitter
- Ominpod Pods
- Spare Glucose Meter
- Blood Ketone Meter
- X-Rayed Supplies
- All other supplies
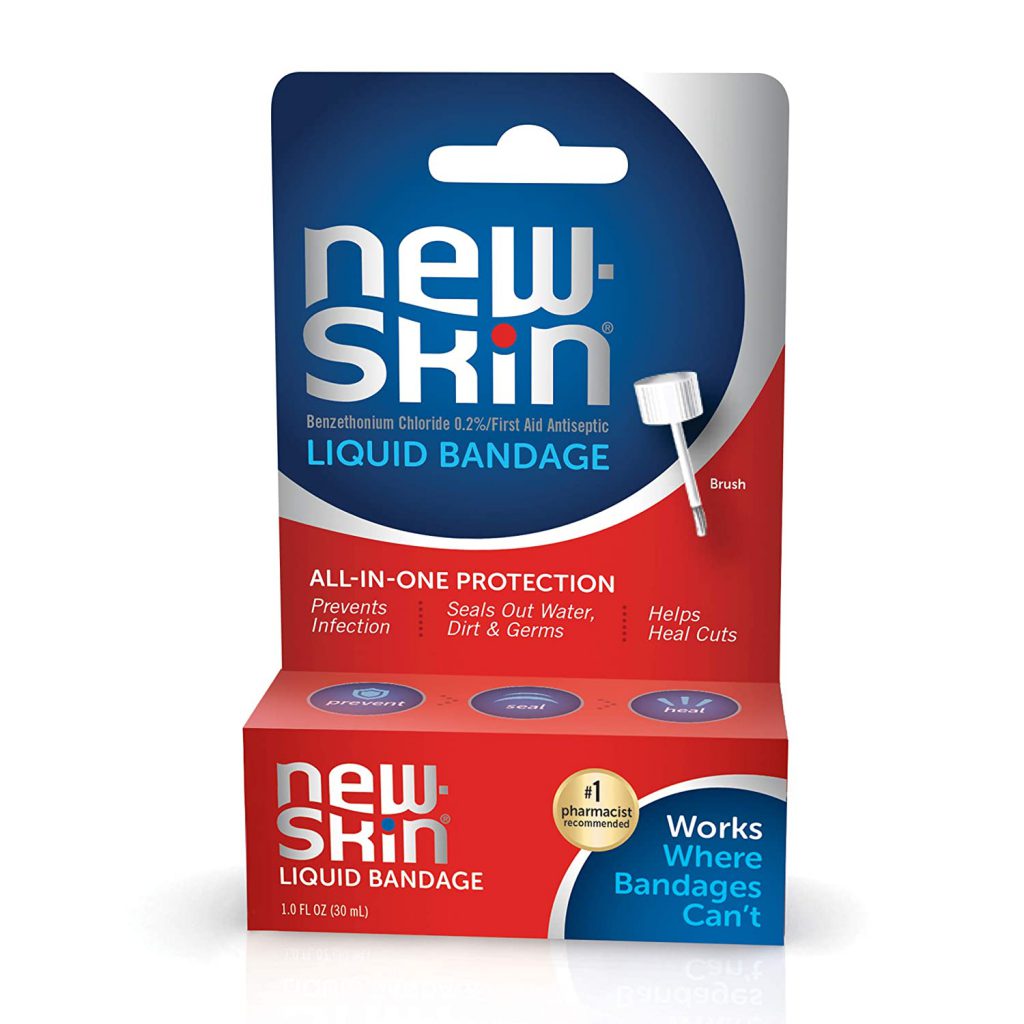
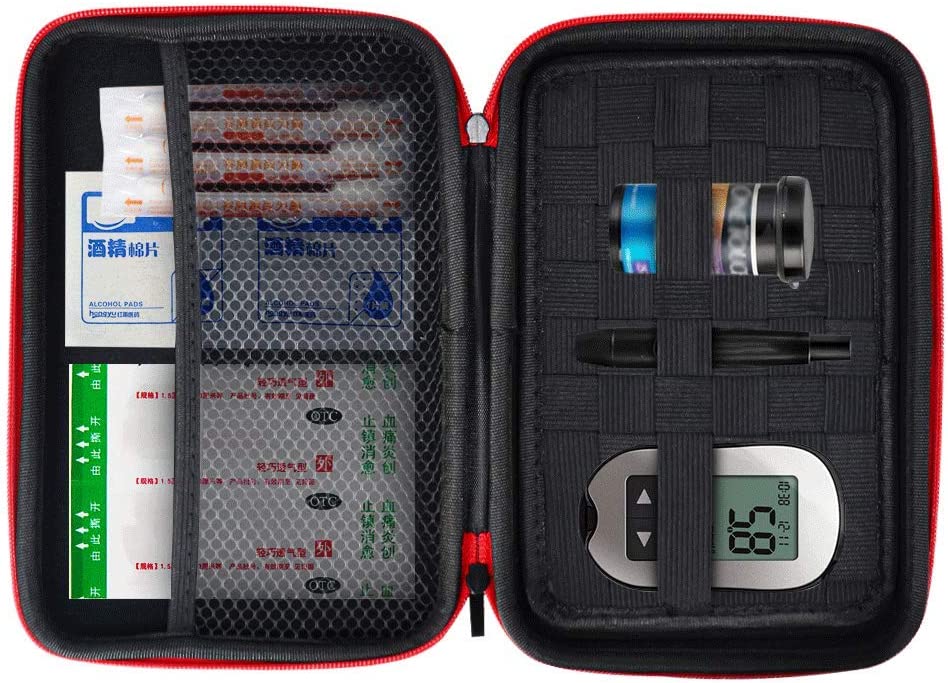
- Sick Day/First Aid Kit
Only the non-x-rayed packing cube needs to be removed from your carry-on bag and handed to security so that it will not be scanned. Keeping only the supplies that you don’t want x-rayed separate makes getting through security faster.
T1D on the Cruise Ship
A few random tips that are helpful for managing Type 1 Diabetes while on a cruise ship:
- Take a tour of the boat to familiarize yourself with the ship’s medical services and first aid stations.
- Develop a plan for time change zones (especially if pumping) and if any considerations are needed to manage your blood sugar/insulin delivery.
- If pumping, call your pump company to request a spare/backup pump for travel.
- If using a phone with cellular service, keep the phone in airplane mode or request free Wi-Fi.
- At mealtime, ask your server (or take food from the buffet) for a snack to keep in the room for overnight lows (PB&J or cookies) or to take on excursions.
- Bring storage bags for ice and food storage.
Cruise with Other People Living with Type 1 Diabetes
If you are looking to cruise with others who live with Type 1 Diabetes, consider the 1 Sweet Cruise.